Wednesday, December 31, 2014

Best art/experiments of 2014

This week I have been looking at some blogs that re-cap their favorite projects of the year and I thought it was a great idea.  Then I got somewhat depressed because I didn't feel like I have been very productive this year. 

I figured I could find at least a few projects to highlight, and went through my blog posts for this year. Looking through my posts actually made me feel like I had accomplished a lot, especially since we moved to a different state this summer and we have been spending a lot of time on home renovation projects. So here are my highlights...

Here are my favorite experiments from 2014:
Marbling on fabric
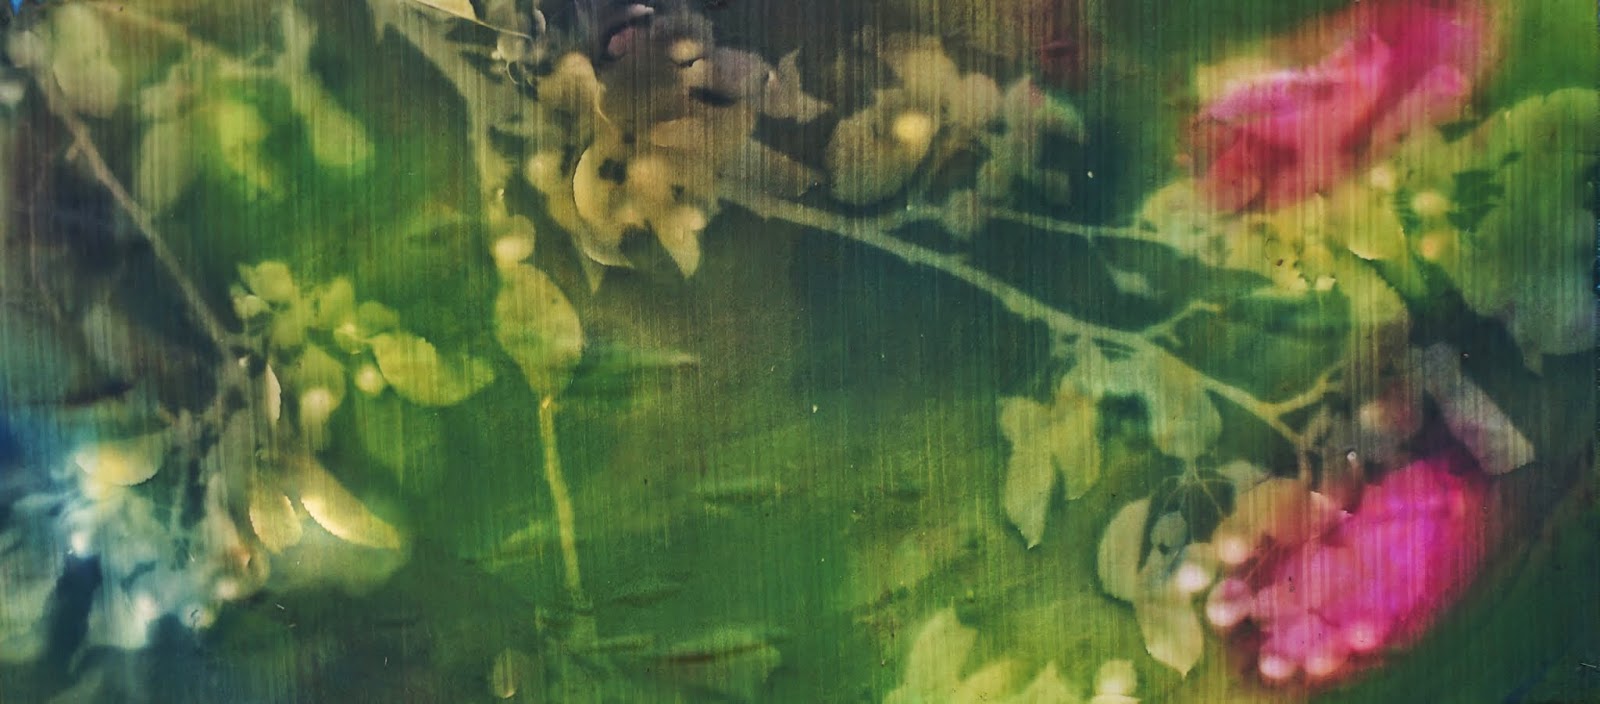
Sunprinting with branches and leaves
Sunprinting on interfacing with stencils
Painting over a quilt
Textile art (inspired by the Cas Holmes class I took in the spring)

Here are my favorite finished projects from 2014:

Fabric/paper collage

   
Coral art quilt

Storage box with gelli prints
Gelli printing

These are just the best examples of these techniques and art pieces. I really enjoyed gelli printing this year and have a home decor project lined up for a gelli printed collage.  I also would like to complete a lot of my unfinished projects in 2015 as well.  The basement renovation should be complete around the end of January and then I can move into my studio space and unpack all my supplies. We also will be done with home renovations for a while, so I hope to have more time for making art as well.

Wishing you all a great New Year!

Tuesday, December 30, 2014

Bathroom Remodel

We finally finished remodeling the main floor bathroom.  I never would have thought this project would take three months. But the results are fantastic!

Here are some "before" pictures. There are a lot of things that had to change. First, this is a huge room, but the tub and toilet are so close to each other. There is no way to hang up the shower handle either.   Then there is the lovely embossed wallpaper, not just on the walls, but on the ceiling too. There is the oak paneling and linoleum floor that needs to go.  And again, huge room, but tiny pedestal sink.  Say goodbye to it all.

 Oh, and don't forget the peacock wall sconces!


We remove the paneling and wall paper, and discover the drywall (that was installed on top of the plaster walls) was never taped and finished. And they had so many screws in it, it looked like Swiss cheese.


We had to tape, patch, and sand so the walls could be painted.


Then we could finally paint. The tub sat in the dining room for about three weeks while plumbing was moved and the floor was tiled (not by us).


Here is the final result. The tub has been moved, lights replaced, and finishes updated. We still need to get an oval shower rod for the tub, and hang some art, but even without those things, it looks smashing!


Wednesday, December 10, 2014

Foiling on Velvet

I have watched this Angie Hughes' YouTube video many times, where she foils on velvet  (skip to 12:50 for the start of the demo part)  and I recently added to my colored foil collection so I am finally giving it a try. I am not going to describe each step, as the video goes into a lot of detail. (Things like, always cover the whole project with parchment paper when ironing, and using a "craft" iron so you don't ruin your good one, are important points).

In the US, the Bond-a-web that is mentioned in the video is called Wonder Under. I can usually find a small cut of it (1/3 yard or so) in the clearance bin at Joanns every time I go. I decided to paint one side of my Wonder Under, which is something from one of Kim Thittichai's books. I used watered down Lumiere paints. Here is a picture of the painted Wonder Under. The backing paper crinkles due to the watery paint.

I used black velvet that I bought at a estate sale. I am unsure of it's fiber content; it doesn't look or feel like polyester, but I haven't given it a burn test. I ironed the painted Wonder Under to the velvet, after I had cut out some circle and wave shapes, and removed the paper backing just from the circles.


I sprinkled on large silver glitter and fine green glitter to the circles, covered it with parchment paper and ironed it so they would stick to the Wonder Under.

I then removed the backing paper on the lower portion.

The painted wonder under looks lovely, but I am going to add some foil.

I tried to use punchinella/sequin waste to create patterns in the foil, like Angie did, but I think my iron was too hot as I had a hard time removing the sequin waste. It was ironed to the Wonder Under in places. I think in general I was using too hot of an iron for the foiling. I had a difficult time removing the foil carrier sheet in places as well. I also think since I had painted the Wonder Under, it did not adhere as strongly to the velvet, and pulled up in places when I was pulling the foil carrier sheet off. I did iron some more painted Wonder Under over some of the holes and it blended in with the original layer pretty well. For the remaining exposed velvet in the upper portion, I will probably paint with Lumiere paints.

You can see the blue circles where I used sequin waste as a resist when foiling.

On the pink section in the middle, I used magenta glitter and pink foil. I did iron on some black glitter next to some of the circles, which you can see in this picture.

I think I am done adding foil at this point. Angie often adds a layer of colored or black sheer fabric over the top, which may look nice on this since it is pretty bright and gaudy.  I am thinking of cutting it up and using it in another project, where I think the bright colors would look great. I will be experimenting more with this technique as I still have quite a bit of foil, and already have some painted Wonder Under as well.

Sunday, December 7, 2014

Gelli printing makeup bags

I bought a set of five zipper bags for 50 cents at a craft estate sale. I thought I would experiment with gelli printing on them. 

I only did two of the bags. I gessoed them, and when that was dry, I used a makeup sponge and randomly applied Golden Hansa yellow, Napthol Red Light, and Quin magenta.

I then used my homemade lace stamp to stamp on them using my gelli plate.  I applied paints to my gelli plate, pressed the lace stamp into it, and then pressed on side of the bag into it, then rolled it onto it's bottom and pressed that part to the plate. Then I rolled it to the other side and pressed.  Any spots that looks like they were missed were pressed into the gelli plate wherever there was still fresh paint. 

Then I covered my gelli plate with turquoise paint and laid two different stencils over it.

I printed the bigger bag on both sides.


And then I removed the stencils and printed the smaller bag with the paint left on the gelli plate..


I didn't take a picture of the gelli plate for the next print, but I applied a coat of Quin Magenta.  I pressed some bubble wrap and flower textured scrapbook paper into the paint, then laid down a stencil.  I printed the big bag.


I removed the stencil and printed the smaller bag.


I would definitely do this again.  I was worried that the paint might not adhere to the bags, since they felt very smooth and like nylon (like a shower curtain), but it seems very well adhered.  I am contemplating doing a coat of gel medium to seal them, but I haven't decided yet.

Thursday, December 4, 2014

Gelli printing with a crochet lace stamp and handmade stencil

My previous post here  shows how I made some stamps using lace and foam sheets. I used these to gelli print (on this post) and I really liked all the detail from the lace print. I decided to combine one of the lace stamps with a homemade stencil.

I made my stencil using this photo from a magazine.

I enlarged the image on my copier, then printed it on cardstock. I put contact paper on the front and back of the cardstock, then cut out the image (using scissors and an Xacto knife).  (You can see my previous posts on making home made stencils with contact paper here and here.) Here are my positive and negative stencils (I forgot to take a picture of it until after I printed with them).


Here is the lace stamp I am using.

I brayered white paint on my gelli plate and pressed the lace stamp into the wet paint using my hands, then removed the stamp.

I placed my stencil over the plate.

Then I printed it onto a previous magenta gelli print.

I typically could only get one print from this, and I also could not get a good print from removing the stencil and printing the remaining white paint that was underneath it.  In order to get a good print I had to re-apply white paint for each print.  I did quite a few prints, all on previous gelli prints.


For this print, I used red paint for the lace instead of white. I had stamped a hexagon stamp for her upper body and only pressed the lace stamp into the lower half, for her skirt. Then I put the stencil down and printed it.

After removing the stencil, I tried to print the remaining red paint on the plate, and I love this print. This is my favorite. And while I can repeat the hexagon and lace stamping, I have no idea how the gelli print that I printed it on was made. I have a feeling I may have printed the lady on it previously and it looked weak, so I printed on it again.


Here the lace is used for the background instead of the dress.

I didn't use the lace stamp on this one.


I absolutely adore this stencil and love the way it looks with the lace stamp.  I will probably use some pencils or markers to add some detail on these, but I think they look fantastic.