I have been doing a lot of gelli printing and was previously designing my own stencils and cutting them out by hand.
I decided to get a ScanNCut as I wanted my stencil making to be quicker and easier. The best part is, after you save a design, you can cut it again and again, and in different sizes.
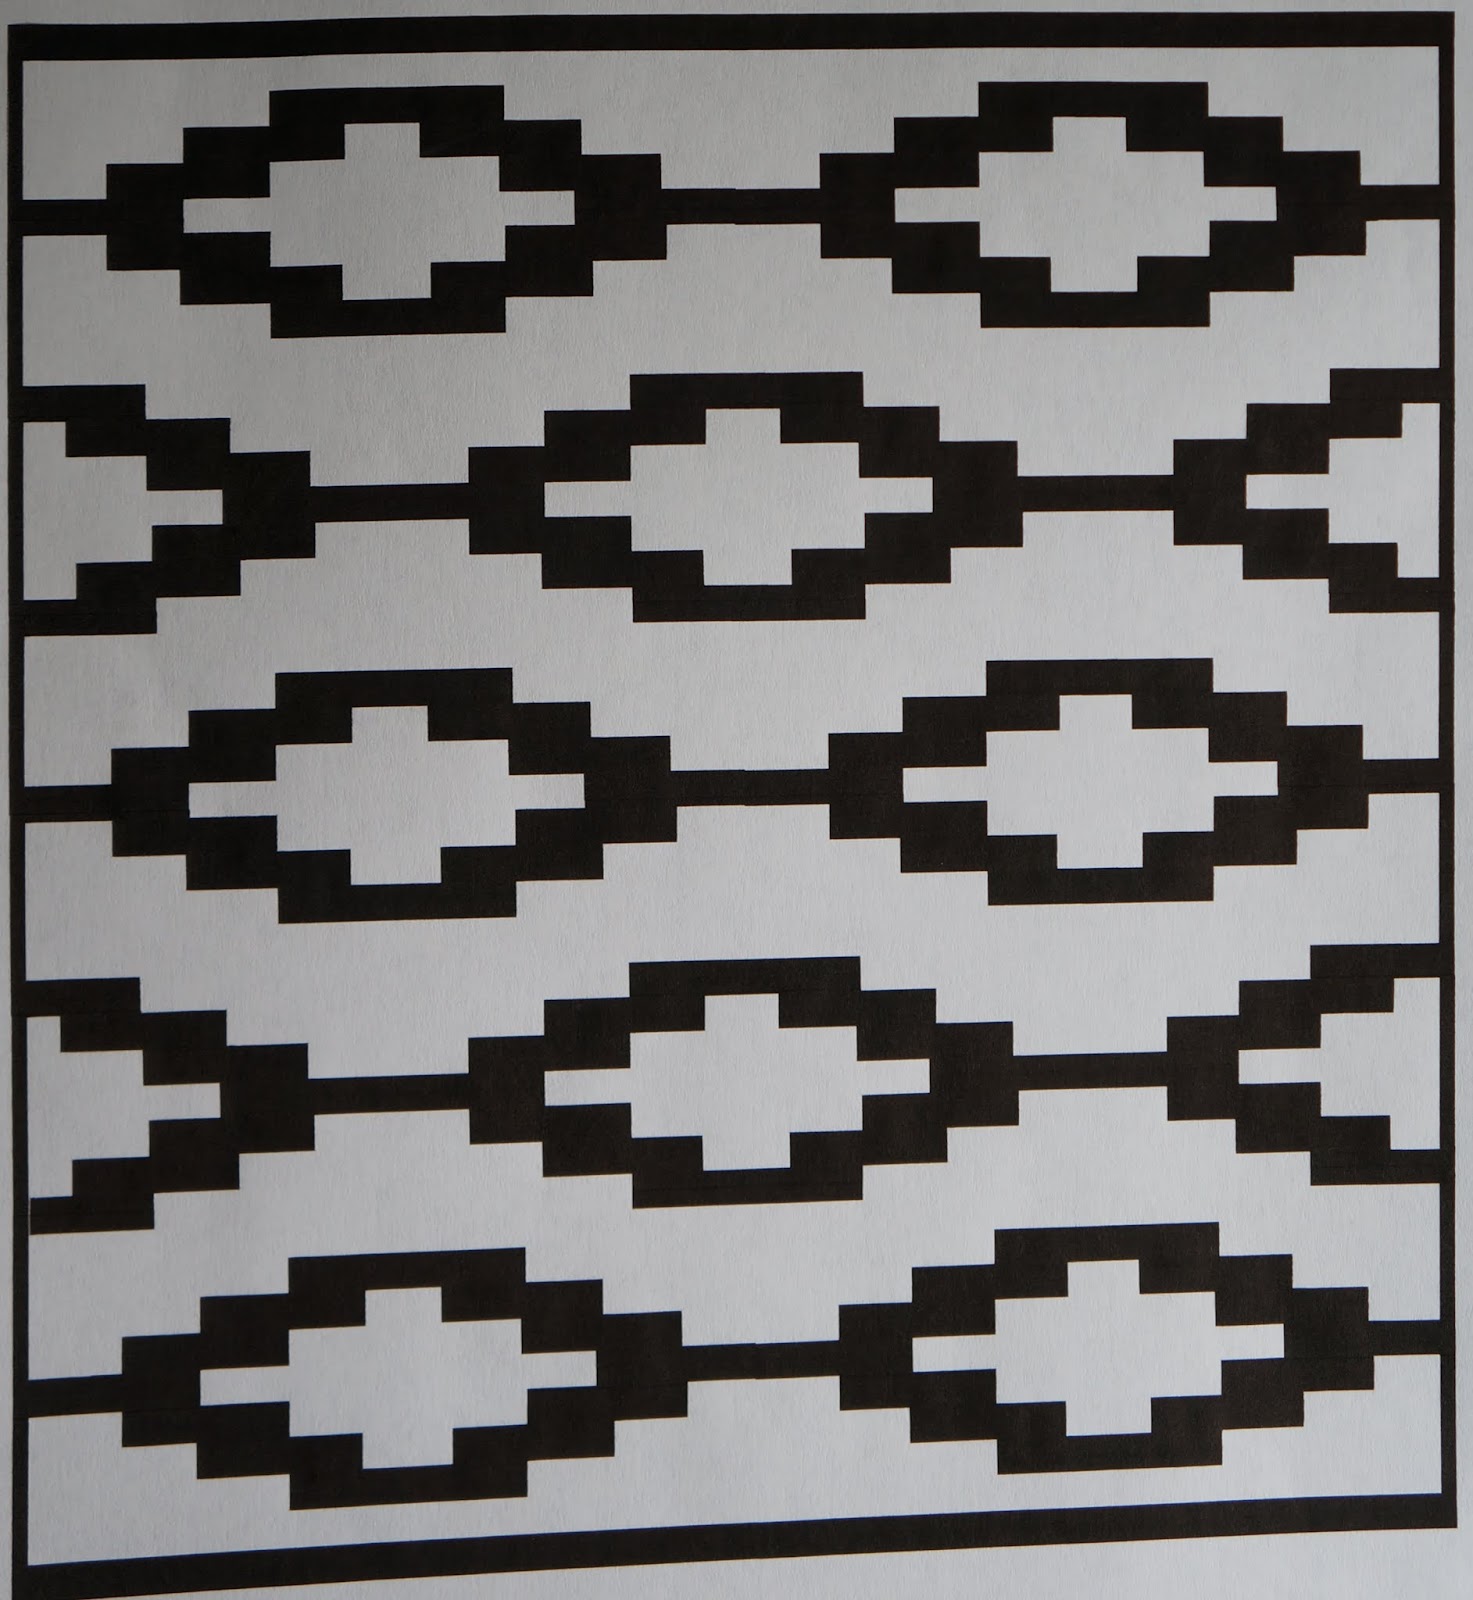
Here is a design I did using the "add shapes" function in word and and copying and pasting the repeated shapes. I know that ScanNCut has their own software or website for making cut files, but I haven't tried it. I stuck with the "animal I know".
Here is my stencil. You can see I have some "hanging chads" that did not cut out completely, but these were easily cut out with an Exacto knife.
In addition to the stencil, I know have all these diamonds I can use as masks.
This design I also did in Word, using the "insert shapes". These shapes are all just lines that I made a thick point width.
Here is my stencil. I can't wait to try it out.
So now we get to the type of stencil I really bought this machine to cut out. This type of detailed stencil would have been time consuming to cut by hand. And if I didn't like it in the end, I would have felt that all that time was wasted. This is my image printed on paper.
The ScanNCut does not disappoint (matte stencil). I love how much detail I can get with it.
And I thought I need an egg stencil as well. I just used the pre-programmed egg shape in the machine and added multiples and lined them up. Seriously, this took me 10 minutes to "design" and cut.
I love how much detail I can get with this machine. I will add the following remarks.
-I like the matte stencil material better than the clear (both are Duralar .005 mil). I also think the matte cuts a bit easier for some reason.
-Using the built-in designs gets a much cleaner cut, especially for round or curved shapes. I did some circles in Word (printed, scanned in and then cut), and they were very jagged around the edges. Any hand drawn patterns are a bit rough around the edges (as in, not a nice smooth straight cut, a bit jagged). The straight lines from the Word documents (printed, then scanned into the machine) were straight and smooth.
-If you draw a small design, but then have it cut big, any unevenness in the drawing will be more obvious in the bigger version. (In other words, it is better to draw big, and cut small, instead of the other way around).
-Sometimes there are cut lines where I don't want them. Usually these can be deleted without affecting the design (before cutting), but sometimes I miss one. I don't realize it until I have cut the stencil. If it is a wide section, I will just use contact paper on both sides of the stencil to re-attach it. Otherwise, I either need to live with it (or cut out a section) or re-scan the picture and pay more attention (zooming in) to all the cut lines.
- I always have some "hanging chads" (except the eggs) which need to be removed with an Exacto knife.
-I do think it's a bit on the pricey side, and it really comes with no
instructions. I watched YouTube videos for a week before I even took it
out of the box.
Is this machine perfect? No. Does it give me what I want? Yes, most of the time and with a little perseverance. I like the hand-drawn stencil quality I get with my hand-drawn drawings, but am no way a perfectionist anyway. I think it was a good investment for me and I have been using it quite a bit.