Thursday, April 25, 2013

Making resin hearts

I needed to make some resin hearts for a project and wanted to include mirror pieces in the hearts. I have done this before with other inclusions, like red coated wires and broken red glass.

I had two types of plastic hearts, three red ones that held Sweet Tarts from Valentine's Day and three clear ones from Hobby Lobby.  I wanted to put a screw sticking out from the back so that I could attach the hearts to shadow boxes, so first I am going to cut a hole in the back of the hearts. This will allow a place for me to pour the resin, and also put the screw after pouring.

I used my Dremel with a cutting wheel. My Dremel has three speeds, I used the low/slow speed when cutting plastic. It cuts easily and melts a little bit at the edges. I let the hearts cool, then picked off the melted plastic bits.

I lined some pans with freezer paper, shiny side up. The resin will peel right off after it hardens. I like to put my projects on something I can move so I can free up my work space after pouring.(These are craft pans and are never used for food use).

Read all of the instructions on the resin packaging. Work in a ventilated area, wear gloves and goggles. Cover your work surface as any drips will become permanent.

Before mixing my resin, I sprayed mold release into my molds.  I let it dry and applied two more coats. It has to be dry before adding the resin.  I added my mirror pieces to the red heart molds. In the future, I will use a dab of glue to attach them to each other so they don't move around much (don't glue them to the mold though!). I would have liked to put blue tape around the seams, but was too worried that the mirror pieces would move.


I had some resin like stuff I had bought at a thrift store for almost nothing. It was originally meant to be mixed and poured into a vase of artificial flowers, to look like water.  I was concerned as most resin mixes are 50/50 and as you can see the bottle on the left is way smaller than the one on the right.  I wanted to color my resin so I pulled out my red alcohol ink for this.  I mixed the resins and all the ink I had left (20-30 drops?). I did not think there was enough resin to fill all the big red hearts and I needed them to be the same color. Also, the color was more a light orange than a red.  I used this resin to fill the smaller hearts. I had two clear heart molds that I was going to add a screw in the back. The third clear mold I was only making a half heart as I had a hardware piece that says "open" that I want to embed in it.


Here you can see that the resin has shrunk (or settled) quite a bit. I had filled the solid hearts to the brim and they are much lower now.

For the bigger hearts, I used EnviroTex Lite. I went to the store and bought some more alcohol ink. I mixed up two cups of resin and added alcohol ink until I liked the color. I poured it in. Here you can see my fancy system for adding the screws. I wrapped a wire around the screw and set the wire across the opening. These hearts will be pretty heavy and I wanted more than just glue to hold them in place.

I left them for two days to make sure they were thoroughly hardened, especially since they were in an enclosed container.

It took a bit of effort to get the hearts out of the mold. I used a small hammer to help release the resin from the sides of the mold, and then basically pried the two sections apart with a metal palette knife. Here they are! I don't mind the air bubbles as I think it they look pretty cool. If I had glued the mirror pieces to each other, I could have tapped the mold on the desk to release some of the bubbles, but since they were all loose, I didn't want them to get jumbled.


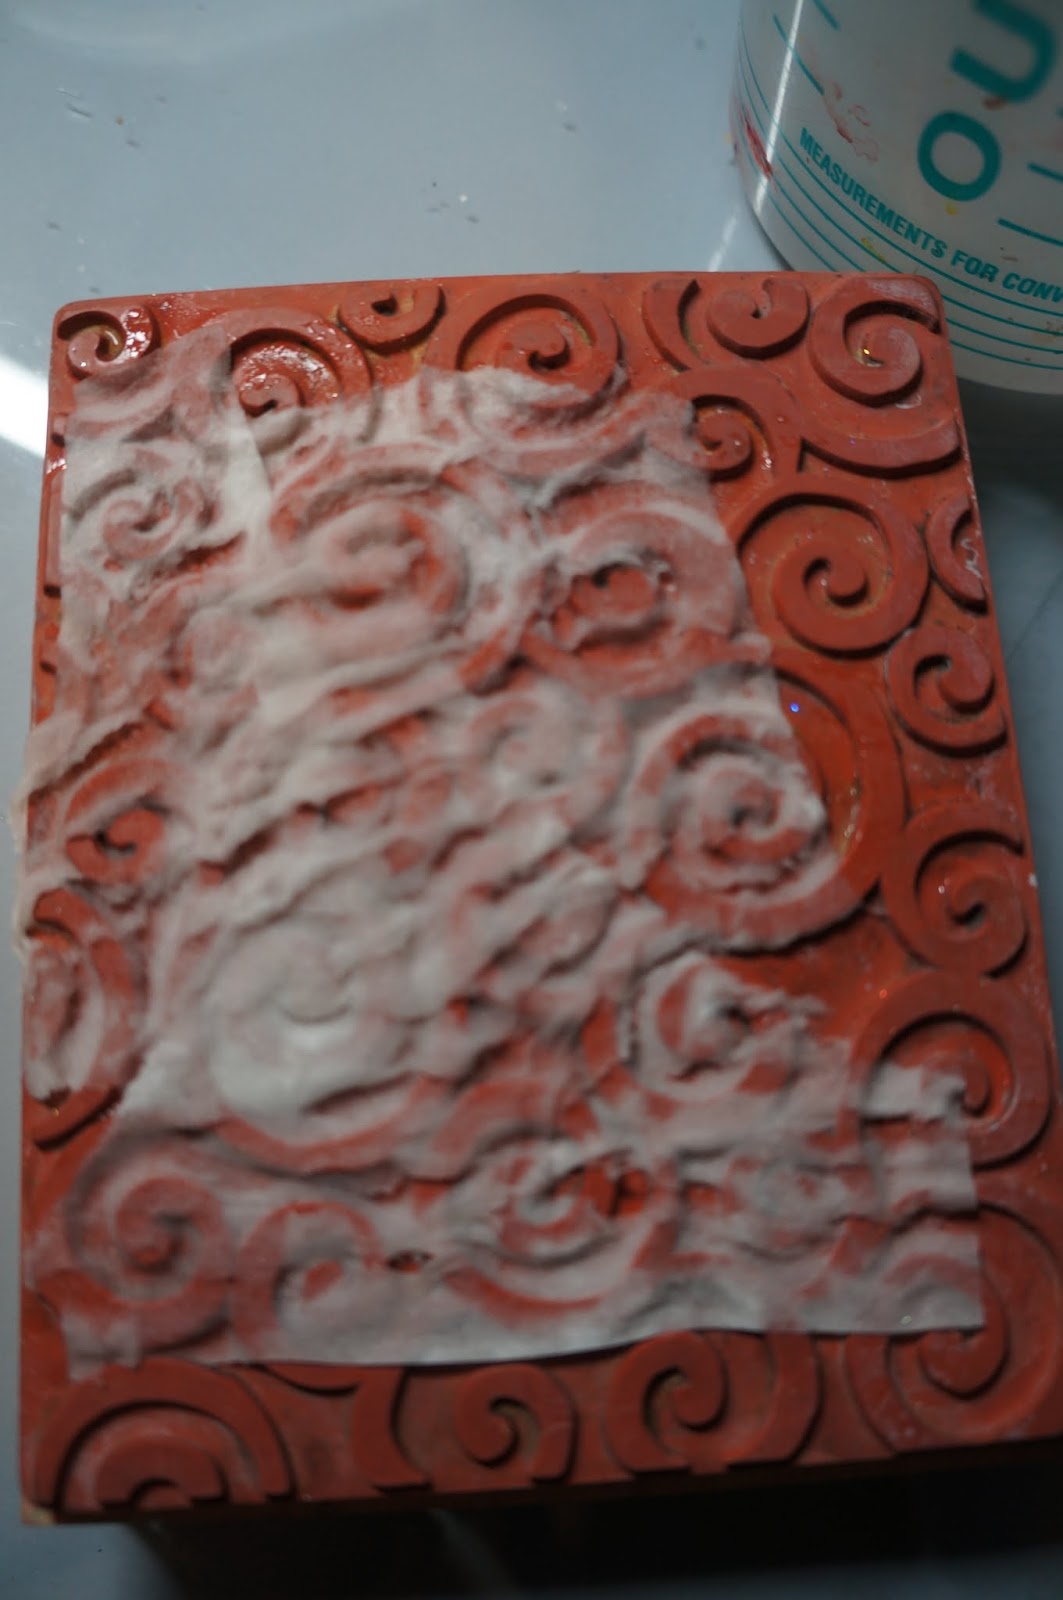
So here I thought I was done, and then I see the name and address of the heart manufacturer embedded in the resin of each heart (upper left corner of each).  I do not recommend this as resin dust is not good for you, but I went outside (and wore a mask) and sanded each one so the words were gone. I then lightly sanded the whole front side just to make sure it all would look the same.

I then mixed up a small mount of clear resin and spread it over the front of the hearts with a wooden tongue depressor, I made sure that I spread any drips that went down the back side. I used my plastic heart mold with a hole as a stand to hold each heart. (I think that since the letters were recessed and not raised, I could have probably skipped the sanding and just poured another layer of resin to fill them in. I will probably try that next time but I wanted these hearts ASAP for my project and didn't want to have to do another batch).
  
I love how shiny they are now. They weren't this shiny out of the mold. I am going to find all the resin hearts I made previously and add a layer of clear resin to them.


The two bottom hearts in the picture above are from the "liquid water" resin kit. It took three days for this stuff to harden. I think it still could use more time, as the screw kind of squished into the heart when I as trying to get the heart out of the mold. I just pulled the screw out.  These molds were way more difficult, I really had to hammer it to get it to release. Since I took the screw out, I could stick my finger in the opening and push the resin away from one side of the mold. I am going to give the other full heart more time to cure.  I will be adding a clear resin coat to the half heart with the "open" hardware and maybe the other two as well.

Fantastic!

Saturday, April 20, 2013

styrofoam head art

I had this dream a while back, that a bug flew in my head and built a nest.  I wanted to make an art piece about it.  I bought a styrofoam head at Hobby Lobby. I used the old "dip the edge of a quarter in paint and run it down the face" trick to draw a line down the center. I had bought an electric (turkey) carving knife to use on the layered sweater arm project (see previous post), so I thought it would work well for cutting the styrofoam. It worked okay, the knife definitely struggled, but it got the job done.

I wanted to remove the brain area to put my nest in.  I dug at it with an Xacto knife, some metal tools, and my fingers. I finally got enough out.  Between the cutting of the head, and the digging out the brain section, my studio was a styrofoam mess. It was clinging to everything.  I had to dust-bust my work table and the area rug once I was done with the styrofoam part.

 There were a lot of rough parts on the styrofoam and I wanted to smooth these out. I knew I was going to build my nest with paper clay so I used it to cover the styrofoam as well. I did put a light coat of liquid gel medium on the styrofoam, to help the paper clay adhere to it. I rolled out some paper clay with a brayer and wrapped sections of it around a brush handle to build the nest. 

I did some sanding to even out the texture and used a pointed sanding tool to help shape the nest. I forgot to take pictures when I painted him. I put a coat of gesso on everything. I painted the nest gray and brown, then put white on top, so the interior holes are dark and give some depth.  The rest I painted white. I then stamped text with alphabet stamps and Stazon ink.  Since the head isn't flat, the letters did not stamp completely, and I filled in the missing parts of the letters with a black ink pen.

I had a box in my stash that I wanted to use for this project. I had to cut about 1/4" off of the neck of the head to fit it in the box.

I painted the interior of the box with gesso, then with acrylic paint. It was okay that the paint transition wasn't well blended because I added a layer of tissue paper later that would soften  the look of it.

After painting my box, I was so sad to see that the sides of my box had bowed from the moisture and pulled apart at the corners.  I had to fix this.

I cut some wood pieces to use as shims to prevent the clamps from damaging or indenting the sides of the box. I put wood glue in the corner seam and tightened the clamps. I wiped away any glue that oozed out of the corner seam, as this needs to be done while it is wet, or else I would end up with permanent glue globs.

Here is my tissue paper. I stamped it with a rubber stamp (bee/wasp?). I inked the stamp with Stazon ink, then stamped multiple times before re-inking to get the feel that some were in the distance.

I used my favorite mixture of half fluid medium and half soft gel medium to glue the paper down. It is very important to make sure there is glue covering all of the backside of the tissue paper as air pockets are very noticeable. Also, a light touch is needed as the paper can tear very easily when wet. I did apply a coat of medium on top as well, once the paper was in place. The Stazon ink I used to stamp the bugs will not smear when using water based mediums on top of it. I did the back and two sides with one piece of tissue paper, and did the other two sides with separate pieces. This left some half bugs at the seams. I cut some additional bugs out of the tissue paper and applied them on top of the half bugs so that the bugs would be continuous at the seams.

I needed to make a bug to put inside the head. Originally I made one using a T-pin I wrapped with wool roving, and wet felted it by hand.  It was a brown blob with no shape and rather too large, so I decided not to use it. I took another T-pin and added paper clay to the top of it, and shaped a head and a body. I did add some Apoxie clay where the T pin stabs the head in order for it to stay in place, and once dry I painted the Apoxie clay white.
Ugly felted bug
Final paperclay bug

I had some Angelina fibers that had been ironed together to make a sheet, almost like paper.   I put a coat of gel medium on both sides as the fibers where a little loose. Once dry, I stamped my bug image on it, then cut out just the wings from it.

Then I used E6000 to glue the head into the box and it was done! This project ended up taking a lot of time because it required a lot of drying time between steps (paperclay items, painting the box and head, re-glueing and clamping the box,  etc). I think it looks great though and just love it!

Tuesday, April 16, 2013

Using Liquitex acrylic spray paint to alter a canvas color

I while back, I did this post that included a large painted canvas project that I was going to attach oval fabric shapes to. When I showed it to my husband he said it looked like waterlilies. That made me sad as that was not my intent.   But I did see where he was coming from.  So I embraced the idea, but the background color needed some help.  I removed the oval fabric pieces I had pinned to it, and thought this would be a great opportunity to try out some Liquitex acrylic spray paints I had bought.

Here are the colors I used, titanium white, brilliant blue, and brilliant purple.

 I worked outside as they are an aerosol paint and do give off a smell and particles. Here is my piece pinned to a big styrofoam board with painters plastic over it.  I had sewn pieces of fabric and lace to the canvas, then had painted over it (no gesso) a few months back. In person, the color looked like a muddy mottled greenish color. (It just looked wimpy and lifeless to me).

I sprayed water on the canvas, then started spraying the paint.  It was quick and easy and if I didn't like something I just sprayed over it with another color. The white was a little chalky and left little mist drops too, so I did not leave much white. I think they make a translucent white paint, so I may pick some up sometime to try out.

Here you can see some of the interesting color changes. Because of the sprayed-on water (and I did spray additional water on during the process) there are some drips that I think are great!  This whole painting session took all of 10 minutes. If I had mixed and brushed on paint, it would have probably taken an hour at least.

Instead of equally spaced out fabric ovals that I had originally planned, I will be adding semi-realistic water lilies instead. Right now I am planning on using some dyed silks for this.

I did try this paint on some other fabric pieces, but was not too happy with the look of them.  I will stick to canvas or paper in the future. I am excited to try this paint with stencils as I have seen other people's work with them and it looks great.  I don't want to wear a big respirator mask so I will have to wait until I can work outside again. It may be at least a week as we currently have about 12" of snow.

Finished Italy tin collage

For the second Saturday art club, back in March, we worked on collages/assemblages using Altoid tins. I finally completed my Italy inspired tin, here is the completed work.


For this tin I used the following items:
1. I transferred a photo of Italy using an inkjet print on transparency. I lightly misted watercolor paper with water (not soaking but very damp), and laid the transparency on top and used a brayer to help with the transfer. I glued the watercolor paper to mat board so it could be put in a shadowbox frame.
2. The gold paper was originally brown and from a discarded wallpaper book. I rubbed Golden brand gold paint on it with my fingers so the gold is on the ridges, but the recesses are still dark brown.
3. The postcard is from Italy, I had bought a huge pack of used postcards in Italy. Some had ugly pictures on the front, so I used it with the back of the card showing.
4. The tin is similar to an Altoids tin. I used a small butane torch (like the kind used to burn the sugar on creme brulee) to remove the paint and it now has a mottled black/brown color.
5. The hands were kind of like a spring loaded paper clip. I don't know where I found it. I don't know what they were originally for. I used my Dremel tool to cut the hands apart.
6. The picture is one I took in a church (it was actually in Germany, but I like the image).
7. For the decorative top, I cut a metal ring in half for my base and painted it black.  I glued on jewelry charms to make the gold decoration. I tried to glue these with metal glue (similar to E6000), but they would not stay in place so I ended up using Apoxie Clay on the back side, and when it was dry I painted the clay black. I added a wire at each end bent at 90 degrees to attach the decorative top to the box. I attached it and the hands with Apoxie Clay (and painted it black when it was dry).
8. The rusty doo-dad is from a flea market.
9. The tin and the doo-dad were glued on with E6000. The paper items were glued on with Golden brand gel medium (I like mixing soft gel medium with fluid medium so it is somewhat fluid).

There you go, a ton of things went into making this piece. Some of it was done a while ago, and was just pulled out of my collection for the project ( the inkjet transfer, the burnt tin, the cut hands). Other things were done specifically for the project (the gold rubbed wallpaper, the decorative top). All the parts combine to make a great piece!

Sunday, April 7, 2013

Gelli and gelatin printing, Second Saturday Art club

For this month's art club, we decided to do gelatin and Gelli plate printing. It's easy, it's fun, it's fast!

Some of us had Gelli plates, which are great, since you can just make prints whenever the mood strikes. These are rubbery reusable plates for monoprinting. This link is for the Gelli arts website where these can be purchased, I haven't seen them available at any craft stores. Their website also has a basic video on doing monochromatic prints, and I am sure there are videos on YouTube as well.

I have the 8" x 10" Gelli plate. For everyone else, I made gelatin for them to print on. The plate needs to be roughly 3/4" to 1" thick, so I measured how much water would fit in the pans I was using to make the gelatin.  The pans differed in size, some took 4 cups of water, some took 6 cups.  If I was making gelatin and using the pan that took 4 cups of water, this is the process I used.  I poured 2 cups of water in the pan and stirred in 8 packets of Knox unflavored gelatin (each packet is roughly 1 tablespoon of gelatin). I stir this to get the lumps out. I would heat the other two cups of water to a boil, then add it to the pan, and stir gently until all the gelatin is dissolved. I let this rest about five minutes, then use scrap paper to drag across the top surface to remove any bubbles.  The pan rests at room temperature about thirty minutes, then I put it in the frig overnight.  I pulled the pan out of the frig thirty minutes before I planned to use it. To remove it from the pan, I poured about an inch of boiling water into a larger empty pan, then set the pan with gelatin in this water. I run a regular kitchen knife around the edges. The boiling water will melt some of the gelatin and it will just plop out of the pan when you flip it onto a water proof surface (we used freezer paper).

Gelatin formula: X cups of water x 2 = number of gelatin packets needed. Mix half of the water (cold) with the gelatin, then add the other half of the water (boiling) and stir gently. Rest 30 minutes, then refrigerate overnight.

Sabyl brayering her Gelli plate. Typically we would brayer the entire plate with colors, then use rubber stamps, stencils, found objects to stamp into the color. If the item was pressed into the surface without paint on the item, it would remove the color from the plate. If the item was painted first, it would add that colored pattern to the plate.

Liz at her workstation with Gayla and Laurie in the back.

 We let our prints dry on plastic and newsprint in the adjacent hall, so I don't know which belong to who.


This is Simone's, she printed onto a 11x17 black and white photocopy. I love it!

 These are Laurie's.

I did some on paper (mainly maps).

And on fabric.
 This one is my favorite.

Gelatin printing is super fun. I did about 12 prints on fabric, and 17 on paper in roughly 3 to 4 hours. Many of these I did more than one layer of print. I would print it, let it dry, then print another layer (and some had three layers).  It is a great time!

Friday, April 5, 2013

Making textured paper with Paper Solvy

I wanted to add some patterned texture to a project I am working on. I decided to make some textured paper using paper solvy and textured items.

Supplies needed are: Sulky Paper Solvy, textured items (I used rubber stamps, stencils and two textured items), and a cup of water.


I rip the paper into smaller pieces, roughly 2" x 3", but it just needs to be smaller than the stamp or textured item. I wet my brush, run the brush along the edge of my water cup to remove some of the water, and wet the paper. If you use too much water, the paper will dissolve completely. I used a few layers of paper, so if I dissolve a hole in the paper, I just make sure to add more paper there to cover it. I do press the edge of my brush into the ridges of the stamp, especially on my first layer, so I will get a deep impression.

Here it is after a couple of pieces of paper are applied.

And here is the finished layers. I used about 3/4 of a 8" x 10" piece of Solvy for this one stamp.

I let it dry overnight and then peeled the paper off the plate.  This needs to be done gently so the paper doesn't tear.  They were slightly damp when I removed them, and curled up a little when they finished drying. I will mist them with just a touch of water and put them under a book to flatten them. If I mist them with too much water, the paper will dissolve, so it takes just a light spray.  

 I have used the swirl stamp for this technique before and love the results. The stencil did not leave a very distinct pattern since it is so thin, but will still be nice for a collage. The one from the dark gray plastic plate almost is too textured, but I will see how it looks after removing the bow in the paper.  (I should have put them under a book when I removed them from the plate to avoid having to re-wet them).

I have read that you can do this same technique with toilet paper, but I have never tried it. I just imagine that the toilet paper will disintegrate over time, but really I have no idea how well the Solvy will hold up.  When I go to paint these, I need to use a heavy body paint or need to coat with regular gel medium (or spray acrylic sealer) so the paper does not dissolve. If I used a watered down paint without a sealer, the paper will start dissolving.  I don't know which of these I will use in my project, but I will be attaching it to two sides of a block of wood. I can mist the back side of the paper and get the paper to curve around block, and it is going to look great! I hope to work on this piece next week!