Tuesday, October 29, 2013

Another layer of Setacolor paints on fabric

One of the things I am not, is patient. Yet, much of the art I do requires patience. Whether it is dyeing fabric, or waiting for paint or gel medium to dry on my mixed media pieces, I just want to see the results and do the next step. I am not good at waiting. I am usually working on multiple things at the same time so something is always ready for me and the next step. I also think this is why things never get finished and end up in the UFO pile. I start working on something that is more interesting and I forget all about the whatzit project drying in the corner.

I decided Sunday to do another round of Setacolor fabric painting outside. I started in the afternoon when it was in the 50's, but by evening my fabrics still weren't dry. Sigh. No harm in leaving them out. I checked the weather and it said it would be in the 40's the next day, precipitation in the mountains but not in town. I check my fabric at 9am the next day. Sigh. Still damp.

At 10am, I go to see if the book I ordered, by Cas Holmes and Anne Kelly, Connected Cloth, had been delivered yet and open the door to a misty sprinkle. I had to quickly move all my fabrics from the yard, that were damp but now are wet, to covered places that won't be ruined by wet painted fabrics. At least the fabrics were now safe from the rain, but I had to wait another day before they were dry enough to bring inside.

But the results are so often worth all the ants in my pants.  I did a piece of shibori with the Setacolors and it is pretty darn cool. I am going to try more of this on the next warmish day we have, which should be within the next week. I expected the colors to bleed and blend more, but that is not the case.  I just used rubber bands at the ends (I did not wrap the fabric and pipe with twine when I compressed the fabric).


I bought a Halloween costume at a thrift store this week, for the fabric. I probably stood in that store for 10 minutes before committing. I have so much fabric already.  It was a 60's gold lame with sheer leaf shapes in it. This ended up being a pretty good amount of fabric so I am glad I bought it. It was hand made and was a whole piece of fabric (no side or back seams) once I took the front zipper and shoulder seams out.  I painted a part of it with the Setacolors and really like the way it turned out.


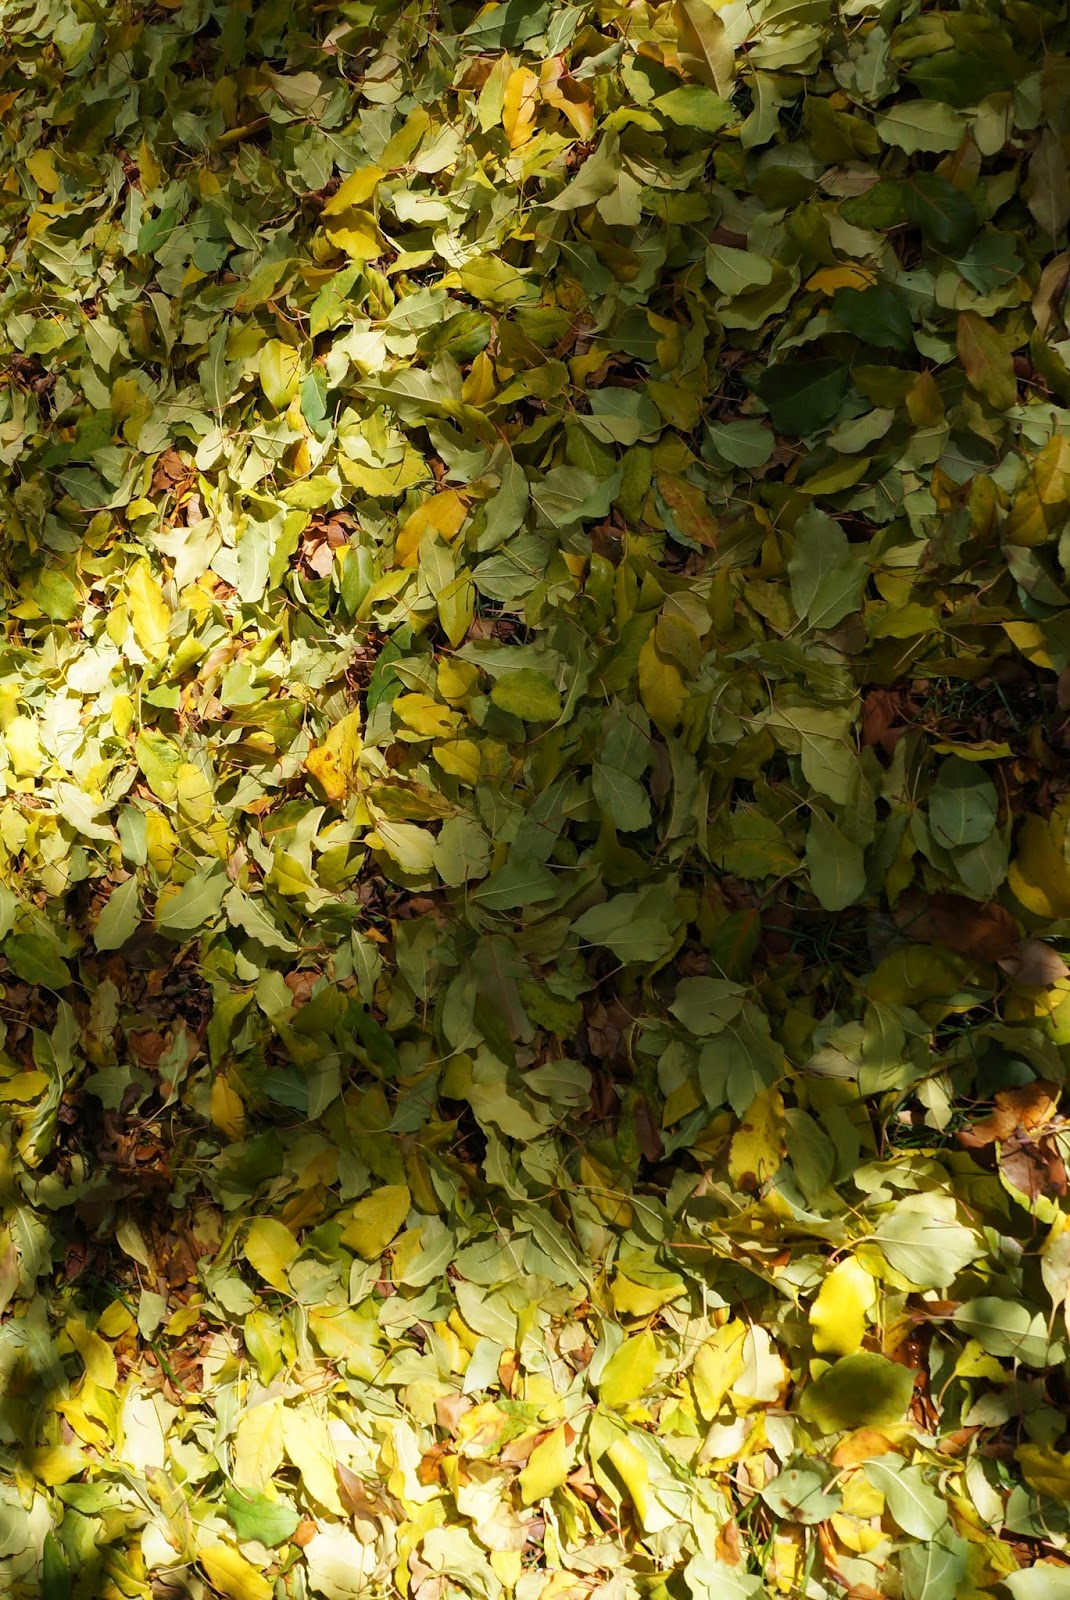
I've been using a ton of polyester organza, from a roll I got super cheap, which works pretty well with the Setacolors. When I did this session of painting, I cut off a 12" wide piece of organza from another piece that was painted last year (the 12" section at the end was unpainted). (Have I told you that no white fabric in my house is safe when I am painting or dyeing?). This organza is so much nicer than the one I have been using. It just is more sheer, and has a yummier appearance. I put leaves on top and they created black outlines. (I think this is because they didn't get a lot of direct sun and it wasn't very warm).


I did another layer of Setacolor on the painted fabrics from the other day that didn't turn out well (that had a base color, then a layer of white on top). Definitely an improvement on this piece, though some of the others are still in the "bad" pile. This polyester organza has a multi-colored first layer, a layer of white, then another multi-colored layer.


When wiping up my painting surface, I usually use a paper towel or cloth rag. This time I thought I'd use some paper to "wipe up" the extra paint. This paper is textured as it has some inclusions in it, like a heavier rice paper. I laid my paper down flat on the paint and swiped it around until it was covered, then set it aside to dry. I though I'd try to get a sun print on the papers so I put stencils over most of them. I didn't get a sun print, but did get dark lines from the stencils. I think they look pretty cool.  I let them dry completely before removing the stencil and they were difficult to remove, you can see some places where the paper tore. The tiny paper towards the bottom was iridescent and this one actually sun printed unlike the others. It looks really great.

On a totally separate note, I really love Cas Holmes' artwork and when I read on her blog that she will be in the States next year teaching some classes I decided I needed to go.  So I am signed up for her workshop in Scottsdale in April and am super excited. I had her previous book, the Found Object in Textile Art, which I re-read this weekend, and ordered her and Anne's new book. I glanced through the new one when it arrived and the pictures are lovely.  The Found Object in Textile Art is what I consider a reference book, she gives you separate techniques that you can incorporate into textile art, which I like. I find it is a slow read, but I think that is because there is so much information in it. I definitely found things I want to try, and things that inspired me to come up with my own ideas. I think that treating fabric more like I treat paper, collaging it with some type of adhesive, really speaks to me and I am looking forward to giving it a try. With some gold lame fabric...

Friday, October 25, 2013

More Autumn leaves with Setacolor painted fabric

I was able to paint more fabric outside before my husband sucked up the leaves I wanted to use for sun printing. I had this fantastic idea to add a second layer of paint to some previously painted fabrics using white Setacolor transparent paint and leaves. My goal was to have a white-ish background with leaf imprints that would be the original fabric color. I was totally stoked  by this idea for some reason and it was an utter fail. My feeling is that the white color does not sun print like the rest of them.  I just got a lot of fabric with a coat of white on them and no leaf patterns. I only took a picture of one of them. Any interesting patterns or textures are from the original layer of paint. It just has a coat of white on top now.

I did, of course, do some other painting while I was at it. This is a piece of ivory polyester organza painted with orange and sun printed with leaves.


I love, love, love this one. It was a previously painted cotton type fabric and was gray/yellow/green. I painted it with black and put leaves on top. It's yummy.


This was a polyester organza I had sun printed the other day with some mesh fabric.  I added a coat of black and sun printed leaves, along with one stencil in the upper right.


 This was a piece of ivory organza. I painted it black and used a bunch of stencils on it. It turned out great.


I don't plan to give up on the white coated fabrics. I am heat setting them in the dryer, then will add another layer of colored paint. I can't make them any worse, and I could end up with magic!

Over dyeing fabric

Last summer, I tried to do some ombre dyeing with linen. I did a jade green one, a blue one, and a purple one.  I am not a fan of the jade green color and the ombre on the purple didn't turn out well. I  decided to over-dye a portion of the jade green one and the purple one.

 I love to remove some of the color using Rit color remover. I make a batch (outside, because it's stinky), wet the fabric with water and scrunch/rubberband them, and throw them in the bucket. I threw in some other fabrics I thought needed some help as well.

While these sat in the color remover, I made up my dye buckets. I used Azure, Marine Purple, and Cobalt blue with black added.


 I went around the house collecting any fabric I though needed a dye job. 

I removed and rinsed the fabrics that were in the Rit color remover, after about an hour. I left the rubberbands on while rinsing as I wanted them to create a pattern when I put them in the dye bucket. The jade green one was now a lovely aqua color so I decided not to over dye it. .

Here are my fabrics after removing them from the Rit color remover. The dark gray blob on the right was the purple linen with the lighter blob next to it was the jade. The multi-color blob on the lower left ended up pretty cool in the end.

I must not have mixed my dye powders well enough because the Azure and Purple fabrics have a lot of magenta spots on them. Some of the fabrics in the Azure bucket must have been blends as they are now a gross 80's country blue color and I didn't bother to photogragh them.

Here is a before picture of the Jade Green Linen. This picture does not show the true color at all.

After picture, the dark green spots are the true original color:

Purple Linen before:

After, my purple dye was a much redder purple. I find this fabric way more interesting now.
 

This fabric was scrunched in the pot and I guess I didn't open it up while it was dyeing, I really like the texture it created. This fabric is super soft too.

The fabric on the left is my favorite color-wise, I love these deep rich blues. The one on the right was rubberbanded put in the Rit Color Remover before dyeing. It had previously been ice dyed and was nice on one side but the other side was the icky jade green. I rubberbanded the sections I liked so the green section would get the color removed and be re-dyed.  I like how it turned out even if a lot of the original "pretty" colors were removed.


Wednesday, October 23, 2013

Autumn leaves and Setacolor painted fabric

We had a bit of snow about a week ago, which took most of the leaves off our trees, and this made me break out my Setacolor fabric paints last weekend. When I do fabric painting with Setacolor transparent paint in the summer, I usually get little grass marks if I lay the fabric directly on the grass. So looking at my leaf covered lawn, I thought I would get subtle leaf prints if I laid some painted fabric pieces on the leaves.

I am still using up a giant roll of polyester organza I got at a thrift store a while ago. It's curtain fabric, so it's 120" wide. I have done a lot of painting on this fabric.

After drying:

This was a piece of who-knows-what that I found in my felted sweater stash. It looked polyester-ish, but is about the weight and thickness of a standard cotton.

 After drying:


More polyester organza, but with polyester netting over it.

I find all kinds of things in my studio stash.  I had this polyester netting in with my fabrics. I don't know why. I thought it would be cool to use the netting in a wet felting experiment, but didn't want it to be white. Since I put the painted netting over a piece of painted fabric, I will get a sun-print of the mesh on the fabric. I put this on a foam board so it wouldn't get any leaf prints on it.

After drying, fabric:

After drying, mesh:


This is polyester organza as well. I have it drying on a plastic tablecloth. I loved the colors and didn't want leaf prints on it.

After drying:

The before picture of this one was horrible so I didn't include it, but here is the picture once dry.

The organzas are roughly 3' x 5'. The before pictures are the full fabric, but the after pictures are only about half of each fabric.

You can barely see leaf outlines on any of them, which is disappointing.  If I can make time for another painting session before my husband sucks up the leaves, I will put  leaves on top, which will definitely give me leaf patterns! I am so sad I am out of fuchsia Setacolor paint, it's a new favorite.

Tuesday, October 22, 2013

Projects using stencilled felt

Yesterday I posted some pictures of felted wool that I had stenciled with Decolourant. Here are a couple pieces that I made with them.

I did a little hand stitching on this one, which I think added a nice pop of color but makes the image look less like a rose, which was the stencil.  I think I may add some accents with a fabric marker.


This one is pretty small, maybe 4" high. I love the circle stenciled wool. I still think it needs a little oomph.

This one doesn't have any stenciled wool in it. The top was a wet felted piece of cherry blossoms, but the overall design wasn't well balanced, and didn't really have a focal point.  The bottom is a piece of soy silk paper I made last week. I put a layer of felt under the silk to try to make it the same thickness as the top portion, but it's still a bit skinnier at the bottom.
After making these, I decided that trying to fold the wool around the wood house shape was not a good idea. I am going to work on some flat pieces, maybe try some abstract landscapes. I have a bunch of tarnished silver trays I bought to use as frames and I think I will try them with the patchwork landscapes.

Monday, October 21, 2013

Stencilling on felted wool with Decolourant Plus

I was really into making things with felted sweaters a few years ago. Now that I am felting wool roving, I figured I could work on ways to incorporate the two. I have two tubs of felted sweaters under one of my work tables and would love to get it down to one. I went through my tubs lopping off arms from sweaters and found some ziplock bags full of scraps as well.

This picture is a small representation of my selections. They almost fill one of those giant blue Ikea bags. I included some wet felted pieces that were just textured or multicolored, but also included some of my wet felted representational pieces that I thought weren't too successful and some fiber/"felt" papers I made last week.

Here is my Decoulorant stash. I find it sad I had all these and have only used the Spray previously.
Bright 3 set, Primary 3 set, metallics 3 set, regular Decolorant and the spray.

Here is my pile of stencils, some handmade, most commercial.


Here are samples of some of my stenciled felts.  The swirly design is an old fashioned wire whisk.  I really liked the small circle stencil, as you can see. There are some that I stencilled that didn't make it into the picture.

I started by using a foam brush to apply the paint, but it wasn't really right for the job. I ended up using sponge make-up wedges to pounce the paint on, and that worked much better.

Decolourant is supposed to replace the color on fabric (and it says that it works on wool) but mainly it just looks like paint on these. I don't know if it the the fuzziness of the wool or what, but it looks applied and not embedded as I expected. I am thinking of mixing some with water in a spray bottle and see if that helps. Decolourant does carry the colors already in spray bottles, but I don't feel the need to buy more since my stash of Decolourant is already pretty big.  The blue and purple are really dark and I mixed the blue with silver to lighten it up.  I plan to add more layers, either with Decoulorant, paint, or markers. 

I did make a couple small pieces with these, which I still think need a little work, but have ideas for other things to try. I will post my first trial pieces tomorrow.

Update 2/15/2104: I used a couple of these pieces without rinsing out the decolourant. I finally bit the bullet and washed these (in the machine on delicate/cold water, skipped the rinse cycle - there were too many for me to want to wash them by hand).  The results were a mixed bag, on some - the color almost washed away completely, some look like it's just paint on it, and some looked correct - like the original color was replaced by the decolourant.

Purple pieces look painted on.  The green pieces aren't too bad. On the blue piece on bottom right, almost all the red spirals(made with the whisk) washed away. The blue in the middle left used to have really strong small red circles on it, and it looks very faded now. Even the ugly orange on yellow is barely there anymore. 


My recommendation is to use a stiff brush and try to get the decolourant into the fibers as much as possible. If they are just laying on the surface, it may not do much.  I am fairly dissatisfied with this result. 

I did buy a different product called "catch and release" from a vendor that specifically works with wool. I bought some wool material from her as well, and the catch and release product worked well on her wool.  It could be that the dyes in the sweaters are not compatible with this type of color remover. I did a small sample on a turquoise sweater, and it turned a funny gray color.  I plan to experiment more with this new stuff. She said that fabric paint can be added to it so the color is replaced.