Thursday, August 28, 2014

Art Experiment, Liquitex Pourable medium combined with paint and poured on canvas

Art Experiment is a a series of posts using supplies which I own but have rarely (or never) used. Failure or success is not important, it is trying something different and seeing what can come from it.  There are three goals: try something new, use something in my supply stash, and have fun/experiment in the studio.

After using some Liquitex Pourable medium as a top coat last week, I went on YouTube to see videos where artists were using it mixed with paint and poured on canvas. YouTube is a dangerous place and it really made me want to try this technique, which means I needed another bottle of this medium, since the 1/2 bottle I had remaining was not going to be enough.

My first experiment I did in the backside of a wood panel. I painted the interior white and the edges black.  I added a bit of paint in different squirt bottles, a mix of about 90% medium to 10% paint, but I just eye-balled it (I did not measure anything).

I poured in a few puddles of color, then tilted and turned the piece to have the colors move. This is what it first looked like.  As the colors continued to move, it looked almost all orange.
 After it dried for a day, I added a second coat. Here are my puddles before tilting.
I used quite a bit of clear medium, I was hoping for the first layer to show through in a lot of places but as you can see in the next picture that did not happen. I'm a little sad since it did look better with only the first coat.


The next day I moved outside to work with pouring the medium over the canvas.  I put some rods across my work table, then a plastic painting drop cloth.  The medium pulls off of plastic pretty easily, but adding the rods helps so the medium doesn't puddle around the canvases.

I did use a lot of clear medium (without paint) on a lot of these pieces. I put puddles on the canvas, then lifted it and tilted it so the paint would run.
I added some drips. I should have waited a bit to do this as they ran a lot after I took this photo. Also, my plastic drop cloth blew over this piece and it pulled off some of the dried medium, and basically ruined it.

Blues and black, and clear


Lots of colors and clear


After making quite a few canvases, I had a lot of colored medium on my table. It looked interesting so I smushed some canvases into it to pick up the colored medium. I really enjoyed doing it and the results were interesting. By the way, I made a mess during this whole process. Not only on my table, but on myself and my clothes. It can probably be done inside if you are careful, but I enjoy not having to worry about it so I just work outside instead.  I think I would probably wear disposable gloves though.  This stuff was sticky, and it was like peeling dried Elmer's glue off your hands.

The big one is a poured piece. I think it looks very interesting. The small one in the left corner is one I smushed into the paint on the table, then I tilted it so it ran down the piece.

Here are some pictures of the final pieces.

Using the pouring method:


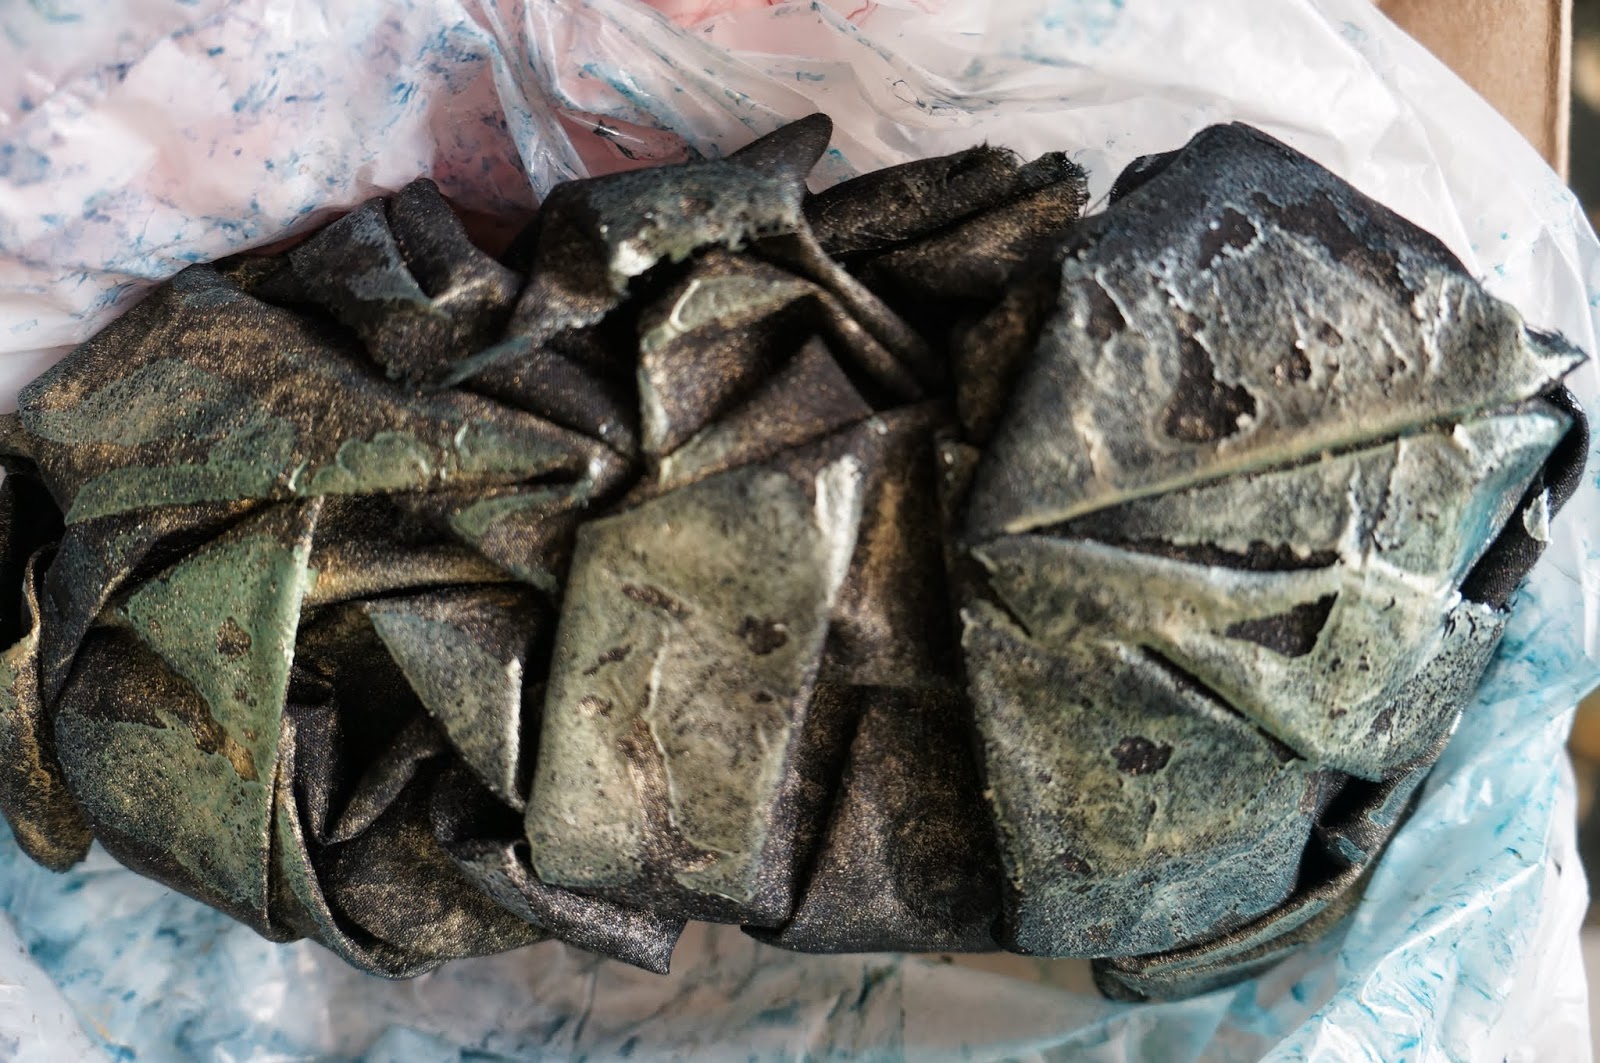
Smushing into the leftover paint/medium on the table:

Closeup.


I like them all. I really enjoyed smushing pieces in the paint puddle and seeing how they would turn out.  I also like the broad areas of color on the poured pieces. I am thinking of using the 6" x 6" square ones, which are a little boring, as backgrounds for a fabric collages.

Tuesday, August 26, 2014

Weekend in Denver

This past weekend, I headed back to Denver to hang out with my friends and also share a booth with Susan and Bill at the Denver Modernism Show.

Here's a picture of Susan and I in the booth.

The sunset from the National Western Stockshow Complex on Thursday night was beautiful.

Saturday night we had sushi for dinner, then went for drinks at Adrift, a tiki bar.

Our group picture at the bar was photo bombed by some drunk girl from Michigan. She insisted on being in it and the poor girl taking the picture was stuck waiting while the Michigander told us her whole life story.

Sunday at the Modernism show, there was a car show as well.  It was a fun photo op, but the lighting was pretty harsh.


I had a fabulous time with my peeps, Susan, Sabyl, and Melanie!  And a shout out to Bill for being a great booth-mate at the show.

Friday, August 22, 2014

Art Experiment, Liquitex Pourable medium poured on canvas

Art Experiment is a a series of posts using supplies which I own but have rarely (or never) used. Failure or success is not important, it is trying something different and seeing what can come from it.  There are three goals: try something new, use something in my supply stash, and have fun/experiment in the studio.

I have a bottle of Liquitex Pourable Medium in my stash. I don't know why or when I bought this, but thought I would use it as a clear glossy topcoat on a piece of art.  Here is the piece I am using, which is a gelli print mounted on black canvas.


I put my canvas on painter's pyramids so I could see and take care of any drips that go down the sides. I used a paint brush to apply the medium to the sides. I then poured the medium over the top. I was disappointed because the medium did not self-level, but I think this is because it is old and has gotten a little thick over time.  I had to add more dots of medium wherever the coat was thin since it didn't level out by itself.  Since it was thicker, it stayed on the top and did not drip down the sides much (which I just brushed smooth).

Here it is with the coat of medium. The top edge toward the left looked kind of jagged when it dried. I also hadn't made sure my art piece was level so the medium was a bit thicker in this corner. (Next time I will watch Youtube videos before trying something instead of afterwards. I would have seen that leveling it was important). I tried to fill in this jagged edge after it dried but it didn't look very good, so I ended up adding another full coat  to it to fix this.

I still have a 1/2 bottle of this medium. After watching Youtube videos,  I am excited to try mixing this with paint and pouring it over canvas.  I will need to buy another bottle to try this other technique, so I can have multiple colors to pour.  This medium is expensive, about $14 for 8oz. so I think it's a bit expensive to use it for a top coat. But it did dry to a nice finish.  I think the coat may have leveled out better, but also drip down the sides more, if my bottle was new.

Wednesday, August 20, 2014

Revamping thrift store finds with spray paint

Spray paint is great for sprucing up a thrift store find.  I have been hunting for an interesting plant stand that would hold a large pot for a while now. I ran across this "faux bamboo" plastic plant stand for $2 at the local thrift store.  It breaks down into separate pieces which made it easier for spray painting.

After a couple coats and re-assembly, it looks very nice,

And fits my plants well.


While I was at it, I found this plastic "faux bamboo and rattan" mirror.

I gave it an orange paint job. I know some people will think this is a horrible color, but I plan on having an aqua/orange color scheme in the basement bathroom.  I will take it to the Modernism Show in Denver, but if it doesn't sell, it's going in my bathroom.

Fixing up a thrift store find is a great way to find an item for your home and putting your own mark on it. I may paint colored stripes on the plant stand legs (or yarn bomb them) to add some more color to the room.

Thursday, August 14, 2014

Art Experiment, fabric pounding with Jacquard's Sherrill's Sorbets

Art Experiment is a a series of posts using supplies which I own but have rarely (or never) used. Failure or success is not important, it is trying something different and seeing what can come from it.  There are three goals: try something new, use something in my supply stash, and have fun/experiment in the studio.

This experiment will be fabric pounding with Jacquard Sherrill's Sorbets. I think I can easily use up the eight small bottles I inherited.  These are discontinued, but considering they are pastel colored, I don't think I am going to want to buy replacements anyway. In addition to these, I am also adding some metallic paints. The fabric pounding tutorials I looked at included a metallic and I liked their results.


I am using these two blog posts for my "how to" reference.
  • And then we set it on fire...:  http://andthenwesetitonfire.blogspot.com/2014/04/pounded-fabric-process_29.html
  • Wil's art:   http://wilopiooguta.blogspot.nl/2014/04/pounded-fabric.html


Here are the fabrics I used. One is a commercial fabric I over-dyed blue.  It was in my discard pile so it is no problem if it still looked horrible in the end.  I also used an ice-dyed fabric, and this dark magenta(?) fabric. The magenta fabric is one I dyed, but do not remember when or how. I am sure it's in the blog somewhere.  It may be polyester dyed with purple I-dye?
 
My pink Lumiere was dried up, so didn't get used on the purple fabric


I soaked my fabrics in water, and wrung them out so they were still damp/wet, but not dripping.  I put my paints in a plastic container, put my cheap paint brush (1" wall painting type brush) in the paint, and then use the brush to smush/pound the paint into the fabric, each fabric in it's own plastic grocery bag.

I also grabbed some black fabric. I did run out of the Sorbet paint before the last piece of black fabric, and I used Lumiere paints as well as gold and silver metallic craft paints on this last piece.  When I was pounding the paint on, the colors looked like peacock feathers, so took a picture of it wet.

The "how to" blog posts I referenced made it sound like I should let the fabrics dry slowly indoors, so I left them in plastic grocery bags for two weeks. I had them tied closed the first couple days, then untied them and rolled the plastic down a little bit for the rest of the time.

Here are my results:
The top one is my "peacock fabric". This is the underside where a lot of the pigments pooled, then dried.
After opening and ironing. I think this was the best one and it didn't have any of the sorbet paint, just metallics and Lumiere.
Closeup

Purple fabric after drying.
After ironing. You can see more of the pastel paints on this one.
Closeup


The paint is barely visible on this ice-dyed fabric, just some gold metallic is visible.


The blue commercial fabric with circles.  It looks like a lot of the paint pooled to the bottom. Maybe my fabric was too wet.  Regardless, it looks horrible and it went into the trash after these photos were taken.
After ironing.

This one turned out nice, although it looks like I just used white paint.

Closeup.

When I opened these up, before ironing, I was not impressed at all. The pastel colors seemed to convert to white and they just looked sad. The metallic one up top seemed interesting, but had lost so much of its' Lumiere peacock color. After ironing, I definitely like the ones on black fabric.


All in all, I don't think I will repeat this technique, the results are too unpredictable (and I do typically think unpredictable can be fun, but in this case, not so much).  Also, I am impatient and don't want to wait two weeks for my fabric to dry. I do think this technique is better with metallic paints on dark fabric, the pastel paints were pretty ineffective and either were unnoticeable, or looked white. That said, I did like the Mint and Tangerine paint colors straight out of the bottle. Not that it matters since these paints are discontinued.