Showing posts with label CO Mixed Media Club. Show all posts

Sunday, June 15, 2014

Colorado Mixed Media Club, June meeting, gelli printing

Yesterday for our June meeting, we did gelli printing. Sabyl showed us a way to do color block printing, including adding marks. 
 Demo pieces.

We played with this, as well as using stencils.

Here is Sidran with one of her works.


Here is Laurie, she wasn't too happy with hers...

Sue Clarke was happy, she did some lovely experimenting.

Two of Sue's pieces.

I didn't get a picture of Sue Shenk, but here are some of her works, and a close-up.


Sabyl's pieces.

 Here I am. Picture by Sue Clarke.

Here is my favorite piece. I will show some others in a separate post.

I did not get a picture of Susan and her work.

This is a great picture of Simone and Sabyl goofing around. Photo by Sue Clarke.

Sunday, May 11, 2014

Colorado Mixed Media Club May meeting: stencils and gelli printing

Saturday was the May meeting of the Colorado Mixed Media Club. May is a pretty hectic month, so we did gelli printing with stencils, which we've played with before. This time, we made our own stencils using a thin graphic (mylar type) film, and made prints using a Gelli plate and open acylic paints.

Here are a bunch of Sabyl's stencils
 

Sabyl's plate while she is laying down stencils.

Here is one of Sabyl's demo prints.

Here is one of the stencils I made (using a photo of myself). This is after I printed with it.


My stencils of cone flowers.

Laurie at work.


Laurie's print.
Another of Laurie's.

Enid reviewing her prints.

Three prints of Enid's.


My print with my face stencil. I printed this on some canvas paper that already had paint on it.
My cone flowers.

The turquoise is a print from a flower stencil, printed on pre-painted freezer paper.

Susan's print using my stencil.


We had a good time, and I want to make some more stencils. The film we used was easy to cut, because it was very thin.

Wednesday, March 12, 2014

CO Mixed Media Club, March meeting - polymer clay tiles and collage

This month, our project (lead by Susan) was making and incorporating polymer clay tiles into collage.

I have a love/hate relationship with polymer clay. I like the results but just find it too time consuming to bother with (the conditioning, rolling, forming, baking, and sometimes sanding is just too much).

But here I am happily smushing my rubber stamps into clay.

This is the one I was smushing. I cut it into a couple different rectangular tiles.

Here is the gang working hard. Laurie, Sidran, and Susan.

And Trish and Enid.

Here you can see the start of Enid's piece with painted sea and sky. I wish I took a picture with the cool boat she was planning to collage onto it.
The green tiles are Enid's, for her ocean themed collage.  The hands and black tile are mine.

 Here are some of my black tiles with gold Rub-n-Buff, and one with turquoise patina.

Here is Sidran's collage in progress, with polymer clay face.

Here is a collage of Trish's.

 Trish's second collage with polymer clay tile (center bottom).

Susan's tree, with polymer clay faces and star.

A collage in progress by Laurie.

Laurie's collage, I think the 3D pieces are wood. I know Laurie did some polymer clay pieces, but don't have pictures of them.

I didn't get around to the collage part, I just played with clay all day! I made some cute little houses, but didn't take pictures of them.  A fun clay play day!

Monday, February 10, 2014

CO Mixed Media Club, February meeting

This Saturday was our February meeting and we did a couple interesting techniques with stencils.

One technique was to put a citrasolv paper or magazine page on top of the stencil, and sand the page to remove some of the paper where the stencil design was.  These four are on citrasolv paper. 


The other technique was to put the citrasolv paper or magazine page on the table, face up, then put the stencil on top, then put packing tape over the surface. Then soak it in water for a few minutes, take it out, and rub all the excess paper off. Paper will remain where there are holes in the stencil. Then pull the tape off of the stencil. The tape pieces should overlap at least a 1/4" to help prevent the tape from ripping when you pull it off.   The big 12" x 12" stencils took a lot of muscle and work to get the tape off.  I definitely recommend trying it with a small stencil first. I struggled with this one for at least a 1/2 hour, but I love my chrysanthemums made from a newspaper with Chinese writing.

Here is Trish's. Her paper pulled away from the stencil, so she has got a nice paper piece as well that she could use in collage.


Here are some packing tape designs of Enid's.
 
Here are Sabyl's Ginkgo leaves.

Laurie's polka dots.

 Enid's sanded samples. Love the diamonds on the mountain!

 I think this is either Laurie's or Trish's sanded piece.

We also did some painting on Gelli plates, in layers, let the paint dry, then put packing tape on top. The paint is completely removed by the tape. This is Laurie's.

 Here Enid is laying the tape on her Gelli plate.

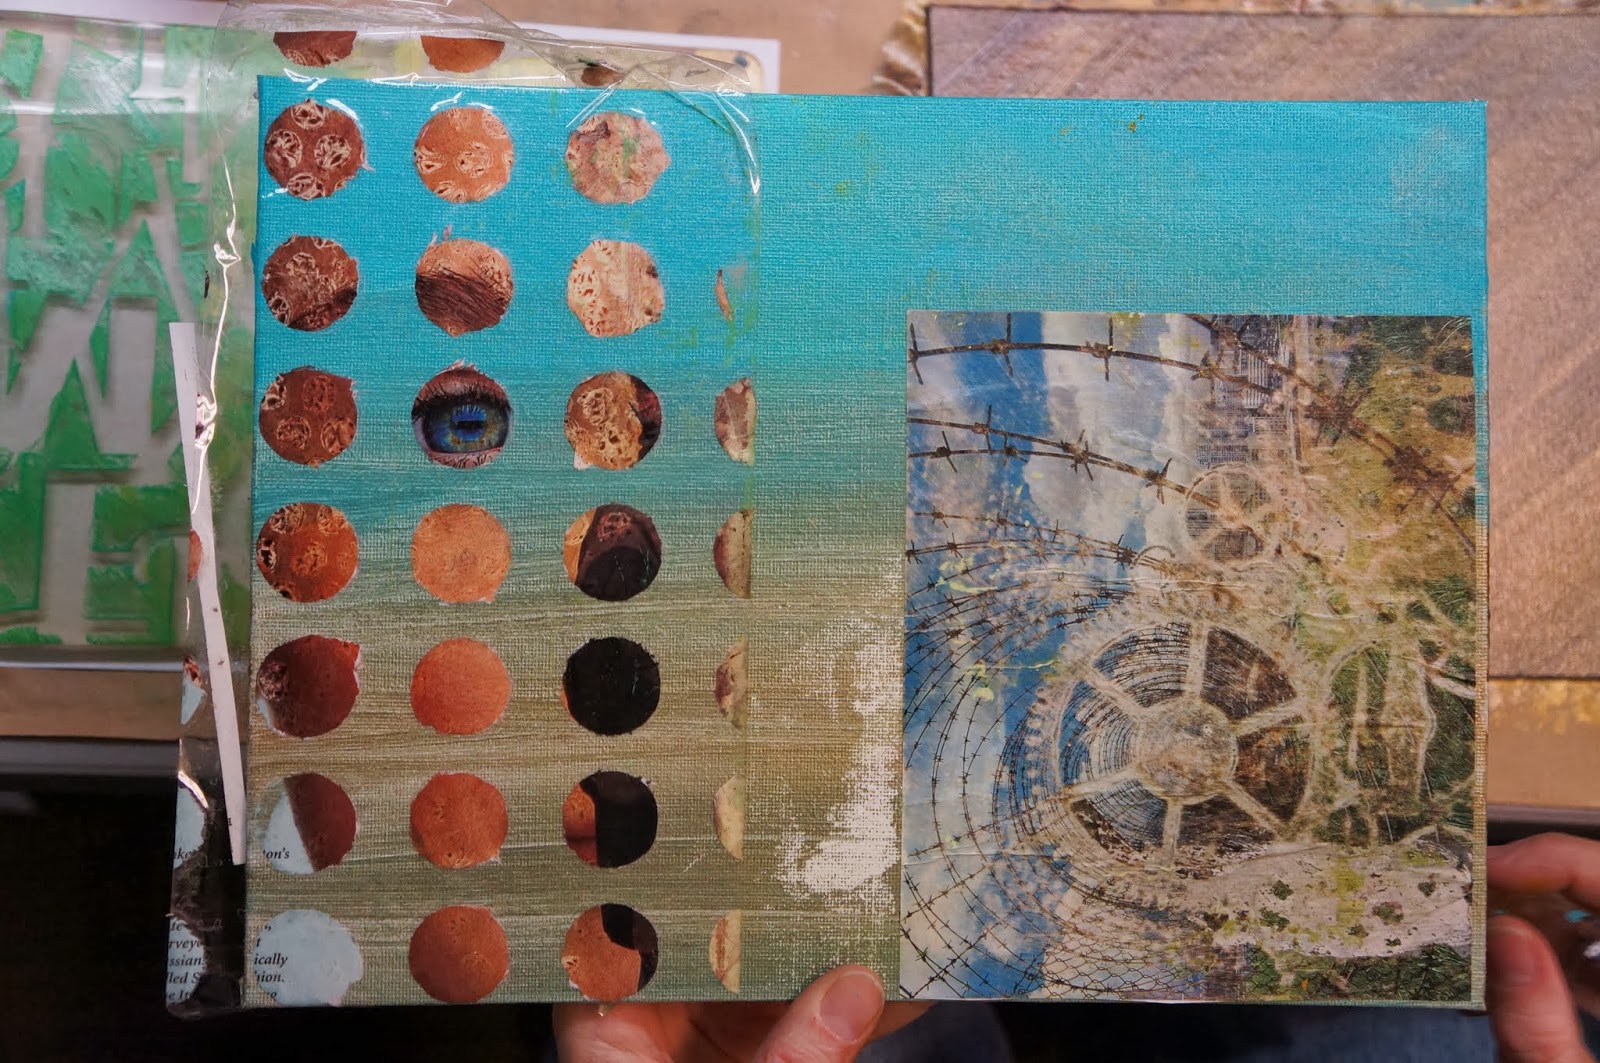
Some people even started working on a collage. Here is Liz's work in progress. It includes both the sanded papers and a packing tape gelli paint transfer (cut into multiple pieces).

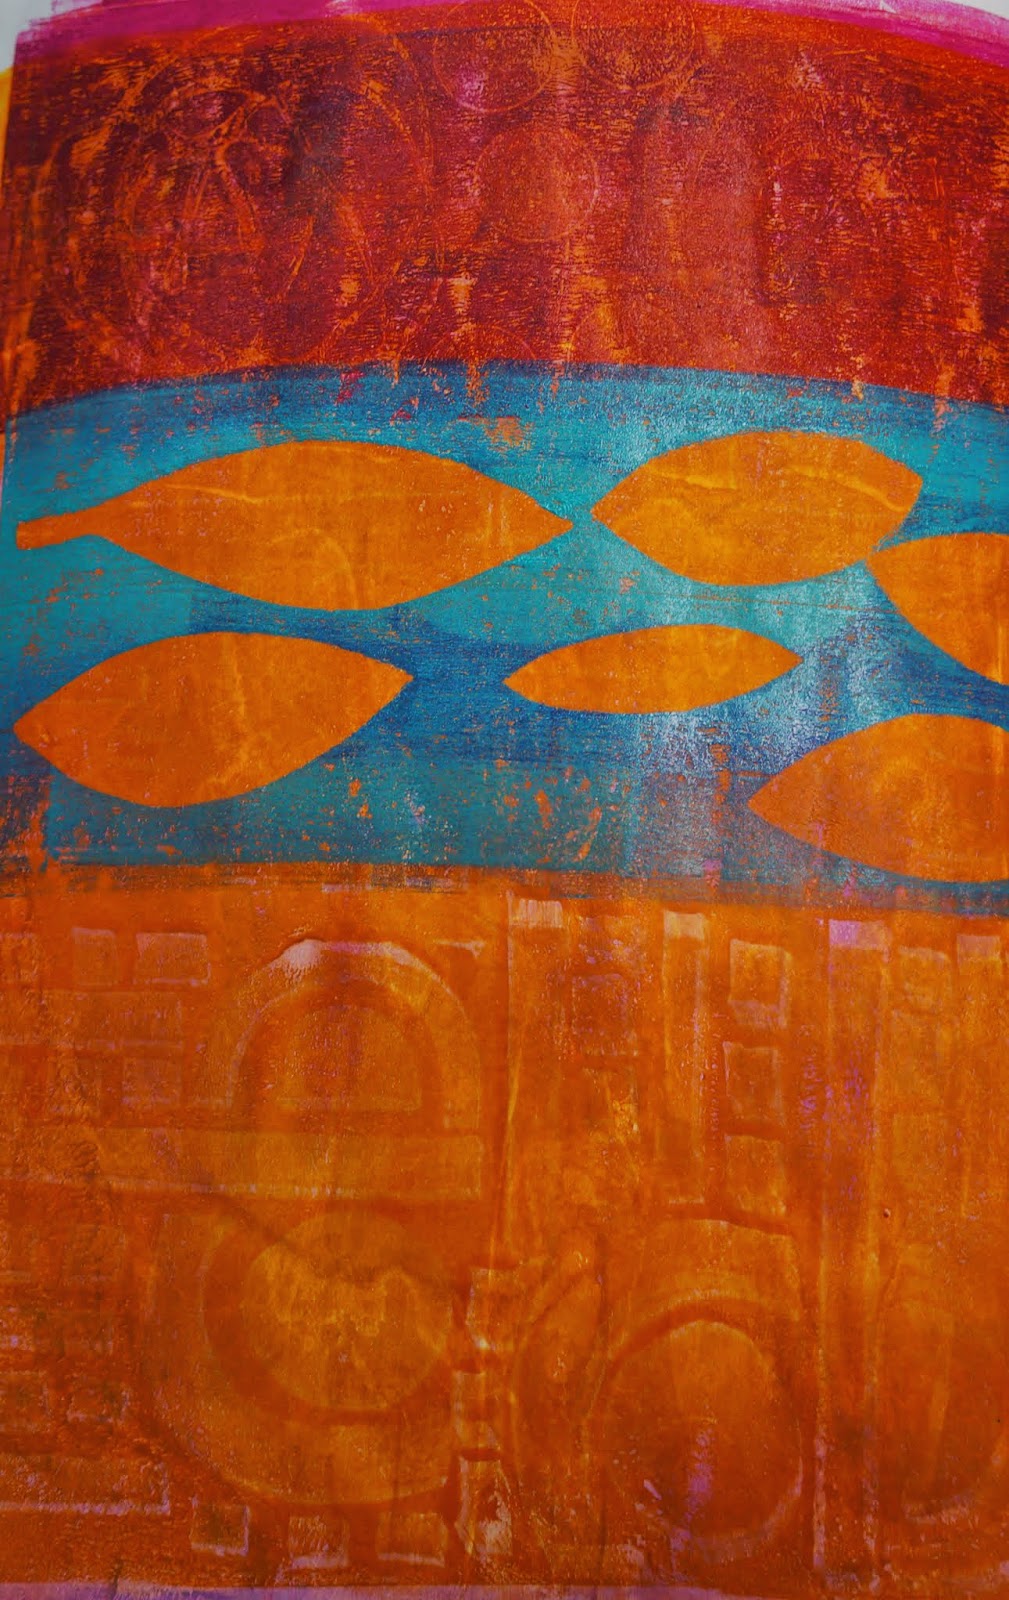
 Here is Gayla's. Love the tear shaped stencil tape.
 
 Susan's work in progress. I like the face on the tape stencil transfer.

Here are Sabyl's pieces that she made as demos. They are very different. The top on is mainly tape stencil transfers on a painted background.


I really struggled with my large stencil tape piece and it was a real pain to get the tape off the stencil. I will probably think twice before trying that again. The smaller stencils were too bad and I did quite a few. The sanding technique was super easy and quick, so it was a nice break from dealing with the tape.