Showing posts with label Citrasolv. Show all posts

Monday, February 10, 2014

CO Mixed Media Club, February meeting

This Saturday was our February meeting and we did a couple interesting techniques with stencils.

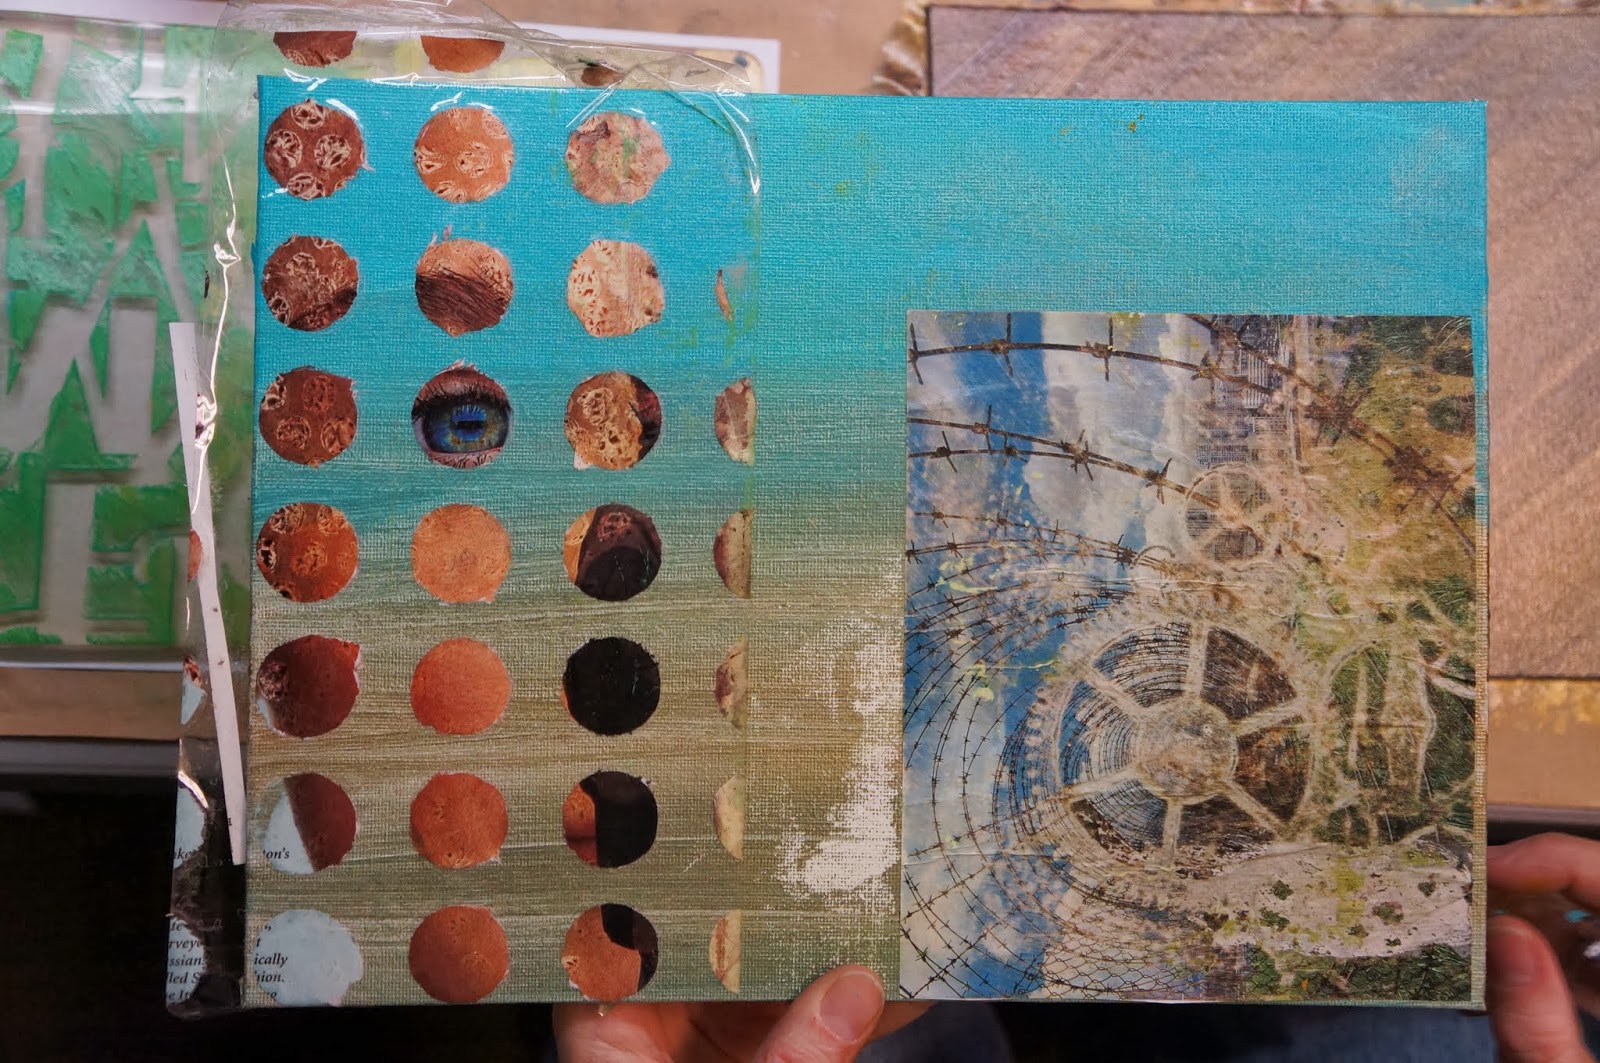
One technique was to put a citrasolv paper or magazine page on top of the stencil, and sand the page to remove some of the paper where the stencil design was.  These four are on citrasolv paper. 


The other technique was to put the citrasolv paper or magazine page on the table, face up, then put the stencil on top, then put packing tape over the surface. Then soak it in water for a few minutes, take it out, and rub all the excess paper off. Paper will remain where there are holes in the stencil. Then pull the tape off of the stencil. The tape pieces should overlap at least a 1/4" to help prevent the tape from ripping when you pull it off.   The big 12" x 12" stencils took a lot of muscle and work to get the tape off.  I definitely recommend trying it with a small stencil first. I struggled with this one for at least a 1/2 hour, but I love my chrysanthemums made from a newspaper with Chinese writing.

Here is Trish's. Her paper pulled away from the stencil, so she has got a nice paper piece as well that she could use in collage.


Here are some packing tape designs of Enid's.
 
Here are Sabyl's Ginkgo leaves.

Laurie's polka dots.

 Enid's sanded samples. Love the diamonds on the mountain!

 I think this is either Laurie's or Trish's sanded piece.

We also did some painting on Gelli plates, in layers, let the paint dry, then put packing tape on top. The paint is completely removed by the tape. This is Laurie's.

 Here Enid is laying the tape on her Gelli plate.

Some people even started working on a collage. Here is Liz's work in progress. It includes both the sanded papers and a packing tape gelli paint transfer (cut into multiple pieces).

 Here is Gayla's. Love the tear shaped stencil tape.
 
 Susan's work in progress. I like the face on the tape stencil transfer.

Here are Sabyl's pieces that she made as demos. They are very different. The top on is mainly tape stencil transfers on a painted background.


I really struggled with my large stencil tape piece and it was a real pain to get the tape off the stencil. I will probably think twice before trying that again. The smaller stencils were too bad and I did quite a few. The sanding technique was super easy and quick, so it was a nice break from dealing with the tape.

Tuesday, August 13, 2013

Paper Collage with CO Mixed Media Club

For this month's meeting, our group did painting/collage similar to Elizabeth St.Hilaire Nelson. Her website is here. 

First, we did a basic painting so we had a guide for where to put the colored papers.

Here is Sabyl's example she had made earlier in the week.  She did not completely cover the background painting with collaged papers, but let the painting show through.

Here is Sabyl's work in progress on her new piece. She is collaging over more of the painting on this one.

This is Simone's. I love the sewing pattern showing through on the lower right corner.

 Gayla's is bright and cheerful.

Sue Clarke's little birdie is the cutest.

Enid has a fun hedgehog.


Trish has her underpainting done. So happy!

I am working on a sunset and it looks horrible right now but I have high hopes. I collaged the lower landscape and top sky with citrasolv papers, but still have most of the sky to complete.

This was a piece I had colllaged with rice paper previously and it looked pretty bad. I have done an underpainting of trees reflected in a lake, but haven't started the paper collage yet.

We agreed to bring these back to our next meeting, so I will post update photos then!

Tuesday, June 18, 2013

Painting citrasolv paper at Second Saturday club

At Second Saturday club we played with collaging and painting with Citrasolv background papers. See this link for making these papers.

Simone added doilies to what remained of Liz Taylor and painted over them.

Sue C had this lovely piece where the picture still partially remained and also had dissolved colors where a stencil had been. She also added some paint to this piece.

Another piece of Sue C's. The text was a rubber stamp.

Enid put a stencil over hers and rubbed away part of the color by using Citrasolv through the stencil, applied with a Q-tip.

This is mine. The top portion was basically untouched. The bottom part was white, so I added a horizon line and color/texture to the bottom portion.

Laurie collaged with hers.

 Sabyl collaged with hers too. I really like the white textured papers, which don't look like Citrasolv pages. I will have to ask her about those.

We had a lot of fun. I have about 4 more that I started that I need to work on! 

Monday, June 10, 2013

Making paintings from Citrasolv papers

The other day I posted how I made abstract background papers using Citrasolv and National Geographic magazines.

I took some of these papers and mounted them to a substrate. Some are on watercolor paper, some are on masonite boards, some are on canvas. I meant to photograph the pages after I painted them in the same layout as the "before" pictures, but then took the finished ones to the art fair to sell, and so I will have to do my best.

Before picture:

The original is shown in the upper right. I painted the tree trunks and branches back in where they were missing, then painted a strong horizon line and darkened the lower half around the bubbles.

This original is shown in the bottom right. It was pretty blurry with nice color and thought it looked like trees, so I painted the trunks, darkened the edge around the foliage, and added a strong horizon line.(This is in a clear sleeve so there are some reflections from the ripples in the plastic).

Before photo #2:

The original is on the upper left. The woman's image blurred and got a mottled coloring, but was fairly intact. I painted the background around her to cover the text and provide good contrast.

This is on the upper right. It had a strong horizon and I thought it looked like a snow scene so added trees and snow.

This is shown on the lower left. I added a horizon line so it would look like a lake and did a wash over the foreground to look more like grasses.

Before photo #3:

The original is shown in the lower left. The horse was very blurred from the Citrasolv process. I wanted this piece to be cheerful and added a quin violet wash for the background.

Original is on bottom middle. The tall building did not get blurred but the foreground did. I added soft trees in the foreground and added clouds and re-touched the blue sky as well.

I am still working on the others...

My friend Heidi made some Citrasolv papers with me a couple weeks ago and she is working on collaging them on flower shapes cut from wood (still in process in the picture).

I went a little crazy making Citrasolv/Natl Geographic papers a few weeks ago. I think it will take a while to use the 150 plus pages I now have!


Wednesday, May 22, 2013

More Citrasolv papers

Last week I ended up doing two more sessions of making Citrasolv papers with National Geographic magazines.

Here are some additional pictures. I really like the ones where I used stencils or bubble wrap. Doing this technique outside was way easier as I could just spread the papers out in the yard. They do like to blow around a bit, but my yard is fenced so I wasn't worried about losing any of them.

Typical result.

With leaf stencil tucked in.

 Large bubble wrap tucked in

Flower stencil. This stencil had gold on it (Pearlescent brand ink?) from a previous project. The ink transferred to the magazine page.  This looks awesome. This stencil also had some green acrylic paint on it. It bubbled up on the stencil, but did not transfer. I tried to re-create this look by spraying tattered angels spray on my stencil and tucking it in, which worked okay, but not as good as this one.


Sunday, May 12, 2013

Citrasolv on National Geographic to make abstract papers

Yesterday I went to Susan and Sabyl's studio, and Sabyl and I played with Citrasolv on National Geographic.

Here is our table setup. You need something to protect your tabletop.  Sabyl had these nice plastic trays for us to work in as well, which worked great. We used foam brushes to apply the Citrasolv, but paper towels, or even just sprinkling it on would work. Make sure to use the concentrated Citrasolv (usually a screw top) and not the ready to use type (typically a spray top).  I put a lot of Citrasolv on mine, but it's a individual thing. We had stencils and bubble wrap that we stuck in the pages to make patterns. We also tried wrinkled plastic wrap but neither of us liked how those turned out.
The pages towards the front and the back of the magazine are ads that do not work with the Citrasolv. Some people just tear these out, but we found the magazine kind of falls apart and we would recommend leaving them on, so the pages stay in place a bit better while you are working. We just didn't bother putting Citrasolv on these pages, as they aren't going to be affected.  It is best to do this whole process outside or in a well ventilated room since the Citrasolv has an overpowering orange smell.
We put the Citrasolv in a metal (washed) tin since the Citrasolv dissolves some plastics (like the red plastic party cups). Since it does eat through some plastics, it could affect the plastic stencils as well. It seemed my newer ones were fine, but I had a really old one of thicker plastic, and it got a bit textured from the Citrasolv.

A lot of the pages have a lot of black ink so the final results will be very dark on some. If there were two pages facing each other that just had text, I would skip those as the photo pages made more interesting papers.

After applying the Citrasolv to all of the pages, we started from the front and went page by page. If we liked the page as is, we tore it out to dry. If it still needed more time, we left it in and went to the next page. The page that was skipped looked totally different the next time we looked at it. The more times we opened and closed two pages, the more muddy and mottled it became.
 Here are Sabyl's pages (Yes that is my finger at the bottom. whoops!).
Here are my pages. I used a magazine with lots of articles about fish and the ocean so I got a lot of blue papers. I got 48 papers out of one magazine. We ended up using almost all the floor space to dry papers. We used newspaper and kraft paper to dry these on. They do drip blackish Citrasolv, so the floor needed to be protected. The newsprint did not transfer to the Citrasolv papers and didn't really affect the back side of the paper so both sides were still usable.
 Here is what a lot of the papers will look like, kind of dark with bubble shapes.
 This one had a swirly stencil tucked in.
Here the Citrasolv only partially dissolved the ink so part of the original photo is still visible. I have a cool one where you can see a lady's clasped hands but the rest of her was mottled.
 Here is a plastic doily used over a close-up picture of a fish (the blue parts are his eyes).


I plan to do another magazine outside today on a piece of cardboard and just spread the pages on the grass. Not that I need another 48 pages, but it is so fun and easy.