Showing posts with label fabric collage. Show all posts

Monday, April 25, 2016

Fabric tree collages

A while ago I had made a layered piece with gelli printed interfacing as a top layer, which I then melted portions away.  You can see that post here.

I thought I would try this with a tree image I have been working on, and use free-motion stitching instead of hand embroidery. Here you can see the different components. I have a painted canvas for the background. The leaf canopy and tree were fabrics I painted in a Jason Pollen workshop a few weeks ago. The interfacing layer is a gelli print I made a while ago. I used fusible web to iron down the yellow tree canopy fabric. I won't iron down the tree trunk until I have finished with the interfacing layer. 

When I put the interfacing over the yellow fabric, I am pretty sad that my painted fabric is pretty much hidden. Next time I would probably just grab a fabric from my stash and not use something I hand painted.  I then took this "sandwich" to my sewing machine and free-motion stitched on it.

What I learned as I went along:
  1. The interfacing melts a lot better if the free-motion stitching is fairly open. Tight stitching really prevents it from melting.
  2. If I cut slits in the interfacing where I want it to melt away, it does help. I just used a seam ripper. I wanted to make sure it melted where I have sky openings in the tree canopy.
  3. Sew right along the outside edge if you don't want the background fabric visible around all the edges. 
  4. Use lightweight interfacing. The heavy stuff does not like to melt and is some places the edges looked light brown/slightly toasted. 
Remember to always work in a well-ventilated area and wear a mask to block any fumes.

As you can see I played tree trunk swap and decided to use this magenta/purple one instead of the red one shown in the previous picture, since the gelli-printed interfacing had a touch of purple.

And here are a bunch more. This one has the heavy interfacing.


I did free-motion stitch around the trees and branches after I ironed the tree trucks down.  I really like the following two where I used colorful thread for this, instead of dark gray.

This one was the first one I stitched the interfacing on. I did the stitching very close together, so the interfacing did not melt much.


I love how they turned out, although there were a lot of steps and work involved.  I did use my Scan'n'cut to cut the tree canopies, but hand cut the tree trunks. These are roughly 8" x 10". I think I will work on a larger one next!


Monday, November 2, 2015

Layered and painted fabric landscapes

It has been a while since I have posted. I have been working on art pieces since my last post, but I feel like I have been spinning my wheels.

I had been thinking of just posting finished work on the blog, but then my posts would definitely be less frequent, so I shelved that idea.

A while ago, I created some patchwork backgrounds that I planned to paint, see here for the original post.  My original thought was to have a dripped paint effect, but decided to do some abstract landscapes on some of them.

For my first paint layer on two different pieces, I used watered down acrylic paints. When these dried, they dried much lighter and I decided they needed another paint layer. I switched to Setacolor paints because I know how they behave on fabrics and I could get the colors I was looking for.
 Here is the final piece. I plan to add some stitching and some additional fiber layers to this.

Another piece started with acrylic paints. This is when it was still wet.
I did add another coat of Setacolor blue for the sky.  I like how the brown migrated in that one strip of fabric above the horizon, as it looks like trees. I plan to add some opaque paints to add a bit more realism.

And the third one. I love how the diagonal piped fabric at the bottom gives the look of a farm field.
All of these need more work and details, but they are looking good so far.

I did try dripping paint on another piece, but it looks horrendous. I also worked a bit on the last two patched backgrounds, but I was experimenting and they are pretty awful. I won't be showing them on the blog until they make a turn for the better.

Monday, September 21, 2015

Leaves, fabric collage

I while ago I had made this fabric collage with different fabrics, sun printed it with Setacolor paints, and then free-motion stitched the leaves onto it.  You can see that post here.


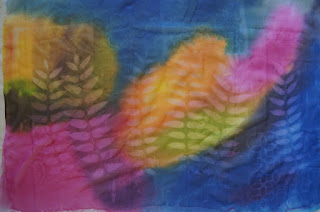
I wanted to create a companion piece with more color. I sun printed leaves on two layers of fabric, a polyester sheer (shown here),

and a heavy cotton canvas (below). As you can see, the paint did not completely cover the canvas. I went in afterwards and covered any white canvas areas with paint. 

When I was testing the sheer over the canvas, the canvas seemed too bright for the background, so I applied a coat of transparent Cerulean blue over the entire canvas. The yellow areas became green, and the magenta areas are a dark blue-purple. I then free motion stitched around the leaf patterns that were printed on the polyester sheer, and cut around the leaves to expose the canvas. I wrapped the fabric around a 15" x 30" canvas and stapled it on the back side.


Detail.

I love to combine color, pattern, and fabric.


Monday, September 7, 2015

Me and my crazy ideas, white patchwork backgrounds

I got it in my head that I wanted to use layered fabrics as the base for paintings.  My plan is to use white fabric, and when painting, save some of the white areas.

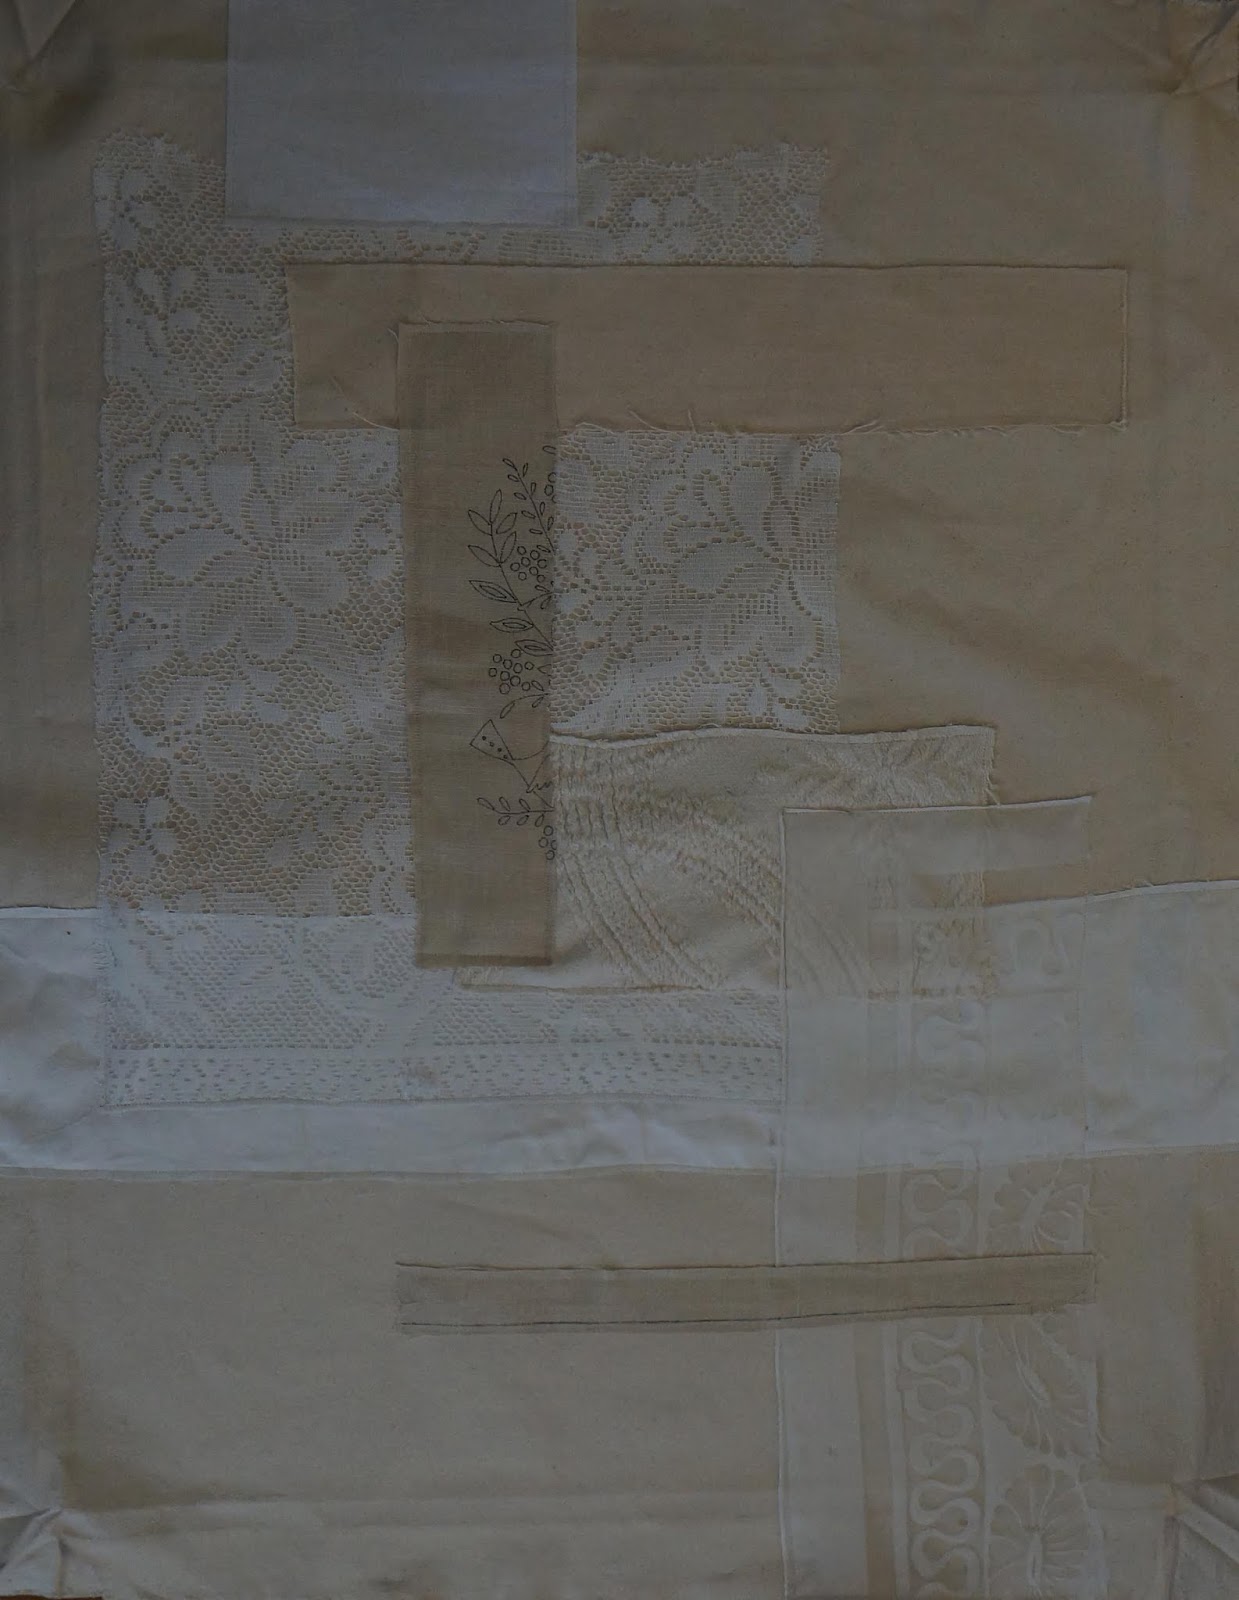
I worked on making my patchwork white fabric backgrounds first. These are fabric pieces laid on a base fabric and sewn down. The stitching and raw edges are visible.  I used a mix of textures and fabric types, including textured sheers, jacquard napkins and tablecloths, lace tablecloth (machine made), patterned sheer drapes, linen-type napkins, Ikea patterned fabric divider fabric, lace doilies, woven placemats, matelasse coverlet, etc. (It is amazing to me how I can find nice linens at the thrift store for bargain prices, I recently got a lace machine-made tablecloth, jacquard tablecloth, textured sheer, and many jacquard and linen-type napkins for $9).  I kept all the fabrics in square and rectangle shapes as the paintings will be more organic.


The problem with loving an idea is it is all too easy to go overboard. I started with making two big pieces, roughly 30" x 36", that could be wrapped around a 24" x 30" canvas.


Then I took some canvas I had previously cut to wrap 12" square canvases, and made six of them.  


In the continuation of my brilliant idea, I thought I would make somewhat smaller ones (10"x10") that could have a focal point, and I could cut it out in the focal point shape and sew it to another piece of background fabric. There are 8 of these. (I haven't sewn these down yet).


For the bigger ones I used a spray glue to tack down my fabrics prior to sewing. This glue is meant for fabric and I have to iron it to have the glue activate. For the smallest ones, I just used a dab of water soluble glue stick. I plan to break out my new walking foot and see if that helps keep the fabrics flat for the small ones. I have done some patchwork pieces like this before and I hate having "bubbles" in my fabric as it affects the paint.

Now I have to find the time to paint all of these.  I plan to gelli print some of the smaller ones.


Wednesday, May 6, 2015

Leaves, fabric collage with sunprints

A few weeks ago, I worked on a fabric collage, which I then sun-printed with Setacolor transparent paints and stencils (see post here).

I needed to have a focal point, so I decided to layer this leaf print (sun-print with Setacolor paints on polyester organza, from this post).

I liked the way it looked but the color was too much a solid green. The leaves kind of got lost and the bottom layer wasn't very visible.

So I used some sharp fabric scissors to trim around the leaves.

Finally, I wrapped it onto a 15" x 30" canvas and stapled it on the back side.

Monday, March 16, 2015

Painted Fabric Collage

This summer I bought this roll of 36" wide canvas at a "going out of business" sale. They said they used it for displays. All I know is I got this huge roll for $5.  I have been wanting to do some paintings on raw canvas as well as some fabric collage so this was a great find.

I have also been buying all kinds of "vintage" fabrics and embroideries at thrift stores and garage sales. For this first piece I sewed down a bunch of them, laying them out in the same way I would for a paper collage.

Then I took some "vintage" plastic doilies and painted blue paint through them.  When I add watery washes of paint later on, this thicker paint will act like a resist. I also used a stencil to create the red circular pattern, and corrugated cardboard for the lines in the middle section. I did repaint the red circles by hand, because the way I "printed" the stencil, it ended up being a very thin application of paint.

I then painted the piece with Setacolor transparent paints, pinned stencils on top, and set in the sun to dry.  I think it turned out very nice.
Details.


This is the second piece that I worked on.  Here is my fabric collage.  I had done some wonderful leaf sun prints this past summer, and my plan was to add one to this after painting it.

I painted this with yellows and greens, and a homemade black which leaned toward being purple. It made for a nice complementary contrast to the yellow.
Detail.


I still need to add the sun print to the green piece. Both of these will be stretched around a 24' x 30" canvas, so they will be smaller than the full canvases shown here.

This canvas is very thick and trying to just sew straight lines on it was a pain since the piece was so big.  I don't think I will use this canvas if I plan any pieces with free-motion stitching as it is just too hard to move the fabric around while sewing.

I do plan to do some smaller pieces that may are may not have fabric sewed on them.

I haven't blogged much recently as I had vertigo for almost two months, so I haven't been able to do much art lately. But I am feeling almost completely better and am so happy to work on projects that I have been thinking about the whole time I was under the weather.

Monday, November 10, 2014

On my work table

Between renovating a bathroom and increasing my hours at work, I haven't blogged in quite a while. I have not finished any art in the last two weeks, but I have quite a few in process so I thought I'd show what I am working on. I will do bigger posts on each when I am done.

This is an fabric piece made from polyester fabrics, lutradur, and gelli printed interfacing.  I plan to do quite a bit of free motion stitching (with cotton thread) and then will zap it with a heat gun. I think it's looking pretty good. I may add some paint after zapping it as I think it needs more contrast.

I am working on collaging gelli prints on this storage box. I just  need to find my Dorland's wax so the edges don't get stuck together when it is closed, otherwise this one is done.

Then I decided to pull out my felting supplies.  I thought they were all in one large plastic storage box. But once I pulled out all the supplies, this is the pile.  And there are still a few things I haven't found (must be stored in the garage somewhere), like my favorite roller and my sprinkle bottle for soapy water.
Here are my felting experiments.  I am working on making some felted cuffs/wrist warmers, but also did some experimenting with nuno felting and resists.  The ones with the balls tied in them are not fulled enough to remove the balls. I plan to cut them open so you can see the interior.

These are the projects I have in progress. I expect things will be busy until Thanksgiving. By then, I hope to have the clawfoot tub moved back in the bathroom, instead of being in the middle of the living room (where it was moved to allow the bathroom floor to be tiled). And hopefully, we will have the new vanity installed by then as well.  December will be another wave of craziness as we have the basement remodeled.  I may have a studio of my own by spring (at this rate).

Monday, August 11, 2014

Fabric collage

Back in April, I took a class with Cas Holmes, and I finally have some time to explore some things.  I love the colors and patterns in fabric (either commercial fabrics, or my own dyed, painted, or surface designed fabrics)and am working on creating fabric collages with free motion stitching, and/or hand embroidery.

For these pieces I layered different fabrics and glued them to one another using fabric medium.  Fabric medium is not a super strong adhesive, and I could pull the layers apart if I wanted to.  I had previously tried this with watered down PVA, but thought the glue was too plastic-y, and I had a lot of trapped air bubbles which didn't look very good.

Here are my glued pieces.  I think this adhesive worked great on cotton type fabrics, but the polyester sheer looks strange and plastic-y.  The thick pink crocheted piece did not glue on at all.  I plan to work on machine stitching and embroidering on these, but think they are a good start.


This one has air bubbles/wrinkles in the pink shibori area