I forgot to take step by step photos. I put down two base layers of white roving, the second layer is perpendicular to the first. I then used colored roving to "make" my picture. I used blue roving and some blue silk hanky (the darker blue) for the sky. I added some green tencel or bamboo to the green roving for the grass. I don't know what kind of wool the black was, the fibers were really smooth, maybe it was merino? The reds are a hodge podge, I had bought some fiber packs that had curly wool, angelina etc mixed in it, as well as adding wool and more angelina from my stash. There are at least 6 different fibers in the red section. I did include some Nylon dyed fibers, but they were molting off the piece when I was felting it.
Here it is prior to felting.


Moy used a bamboo mat and garden screening for felting, but I used bubble wrap and fine tulle.I place tulle over the whole thing. I poked holes in the waterbottle lid and just used 1/4" of dish soap with 1/2 bottle of hot water.

Moy used a ribbed rolling pin, but I used this firm plastic roller someone gave me (for polymer clay?). After the rolling pin, the whole thing gets rolled up and rolled a lot, rotated 90 degrees and rolled, again, and again, and again.

Here it is after the whole felting process. I plan to do some machine and hand stitching, as shown in the book. It has a rippled texture on the whole piece that I don't quite like. Does anyone know how to prevent this or fix it? Maybe it was the bubble wrap. I will try to find a bamboo mat and see if that prevents it on the next one. I will try to take some better pictures next time the sun is out.


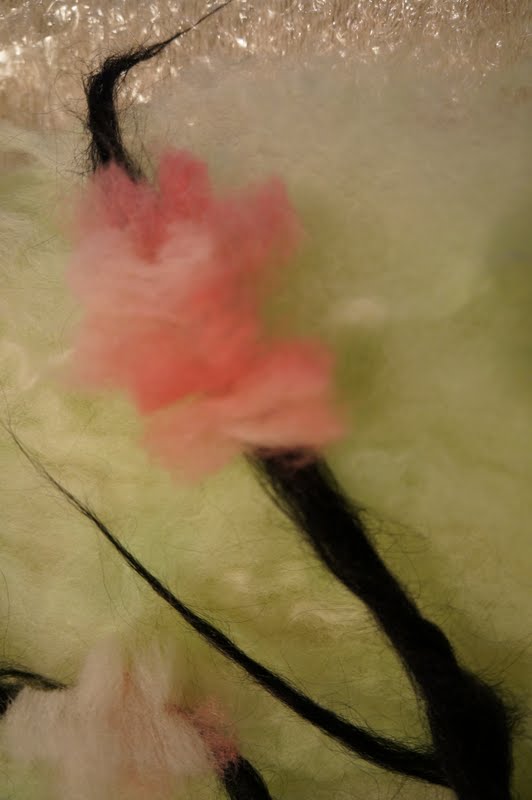
I also did some cherry blossoms. This one did not turn out as well, but I think with some machine and hand stitching I can give it a wow factor. I feel if I had used a blue sky it would have had more pop.

I cut cherry blossom shaped out of roving, but they lose there edges after felting.
The ripples are driving me crazy. I need to find a way to unripple it.

I plan on doing some smaller abstract pieces next week, if I can find space to do it as we are renovating the kitchen. Eeek!
I love what you have done, I as got moys' book and am inspired also
ReplyDeletesue-ellen
I love Moy's book! I am looking forward to doing more felting now that winter is upon us (we have a high temp of 11 today).
DeleteYou've probably already found out, but you can use a steam iron to iron your pieces and get some of the ripples out. They turned out great!
ReplyDeleteThanks Laura! I just didn't think of that. I wet felted a piece with goldfish in it, and used the wash machine to felt it. It is super wrinkly, so I will definitely try the iron on that one. I was able to flatten the red trees pretty well. The cherry blossom one I ended up cutting up into a wool collage and the wrinkles are less obvious.
ReplyDeleteThese are lovely Ginger, I have Moy's book also and it has some fantastic pictures. I made the one with the shoes as a present and have framed it. Also made a picture of a cupcake and cup and saucer as a framed picture for my daughter. She was pleased with it but it didn't turn out as professionally as Moy's of course! Re the rippling, did you keep turning your piece in between rolling? This should help. I don't tend to use bubble wrap so much but lay a piece of fine net curtain on top of the work and roll in a bamboo matt. Hope this helps.
ReplyDeleteMarlene, I have switched to bamboo mats and that helped quite a bit with the 3D rippling, but the fibers still have a rippled look (and I do turn my work often). Maybe I need to do more rubbing before rolling. I would love to see your cupcake and cup and saucer!
ReplyDeleteLay the bubbles down with fiber on flat side, that helped with a smoother look.
ReplyDelete