Tuesday, November 19, 2013

The Seine, 1994


I should be back to my art posts in the next day or two, until then, here is the Seine from a Bateau Mouche in Paris.


Paris, 1994


Monday, November 18, 2013

Louvre, 1994

I'm still under the weather, here is another photo from my collection.

Near the Louvre, 1994

Saturday, November 16, 2013

Paris, 1994

Pont Alexander III, Paris, 1994
When I was finishing college, I decided I wanted to go to Europe for a year. Not having any money, I thought I would Au pair.  My French professor told me about a teaching exchange program (teaching American culture and American pronunciation in a French high school) that he thought would be better. And boy was it!  I had only finished a French 204 class, so it's not like my French language skills were great, and the application had to be written in French.  I wrote my application long hand, and my French professor typed it up and submitted it for me. Maybe he improved my grammar along the way? I don't know.

My French professor was also leading a trip for a French immersion one month study in August in La Rochelle, France. I decided to sign up for that, and if the teaching exchange fell through, at least I would get to go to Europe anyway. Sometime that summer, I moved in with my parents on Long Island. Two weeks before I was to leave for the French immersion class, I was notified I was accepted into the teaching exchange program. It was a good thing I was on Long Island, so I could go to NYC to apply and get my French Visa so quickly (it took two trips, the French love their paperwork).  Things really worked out well.

I had my immersion class in August, and my teaching position started in October. For the month of September, I rented a dorm room from a school in Paris (the details are vague after so many years). I didn't really have much money, but I would wander around Paris, going to museums and taking photos (and eating French pastries). My teaching position was in the suburbs of Paris, and I would go to Paris at least a couple days a week to play tourist. I would travel to other towns in Europe during school holidays, and traveled for a month after the school year was over.

For college graduation, my parents had gotten me a really nice 35mm camera. My Dad swore I would lose it or it would get stolen while I was in Europe, but that was not the case. I came home with 80+ rolls of film when I got back. I did shoot some in black and white, like this photo.

This weekend, I have strep and I am brain-dead, tired, and completely unmotivated to work on art. I thought I would share a photo from my trip all those years ago and will probably share more every now and then. If anyone is interested in hearing more about my trip to Europe or seeing photos, let me know and I can post more.

(By the way, when I got back, my Mom recommended I develop 10 rolls of film a week and to put the good ones in photo albums. I must say that was fantastic advice. Not only do I have four large photo albums, I was also smart enough to write on the back where it was and who the people are. I am horrible with names so a lot of them would have been forgotten if not for this).

Friday, November 15, 2013

Square Exhibit, artist's reception tonight

I have artwork in the Square Exhibit at the Core Gallery and the artist's reception is tonight. I had hoped to be there tonight, but I am not feeling well so will have to miss it.

Here is information on the show.

November 14 - December 1, 2013
Artist's Reception: Friday, November 15th, 6 - 9 p.m.

CORE Main Gallery
SQUARE

Juried by Anna Kaye
CORE's final open entry exhibit of 2013 offers thoughtful, provocative interpretations of a simple and common subject, the square. Local artist's submissions are highly creative with an imaginative use of materials.

"Closed System" by Bryan Bigley is a square composed of
copper pipe, a typical hardware store item them has been constructed into a whimsical sculpture that is intriguing with its colorful convolutions.

Bryan Bigley, "Closed System"

"Four Square Bare" by Judy Gould offers up a delightful use of mixed media creating a labyrinth of construction and depth of meaning.

Judy Gould, "Four Square Bare"

Sandy Friedman interprets the square in four separate
salt bisque ceramics that include "Plaque #3", a piece that
suggests an archeological fragment, yet it is as fresh as
if it were pulled from the kiln yesterday.


Sandy Friedman, "Plaque #3"

Four encaustic paintings by Lauren Lipinski Eisen entitled "Containment", "Plume Rise", "Crown Fire", and "Firelight"
offer the viewer an interesting composite of materials derived
from and encompassing nature. 
Lauren Lipinski Eisen,
"Containment, "Plume Rise", "Crown Fire", and "Firelight"
   
See how local artists interpret the "Square", in this open
juried exhibition.  

Our Guest Juror for Square - Anna Kaye  

Anna Kaye creates realistic drawings and paintings of the natural world. Having earned her Bachelor of Science in geology at Skidmore College, as well as fine art, she draws inspiration from her science background. In addition to studying geology, Anna continued her education at Yale's prestigious Norfolk program in printmaking, painting, drawing, and photography. She earned her Masters of Fine Arts degree at Washington University in St. Louis where she was awarded the Laura and William Jens Scholarship. Anna Kaye's artwork is a part of international and national collections including HGTV. She currently teaches at the Denver Art Museum and taught as a Professor of drawing at Metropolitan State University for seven years. She is represented by Sandra Phillips Gallery in Denver.
  

Monday, November 11, 2013

Carnival collage/assemblage


I finished my Carnival assemblage/collage. I submitted it to a show yesterday and just took a quick picture before putting it into my car.  I had to crop the picture since the background behind it was a mess, but there are pieces that stick out past the edge of the canvas. This picture doesn't really do it justice. I will take a better picture when it's hanging in the show, or at home if it doesn't get in.

This piece is 24" x 24", excluding the parts that stick out.


The theme for the show is "Square" so I thought I would submit some other pieces as well.  Here is the bird assemblage completed, that I had shown a progress photo the other day.  This piece is 12" x 12". This piece is the second in a series, the first one is here.

This is a piece from last year. My husband and I had taken a field painting class.  I really enjoyed the fabric layers and then painting over them. I plan to do some work similar to this in the next few months. I think this piece is 18" x 18".  The work was originally on raw canvas, but I glued the finished piece to a painted canvas using gel medium.

I will post if any of these get in the show.

Next up, I need to finish some handmade gifts for my family for Thanksmas (Christmas celebrated during the Thanksgiving holiday).

Sunday, November 10, 2013

Carnival Assemblage, peek #2


Here are another photo of the  Carnival assemblage I am working on.


And here is another assemblage I have in the works.

CO Mixed Media Club meeting, Collage a la Claudine Hellmuth

Yesterday for our CO Mixed Media Club, we did collages Claudine Hellmuth style.
 
Here is my young lady. The background is a monoprint from a previous meeting. Her shirt is embossed paper that I dry brushed with white paint, then overpainted with Quin Magenta. I would like to add a saying or some ephemera to this.


I didn't mean for my circus themed one to be scary, but it kind of is.  I used Claudine's peeling paint technique for the red paint. 

I plan to add these colored balls around the edge, so maybe that will make it more festive.


Trish working on her collage.

 She added printed papers for her skirt and top. I love the wings.

 Laurie worked on multiple pieces. She started with a Thanksgiving theme.


Then started this one with a vintage lady.

Here Enid is working on her background.
 And Enid's fun fish collage.

 Simone was working on quite a few pieces.

 She hasn't pasted down the elements on this one, but I like the way some of the crowd seems to be looking at the fashionable woman.

It was a really fun day!

Monday, November 4, 2013

Visit to Simone and Sabyl's studio

Sometimes I go to Susan and Sabyl's studio to visit and work on projects together. It's nice to get out of the house and spend some time with good friends. And it's nice when some of your good friends are artists too.

This is the piece Sabyl is working on.

This is Simone's work in progress.

This is my piece. I think it looks better in person.  Taking a picture and looking at it really can give you a fresh look at it. I can now see that I need to improve the transition at the top left from the darker blue to the lighter music sheet. Also, I think the whole piece needs another wash of blue.  

Assemblage peek


I am working on a Carnival themed assemblage, and thought I'd post a peek.


Handweavers Guild of Boulder Annual Show and Sale

This past weekend I went to this sale in Longmont. Due to the giant flood we had months ago, they had to move their sale from the Boulder County Fairgrounds to an empty store space in the local mall.

They have a ton of handmade/hand dyed items, from dyed silk scarves, to woven reed baskets to hand felted items. And of course woven scarves and jackets and rugs. I always enjoy looking at all the lovely things.


I love Heide Murray's needle felted minis. They are adorable. She teaches needle felting classes in the Longmont/Boulder area and I keep meaning to take one of her classes.


 I loved Suzzanne McGuirk's felt steampunk sculptures.


They did have some dyed wool roving, but I didn't see anything I had to have in that department.

But I do love curly wool, and I can't find it very often. They had blue and a super bright yellow, which I bought, but passed on the dark red and dark green.

But how much bright yellow do I really need? I took out my Colorhue dyes and dyed some of it orange and some lime green.  Curly wool makes me happy!

Shibori with transparent Setacolor paints

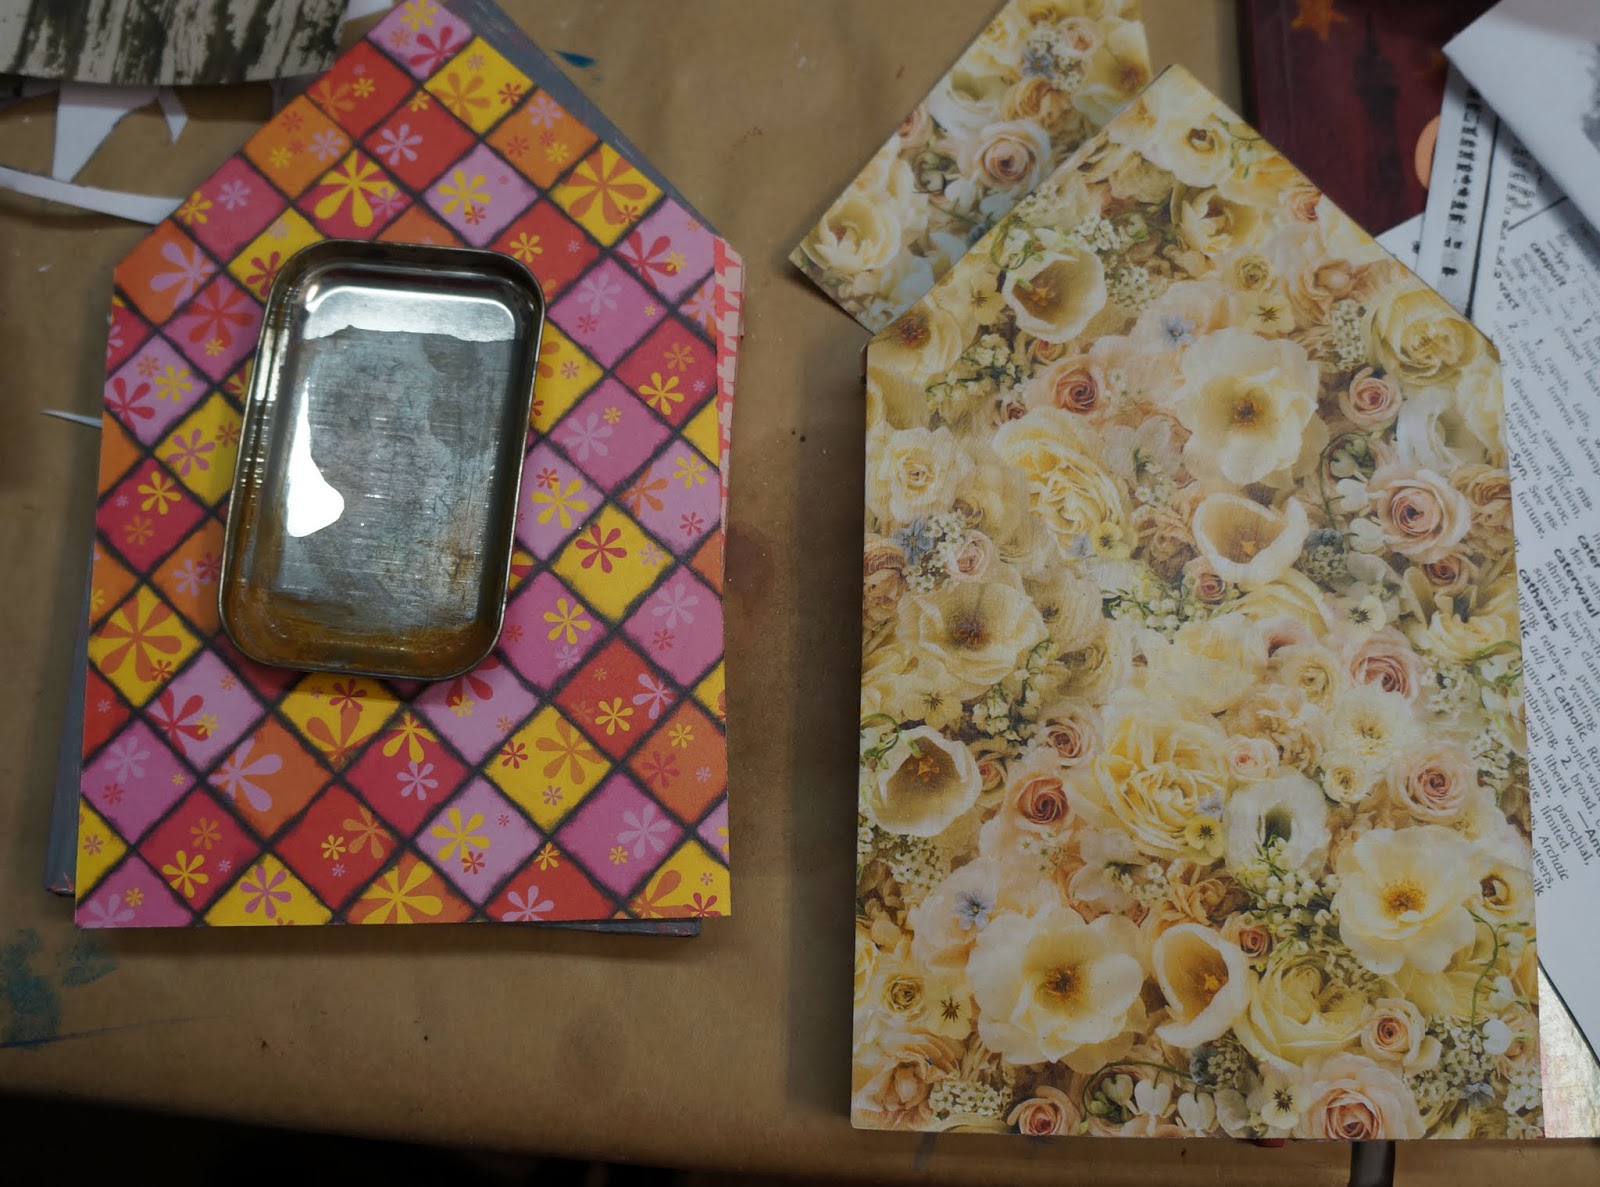
This weekend was in the 60's and I took the opportunity to do some shibori with Setacolor paints.

Here is my set-up. Paints on the left. PVC pipes to wrap the fabric, and a bunch of fabric.

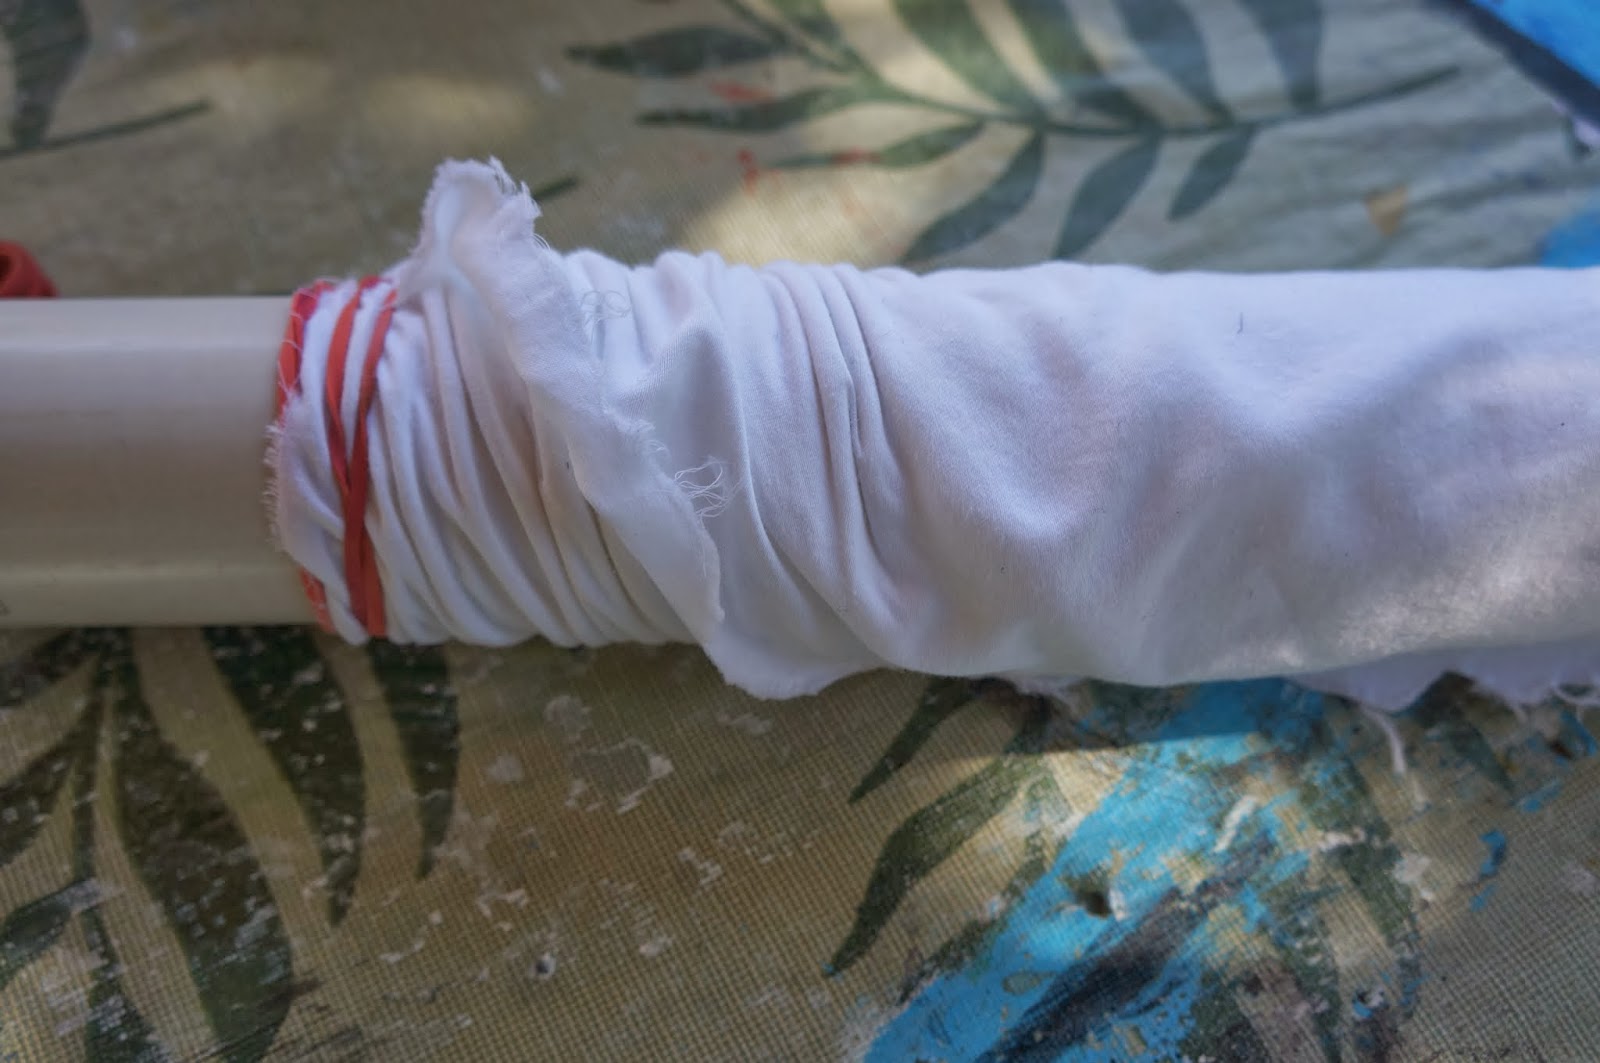
I rolled the fabric around the pipe, not too tight since I need to manipulate it.

I twist and scrunch the fabric. When the whole fabric is scrunched, I try to scrunch it some more, as tight as possible. I use rubber bands on both ends.

Since I am not putting these in a dye bath, I can put fabric on both ends of the pipes. I did half the fabrics dry, and half of the fabrics wet (but wrung out before rolling onto the pipes).

This was a previously dyed piece of silk. I used a large plastic container lid to catch the excess paint and just poured the paints onto the fabric.

Here they are drying. I used a wrought iron end table set on it's side as a drying rack. Since these are sun print paints, I can't lay them flat or else the fabric laying on the ground will be a different color than the rest. (Yes, the table got paint all over it but I bought it at a thrift store for almost nothing years ago and a little paint won't hurt it.)

Here are the results:

Dry cotton type fabric, ironed. I think this looks like an explosion of McDonald's ketchup and mustard packets.

Dry Silk fabric, ironed, the paint is a bit blotchy.

Dry cotton type fabric, ironed, love this one!

This was the pre-dyed silk, not ironed, rolled wet
 Wet cotton type fabric, not ironed
 Dry cotton type fabric, ironed
 Wet cotton type fabric, not ironed

I definitely got more texture on the fabrics that were dry.  The green cotton one is super awesome. I only got around to ironing some of them.  I did get paint all over my PVC pipes. Since I use these for dyeing as well, I cleaned them up with Soft Scrub and the green rough side of a sponge. They cleaned up well except the jagged ends.

I think it may be time to put the Setacolor paints away, since winter is coming. Plus, I need to start making things with all this fabric!

Friday, November 1, 2013

Puddle painting with Setacolor transparent paints

With almost all of the Setacolor painted fabrics I have been doing lately, instead of applying paint to the fabric with a brush, I have been doing what I call "puddle painting".

I keep my paints pre-mixed in containers with a screw-on lid. (they are concentrated paints, and I usually mix it 50/50 with water).

First, I soak my fabrics in water.  I have a large plastic lid from a storage container that I use as my palette. I just pour a couple different paints on my "palette". (Please note the paint will stain the lid, it will never be white again).

I wring the extra water out of my fabric, then scrunch it up and smoosh it in the paint puddles. I just press the fabric into the paint and try to absorb as much paint as possible. I do not swish the fabric around because that will cause the paint colors to become muddy, I just press (hard). By the way, this is very messy and I recommend wearing gloves and old clothes, and maybe an apron. I usually do, but for some reason I don't in this picture.

Here I've flipped the fabric over and you can see that from the three primary colors, I now have a rainbow (greens and purples have appeared). Typically, I will move the fabric to the corner of the palette, pour more puddles of the same colors, and smoosh the other side of the fabric into the new puddle.  Then, I will gently look into the folds of the fabric to see if there are a lot of white spots remaining. If there are large white spots, I will make a new puddle and just try to put the white sections in it (I may just do a one color puddle for this). If there is not a lot of white, I will gather the fabric in a ball and give it a gentle squish to try to get paint into the white spots. Again, I try to be gentle as I don't want my paint to get muddy.

I lay them flat to dry. This is a "sun printing" paint so any wrinkles will get sun printed into the fabric. It is best to get them as flat as possible. Or you could add stencils or found objects on top to get a sun printed pattern.


It's nice to get this random (almost tie dye) affect, without messing with powdered dyes or soda ash soaks like when using Procion MX type dyes. I will typically do as many will fit in my small backyard, which is about six pieces that are one yard. The painting process for six pieces only takes me about thirty minutes, which is way faster than painting with a brush.  That's why I've been doing a lot of Setacolor painting lately, I can paint the fabrics in mid-morning and if it's a warm enough day, they will be dry by dinner time. (In the summer, the backyard gets sun, and the fabrics can dry in just thirty minutes. These cool shadowy fall days really slow down the drying). It's going to be in the 60's tomorrow and I think it's time for some more Setacolor Shibori painting! I just got my order of Fushia paint, which is my new favorite, so I can't wait to play with it. I am also working on a carnival theme assemblage, and want to get back to some more "painting" or color-altering of felted wool this weekend.