This month we met at Simone's as she has a large press at home. Sabyl and Simone set up a lot of tables for our work space. We had a great time and really started to get in a groove about the time we needed to clean up. The time flew by.
We used the press (named "Pressley") to make monoprints. We mainly used Createx monotype base on plexiglass, which has to dry prior to painting over it. The paints we used were Createx monotype paints. After painting the plate, the paint needs to dry before printing. Sabyl also tried ivory dish soap as a base and it worked well. We also tried gum arabic as a base, which worked really well, but the plexiglass needs to be sanded for the gum arabic to spread well, else it beads up. The nice thing about the gum arabic is it dries a lot faster than the Createx base.
We used heavy print paper, which needs to soak in water at least five minutes before printing. The paper is put between some towels to remove the excess moisture prior to printing. The paper needs to be damp so the dry paint will transfer off the plate.
Here is the sample plate that Sabyl used as an example. The stencils are painted papers she had from a workshop she had taken.
The first print of the day by Janet.
Janet's print.
Janet's print too.
A plate of Janet's.
And the print.
Simone's plate (I don't have a picture of the print).
Simone's plate.
Simone's print
Enid's plate.
Enid's print
Dariya's plate (I don't have a picture of the print, but it was really strong and graphic).
The weather was really great. It had just rained for four days straight and caused a lot of flooding issues in the state, so it was nice to have a sunny day to help dry the plates.
Sabyl at work.
Sabyl's plate (sorry it's blurry. I forgot my good camera, I also had taken my little point and shoot out of my purse earlier in the week to download some photos, so I was stuck using the camera on my phone, which is not a new model).
A different print of Sabyl's.
The only shot I had with Liz and Trish, which is funny since I was sitting right next to them.
Gayla working on her plate (ha! Liz and Trish are kind of in this picture!)
Gayla's plate.
A different print of Gayla's.
Sue Clarke's plate
Sue Clarke's print.
Sue Clarke's.
Ghost print from Sue Clarke's plate.
Liz's plate
Liz's print.
Liz's cute birdie! She really liked using Generals Scribe-All pencil on hers.
Liz's print. I didn't even see her make this plate but this beautiful print magically appeared.
Trish's plate
I believe she layered stencils on the plate before printing to act like a resist.
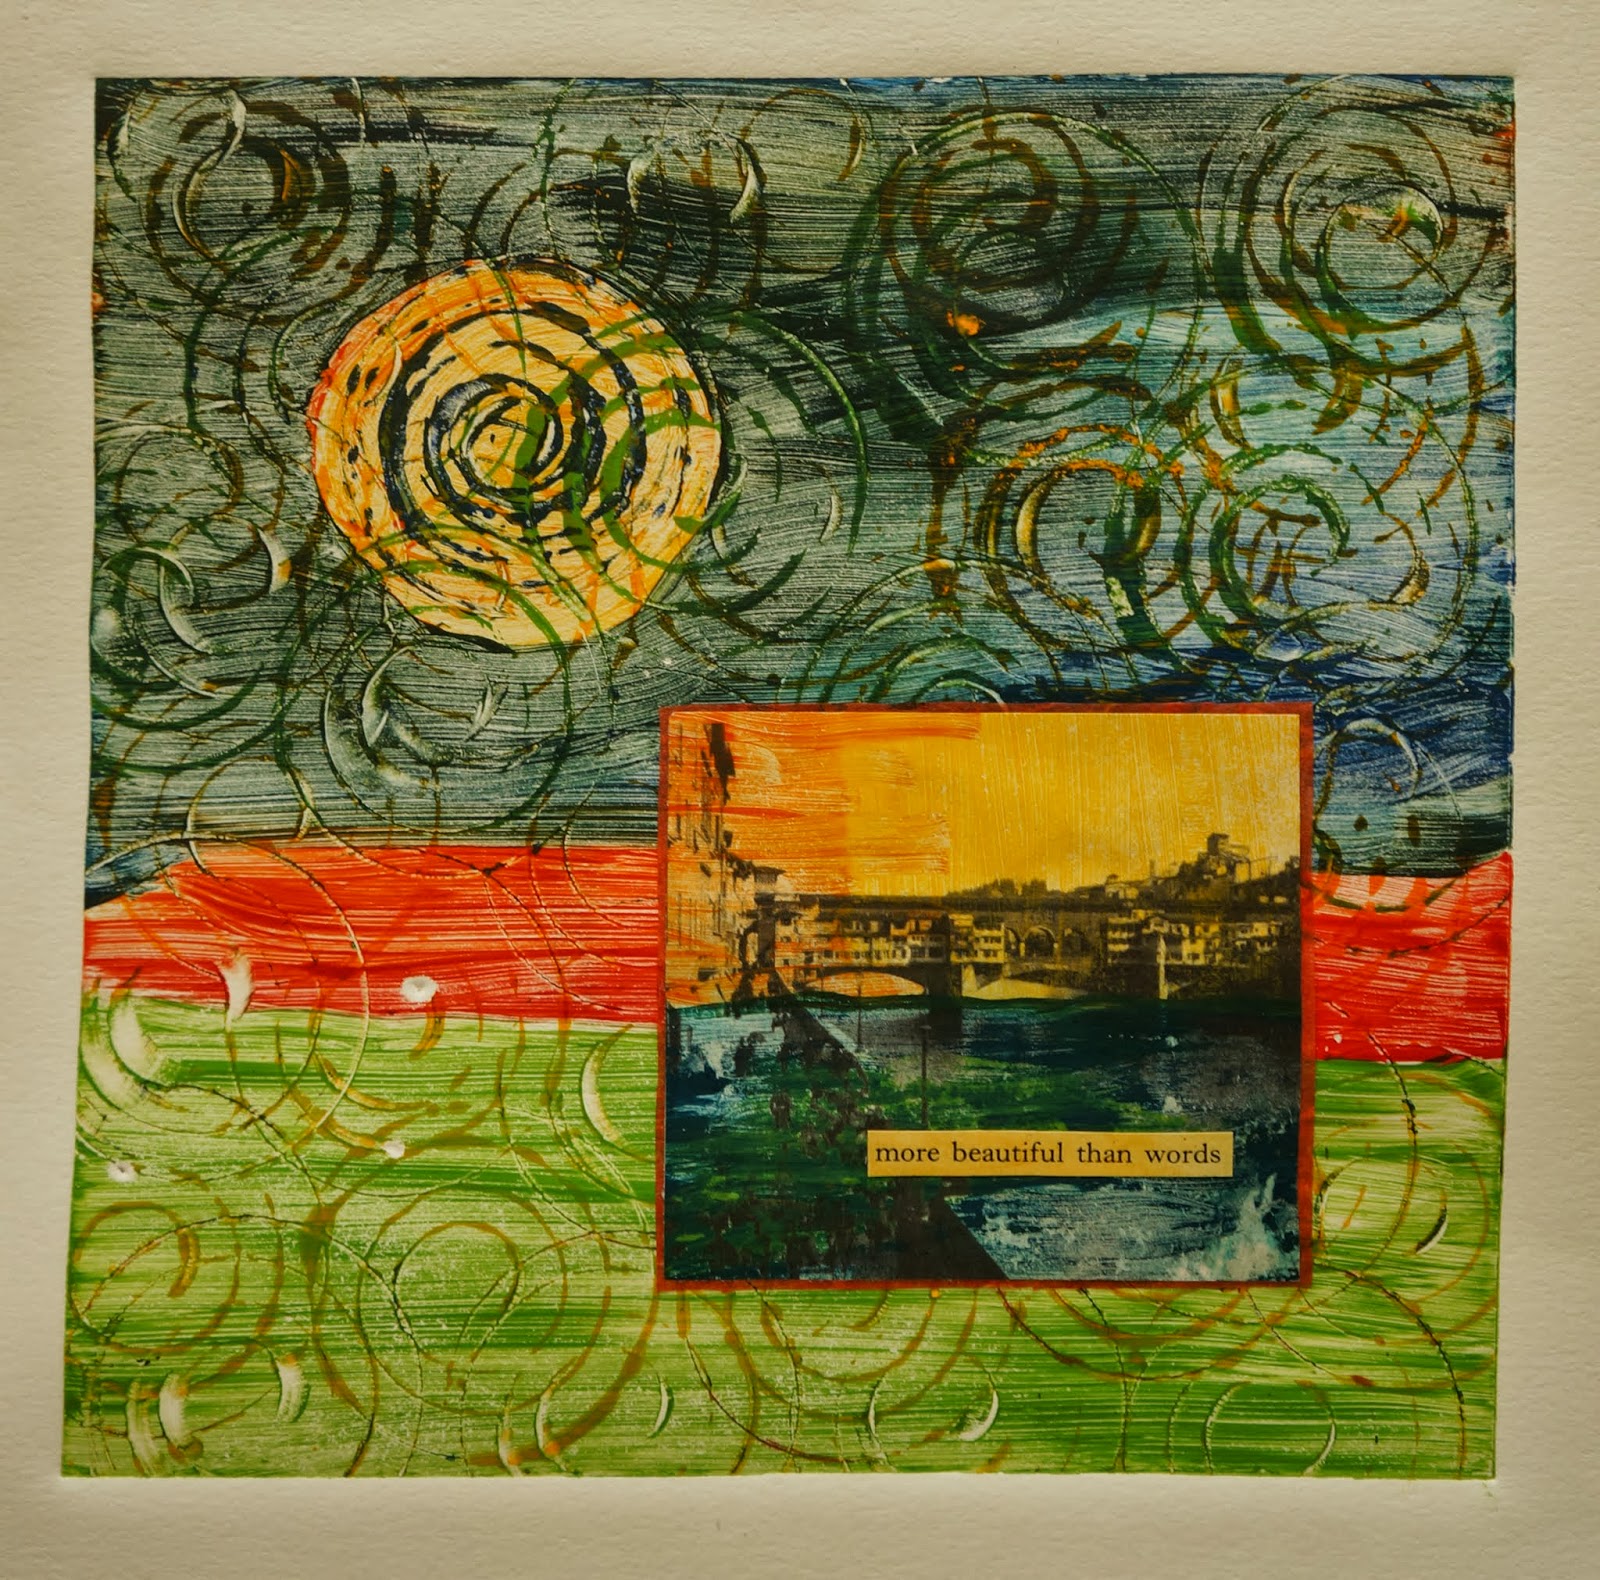
My landscape
Printed on a page from a book. The paper really wanted to stick to the plexiglass plate.
My spirals were created with an old fashioned spring whisk.
On this plate I used gum arabic as the base, but the plate wasn't sanded so the gum arabic beaded up. I think I used watercolor paints on this one.
Close up picture. The darker shiny spots are where the gum arabic was. As the paint was
drying on the plate, it started flaking and blowing away. Some of the paint cracked and the cracks show on my print.
I did a ghost print of this plate over a monoprint I made a while ago that was mainly blues and greens.
On this plate, instead of using the Createx paint, I used watercolor paints, on a gum arabic base. I like that it has a more liquid look to it. I printed this over an old monotype print I had that had a faint gray pattern to it. Since the new plate was bigger it doesn't look too great, and I should have just used a new piece of printing paper. This technique with gum arabic and watercolors is in the new issue of Cloth, Paper, Scissors, but they use a die cut machine as a press.
A great day and everybody loved the results!