Showing posts with label felt. Show all posts

Wednesday, April 8, 2015

Goldfish felt wall art

I have been taking on online surface design felting class with Fiona Duthie. It has been great and well worth the cost.  I did have a few weeks when I was having issues with vertigo and did not complete all the technique samples, but I look forward to finishing them all.

For our last week of class, we are to work on a project of our choice using some of the techniques we learned, so I included techniques from the weeks' lessons that I was able to finish. 

When I first started felting wall art, I learned my technique from Moy Mackey's book, Art in Felt & Stitch. I still used a white base layer per Moy's technique, as I want my wall art piece to hold it's shape over time, and using many layers will accomplish this.
 After the white layers (2), I added corriedale wool in black, white, and blue, to add shading to next layer. But then I got carried away and added so many layers, this probably had no affect.
  More wool (this was a variegated merino I had purchased)
And more wool. I originally put this layer down before the "all over" variegated layer (which is what is pictured here), then I removed this layer, put the all-over layer down, then put these back down on top. I also included some glass gems and small round mirrors in the layers.
I wet these down, then added my goldfish and silk fabric "water".


Here is the felted piece. I need to iron it to help remove some of the wrinkles.
 Detail

Monday, February 23, 2015

Felting experiments, balls, craters, and pebbles

Some more fun felting from Fiona Duthie's surface design class!

Balls and craters:

Pebbles and mirrors:

Tiles:


The balls in the first piece took forever and I don't think I will use them very often just because I am not patient enough for that. I need to iron all these samples as I think they will look even better with a little ironing.

Monday, February 16, 2015

Experiments in wet felting

I am taking a 6 week online felting course with Fiona Duthie.  I am almost caught up for the week 1 samples.

Each time I finished a sample, I thought of a similar, but different, one that I wanted to try.  But I am getting very behind already and we are only in week 2.

Here are my week one experiments.

Silk on merino.

The yellow and blue are silk (noil?) on green merino.  I hate the green and the silk looks pretty sad, so plan on over-dyeing this.

Alpaca on merino. My alpaca has a bit of vegetation in it, which drives me crazy.

The alpaca has an interesting feel to it and a soft halo.

Merino on Jacob.

 Merino on Corriedale

Nuno felting silk fabrics

Pleated silks on merino.
Detail.


I better get working on week 2!

Monday, February 9, 2015

Felted Cuffs and felt baubles

A few months ago (I am very late in posting this), I decided to do some felting experiments.

I thought all my felting supplies were in one large tub and it wouldn't be too big a deal to pull them out for a felt day. Two large tubs, one small tub, and multiple bags later, I had most of my supplies, although there are still a few things missing that are still in moving boxes.

I wanted to make some wrist warmers/cuffs, and also play with doing some three dimensional felting. I thought I'd make the cuffs by nuno felting with silk fabric.
The silk I used was too tightly woven and the wool did not felt into it, so I will need add some free motion stitching for the fabric to stay in place.  I did do some additional felting of the cuffs after this picture.

The blue and red piece is my first piece with resists.  It's not too bad for a first effort, but there is a lot of room for improvement.

I really liked the felt "bubbles" or "baubles" or whatever they are called. I didn't think they were completely felted and set them aside to try and felt them some more later on before cutting their tops off.

Now that it's been a couple months, I really lost my urge to work on them any more. I went ahead and cut their heads off last night.  They look okay, but the orange one had silk fabric on the inside, which did not felt to the wool.  The purple one has dark purple wool as the inner layer, and it could have felted more as well. I don't think they are too bad for a first try.  I had tied the baubles with cotton embroidery thread, thinking they would be permanently felted into the bauble shape. When I removed one of the pieces of embroidery thread, the opening re-opened.  Another sign that it is probably not felted enough. I will sew the bottoms closed on the back side so I can then remove the embroidery floss.


I just started a multi-week online felting class, so will be posting more felting for the next couple months. The week one sample instructions look really interesting and I am looking forward to working on them.  I better get on it, as week 2 instructions come out on Friday.

Thursday, January 15, 2015

Stenciled felt coasters, art experiment

Art Experiment is a a series of posts using supplies which I own but have rarely (or never) used. Failure or success is not important, it is trying something different and seeing what can come from it.  There are three goals: try something new, use something in my supply stash, and have fun/experiment in the studio.
Finished coasters!

Over a year ago, I was experimenting with using Decolourant on felted recycled wool sweaters.  It didn't go very well. When I rinsed the fabrics after ironing, I could barely see any difference.  I went to a sewing expo and bought some Catch & Release (a product to remove color, which I believe is designed for wool but says it works on cotton too), and some wool felt that a vendor had for sale. The vendor was Crawford Designs and they make the Catch & Release product. These supplies have been sitting in my box of felt ever since (which I believe was last February).


My glass/metal coasters have been falling apart, so I decided to make some new ones.  I took out my wool felt, Catch & Release, some paint, and a stencil with different leaves on it.

I applied the Catch & Release directly to the felt using a makeup sponge to pounce it through the stencil.  After it had dried, I decided to do another layer of stenciling with paint mixed in to the Catch & Release. (If I do this again, I will do the colored ones first, as it was hard to tell where the clear ones were when I was adding the colored ones).  

After these were dry, I ironed the felt.  The clear Catch & Release did a fabulous job at removing the color.  The ones with the paint mixed in look like they were painted on, not like the original color was removed and replaced. I rinsed them with cool water per the directions.

I do like the way the fabrics turned out. I know the last time I tested the Catch & Release on recycled wool sweaters, it did not really work. This was probably because of the type of dye that is used in the sweaters. The dye in the wool felt I bought worked great with the Catch & Release product.

Just FYI, the Catch & Release product is pretty stinky.  It smells like those bathroom disinfectant sprays that add a floral scent, but the chemical smell is still there too. It smells when you apply it and it smells when you iron it, it just downright smells. And I don't have a great sense of smell so it is pretty potent if I am commenting on it. That said, I will use it again and cope with the smell.

After they were rinsed and dried,  I cut 4" squares from the felt.  I sandwiched some foam material between the layers (to help make the coasters somewhat impervious to liquids), stitched around the edges with a straight stitch a 1/4" from the edge, and did some free motion stitching around the leaves. Now I have some lovely coasters!
 
Here is my free-motion stitching on the front (I could use a bit more practice)
Here is the back side. I like the contrast on the back between the printed leaves and the stitched outlines.


I am glad to have new coasters, but am also excited to have this project finished. I started this before Thanksgiving, and between the holidays, traveling, and home renovation projects, they have been sitting on my sewing table half-finished for over a month. Hurrah, onto the next!

Monday, November 10, 2014

On my work table

Between renovating a bathroom and increasing my hours at work, I haven't blogged in quite a while. I have not finished any art in the last two weeks, but I have quite a few in process so I thought I'd show what I am working on. I will do bigger posts on each when I am done.

This is an fabric piece made from polyester fabrics, lutradur, and gelli printed interfacing.  I plan to do quite a bit of free motion stitching (with cotton thread) and then will zap it with a heat gun. I think it's looking pretty good. I may add some paint after zapping it as I think it needs more contrast.

I am working on collaging gelli prints on this storage box. I just  need to find my Dorland's wax so the edges don't get stuck together when it is closed, otherwise this one is done.

Then I decided to pull out my felting supplies.  I thought they were all in one large plastic storage box. But once I pulled out all the supplies, this is the pile.  And there are still a few things I haven't found (must be stored in the garage somewhere), like my favorite roller and my sprinkle bottle for soapy water.
Here are my felting experiments.  I am working on making some felted cuffs/wrist warmers, but also did some experimenting with nuno felting and resists.  The ones with the balls tied in them are not fulled enough to remove the balls. I plan to cut them open so you can see the interior.

These are the projects I have in progress. I expect things will be busy until Thanksgiving. By then, I hope to have the clawfoot tub moved back in the bathroom, instead of being in the middle of the living room (where it was moved to allow the bathroom floor to be tiled). And hopefully, we will have the new vanity installed by then as well.  December will be another wave of craziness as we have the basement remodeled.  I may have a studio of my own by spring (at this rate).

Monday, October 13, 2014

Art Experiment: Felt dryer balls

Art Experiment is a a series of posts using supplies which I own but have rarely (or never) used. Failure or success is not important, it is trying something different and seeing what can come from it.  There are three goals: try something new, use something in my supply stash, and have fun/experiment in the studio.

 My aunt requested felt dryer balls for Christmas. A while ago (probably two years ago), I had bought an enormous bag of alpaca fiber. When I say enormous, I mean a giant garbage bag full of "seconds" (the second trimming, not as nice as the first cutting, but fine for felting). I washed all of it multiple times, but it still had tiny bits of grass and hay pieces embedded in it, so I didn't want to use it for a felt art piece. I thought this would be great project to use up some of this fiber.

I am not one to just provide boring ivory felt balls, they need to be colorful. So the first step was to dye some of the alpaca fiber.  My stash of Jacquard acid dyes was rather sad, just two yellows and a bright lime green.  Luckily, there is always KoolAid mix at the grocery store to offer me a larger color range. 

I used the acid dyes and some of the KoolAid by putting damp alpaca fibers in different ziplock sandwich bags, adding the dye (that I already mixed with water), and steaming it in a steamer on the stove for about an hour.

I also used some of the KoolAid (already mixed with water, at least two packages in a plastic party cup of water) and tried to make two-tone sections of fiber. This worked pretty well. I put damp alpaca fiber on cling wrap in the sink,  dipped one end of the fiber in one color and squeezed it a few times and took it out of the cup. Then I dipped the other end in a different color and squeezed as well.  This was super messy. I highly recommend wearing gloves or your hands will be dyed as well as the fibers.  After wrapping the bundle in the cling wrap, I put it in a microwavable container and microwaved it for two minutes. I would let it cool and if I thought there was still color that hadn't absorbed, I would microwave it again.  I think next time I would do this in a gallon ziplock bag instead of cling wrap, as the cling wrap did not really stay closed. I also dyed some solid colors in the microwave as well


Once the fibers had been dyed, I let them cool completely. After they were cool, I soaked and rinsed the fibers in room-temperature water.  I had forgotten to add vinegar to the acid dyes (vinegar is not needed for the KoolAid, it is already acidic) so I had to rinse those fibers quite a bit, as well as the red KoolAid dyed fibers (gloves recommended).  Once the water was clear, I squeezed as much water out as I could and laid them on a towel to dry.  There may still be a little dye in the fibers, so use a towel you don't like and put it on a protected surface or one that you can use a bleach cleaner on, in case the dye bleeds through.
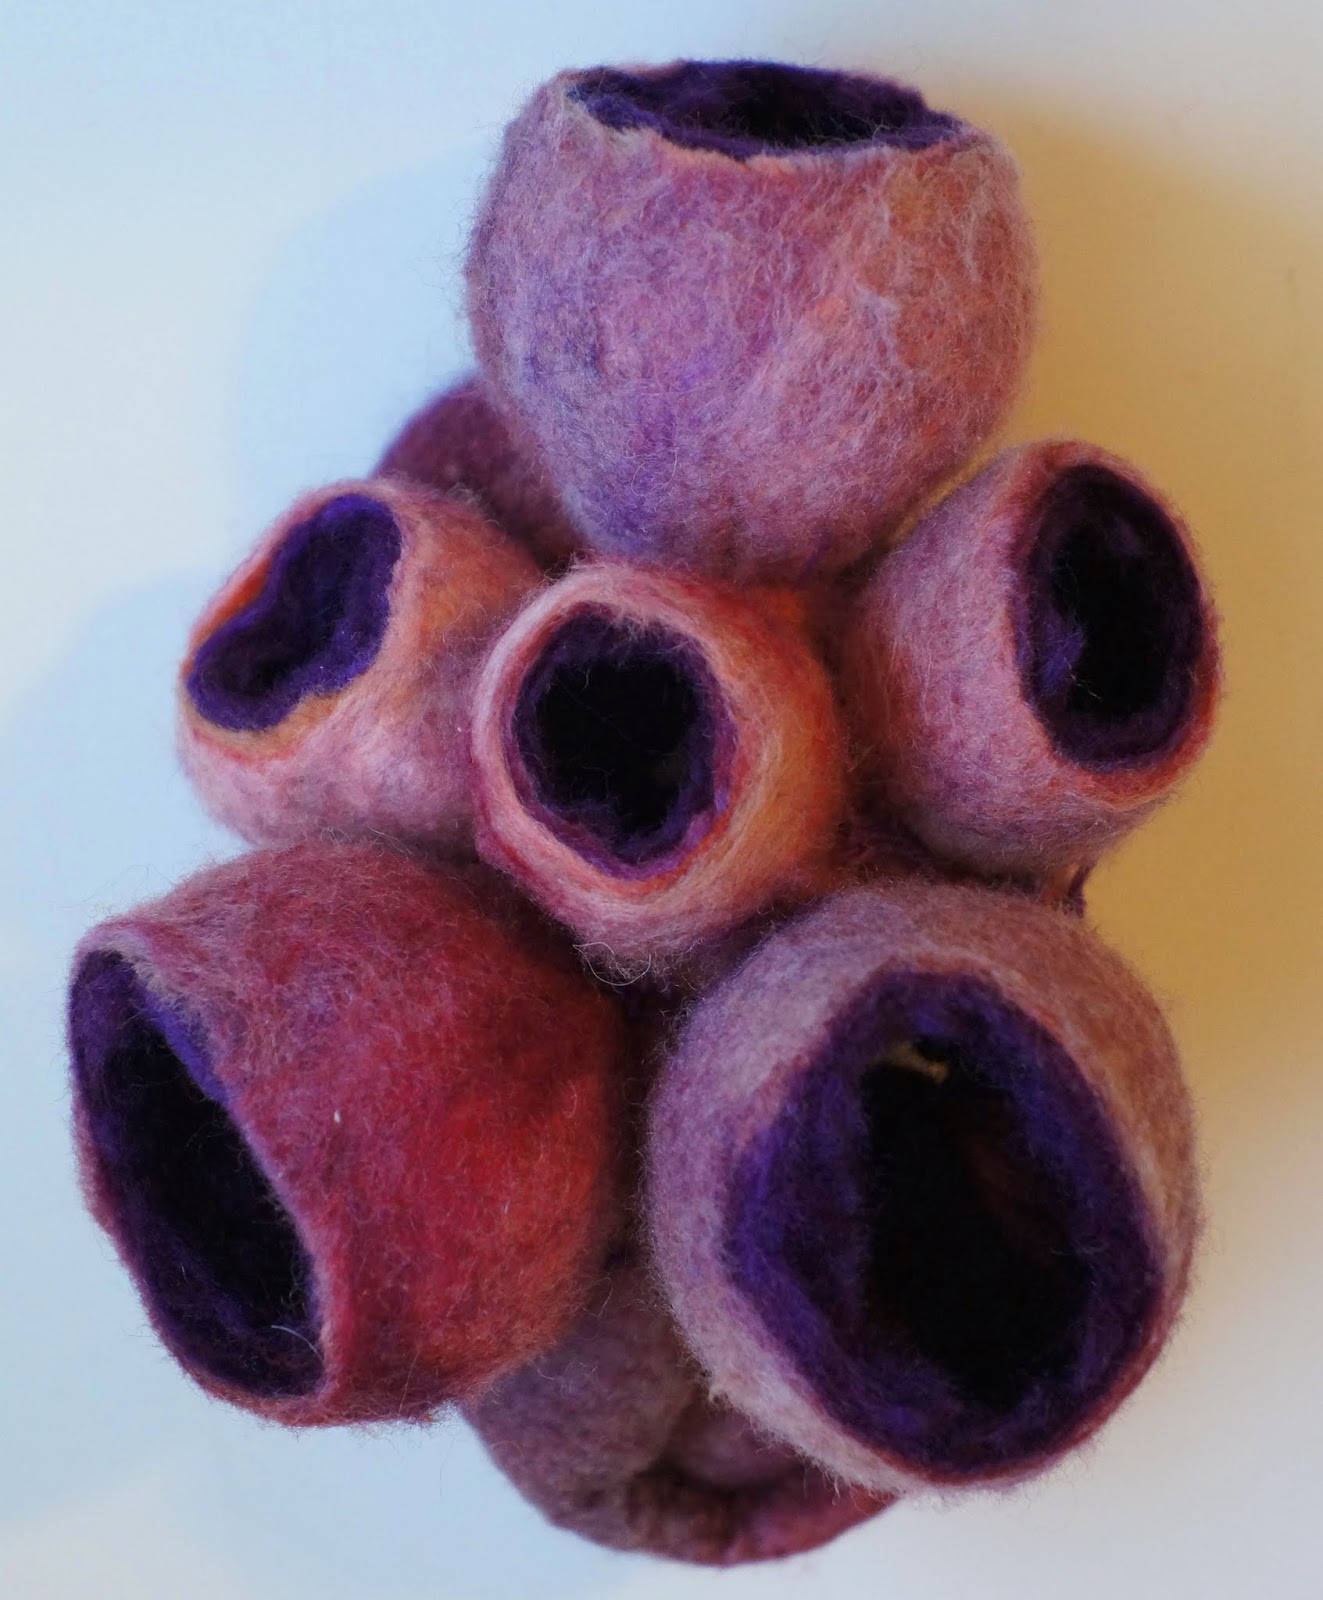
Here are my fibers.
Close-up of the variegated fibers

I didn't dye all of my fiber stash, as I just plan to use the colored fibers to cover the exterior of the ball. I grabbed a hunk of the natural (ivory) fiber for the center of the ball and put it in a container of room temperature water. While it sat in there a few minutes, I pulled out the colored fibers I wanted to use on the exterior. I pulled and spread the fibers out, since they were kind of clumped from the dyeing process.  I squeezed out the excess water from the ivory fiber and shaped it into a ball, then laid the colored fibers over it - on all sides.  I then put it in hot soapy water while holding it in a ball shape, took it out and squeezed out the excess water, and then rubbed the ball onto some bubble wrap to start the felt process (for just a few minutes).

I put my ball in a pantyhose leg and secured it with a rubber band. I did this over and over until I had two pantyhose legs' full of these balls.  I had read on the internet that the balls work better for helping dry and de-wrinkle clothes if there were at least eight of them.  I have no idea if this is true are not, but making balls was fun for the first six or so, then I lost my initiative after that. So I pretty much quit rubbing the balls on the bubble wrap and just stuck them in the pantyhose after adding the colored fibers.  I do think the first ones felted quicker in the wash machine than the others, but not enough for me to think it would have been worth my time to hand-rub them. 

As you can see, I am not very good about making them a consistent size. You should see what happens when I make cookies, they are all different sizes too.
I then threw my pantyhose covered balls in the wash machine.  In our new house we have a fancy new wash machine. When I bought it, I saw this one had a Soak function so I figured I could still use it to felt.  I think they turned out well. I did run them through the washer and the dryer twice, hot water wash/hot dry. I will probably add them to my wash when I am doing a dark load a few times, just to make sure there isn't any residual dye before I give them to my aunt. I would hate for her clothes to have colored polka dots from the dryer balls!

Monday, June 30, 2014

Addicted to roving

Before moving to Kearney, NE from Louisville, CO, I had to stock up on wool roving for my felting projects.   Shuttles, Spindles, and Skeins in Boulder, CO has a fantastic selection of roving (corriedale and merino) at very reasonable prices, as well as quite a few white options (My white shown here was $1.05 an ounce).

This was my last stop before hitting the road for Nebraska. I splurged on a hand colored braid, but thought it would make a nice felted Nebraska cornfield. I can order from them and they will ship it to me, which is a great option.  I haven't found a place nearby for roving. You would think there are sheep somewhere in Nebraska, right?


Monday, June 9, 2014

Wet felting waterlilies

I've been making some ocean/water themed art pieces lately, and decided to do a felted piece with waterlilies.  I think it turned out great. I still need to dry felt some details and do some machine stitching, but I really like how it has a Monet-like feel to it.

Here I have laid out all of the roving and put a piece of tulle over it.  I was worried about the purple and green roving felting correctly. I had bought it as a hand-dyed blend, and noticed it was actually wool superwash and I was concerned it would not felt. (Superwash is a wool than can be machine washed with less concern about felting or shrinkage).   There is white wool roving as a base, and I did add some thin wool over the top as well. It felted just fine.


Here it is after felting but while it was still wet. You can see the white silk pieces aren't very visible here.

Here it is after it dried. I think its lovely. I will add a bit of dry felting and I want to machine stitch to make the lily pads pop.

Close-up. The white dots are the flowers.

Wet felting is a lot of work and takes some patience but the results make me smile.