For the Colorado Mixed Media 2nd Saturday meeting, we worked on the metal heart collages that I posted about previously. A lot of people in the group talked about using a canvas backwards to frame the heart (via email before the meeting) so I thought I'd bring one for my collage as well.
When I use a canvas backwards, most of the time I will apply crinkled tissue paper to it to hide the staples and where the canvas material stops. I decided to do this before the meeting to save some time.
When I apply the tissue paper, I start by covering the gap between the canvas and the frame. I usually use un-crinkled tissue paper for that part. I apply gel medium (I used liquid gel medium, but soft gel or regular gel will work too) to the frame/canvas, put the tissue paper on it, then apply more medium on top.
Then I start crinkling the tissue paper and applying it over the whole back and sides with gel medium.
I keep applying more tissues paper until I feel the staples and seams are hidden, I would say this piece has up to three layers in some places. I used about a sheet and a half of tissue paper.
I used black gesso to cover the tissue paper, but did one strip of white gesso where I plan to overlay some stamped tissue paper. I did one coat of acrylic paint, mainly black with a little ultramarine mixed in.
While I had my tissue paper out, I stamped a circle stamp onto a tissue paper for my accent strip. It was good to do all this prep ahead of time so I was not spending my time during our group meeting waiting for things to dry.
At our group meet, I demoed applying Ranger Patina inks and alcohol inks to the metal hearts. This is shown in my previous
post here.
I wanted to try putting white gesso on the raised parts of the heart, then apply black alcohol ink over the whole thing, and rinse it with water in the hopes that the ink would wash off the gesso. I should have used guache but I forgot to bring it and this did not really work.
I was using Jacquard Pinata Color alcohol inks and assumed there was a black in the set, but there wasn't. I mixed my own on a disposable plate using red, blue, purple, brown and yellow. It looks pretty black, but leans towards purple. Below, the heart on the left is alcohol ink only. The heart on the right is ink over gesso. (I would have used my Black Staz On refill, but did not have it with me).
The heart on the top is the one that had gesso under the ink. I sanded it and then tried to apply more white gesso on top, but it is just a hot mess. I plan to paint it glossy red. The heart on the bottom was first covered with alcohol inks, then I applied the Ranger patina (comes in a three pack with a yellow-green, green, and turquoise) just on the raised parts. It turned out great.
Everyone in group played with their metal hearts, but in the end, a lot of the collages did not include them. Here is Gayla (I hope that is spelled correctly) with her collage piece. She was able to use some of my leftover stamped circles.
Close-up.
Here is Sabyl and her piece in progress. She had a field day earlier in the week making hand painted (and super yummy colored) tissue papers which she included in her piece.
Susan with her work in progress.
Enid layered hers with some printed clear mylar.
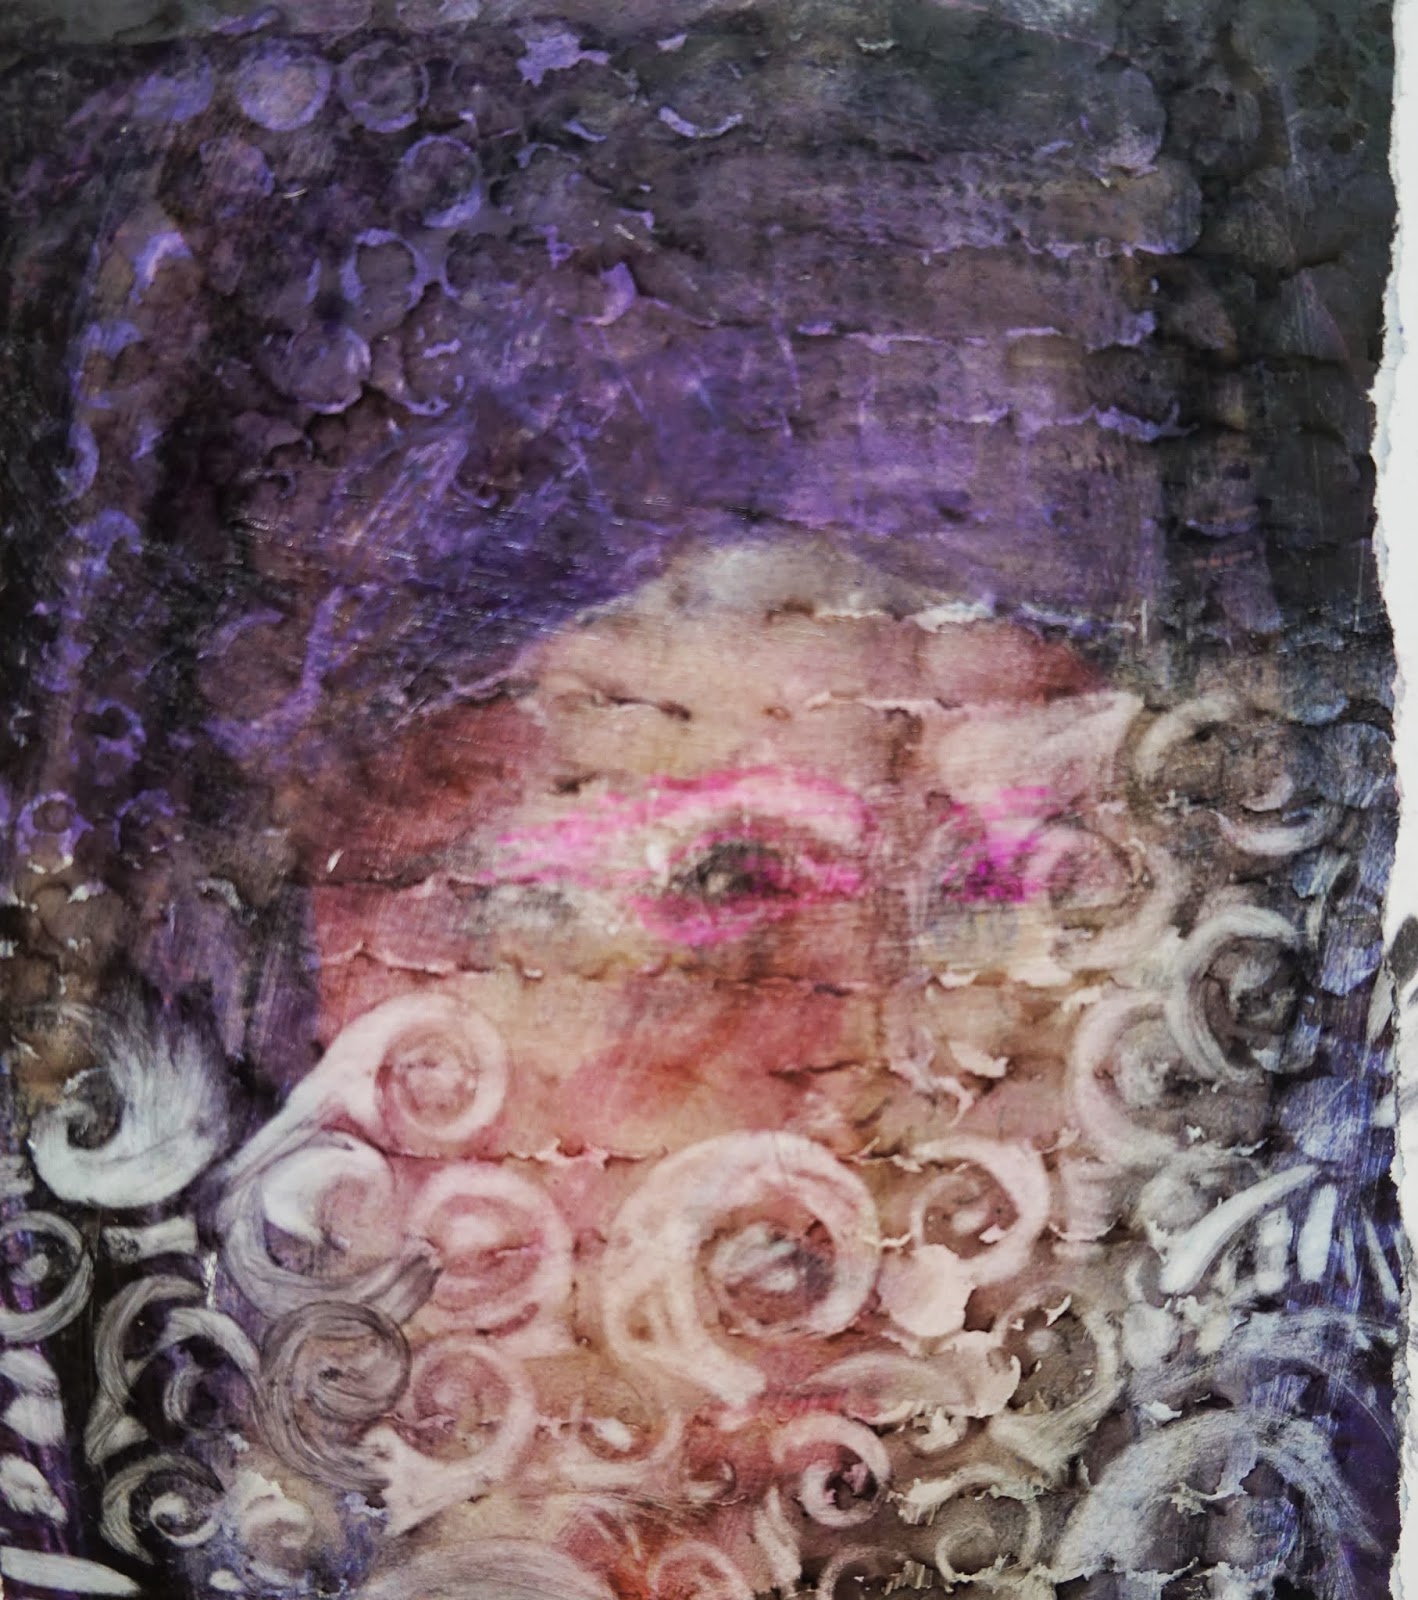
Let them eat cake! Here is Laurie with her queen piece.
Here is my work in progress. I still have some things to do and need to glue everything down. This heart is the one with the "black" alcohol ink only, which I sanded to remove the ink from the raised surfaces. I plan to stamp "you have my" on the black circle tissue paper (which I should have done before glueing it to the bumpy tissue paper background, oops!) and add some more details.
We had a great time and it was great to make it to (and teach) the meeting as I have missed quite a few lately. I hope Gayla can make it next month since this is her first meeting.