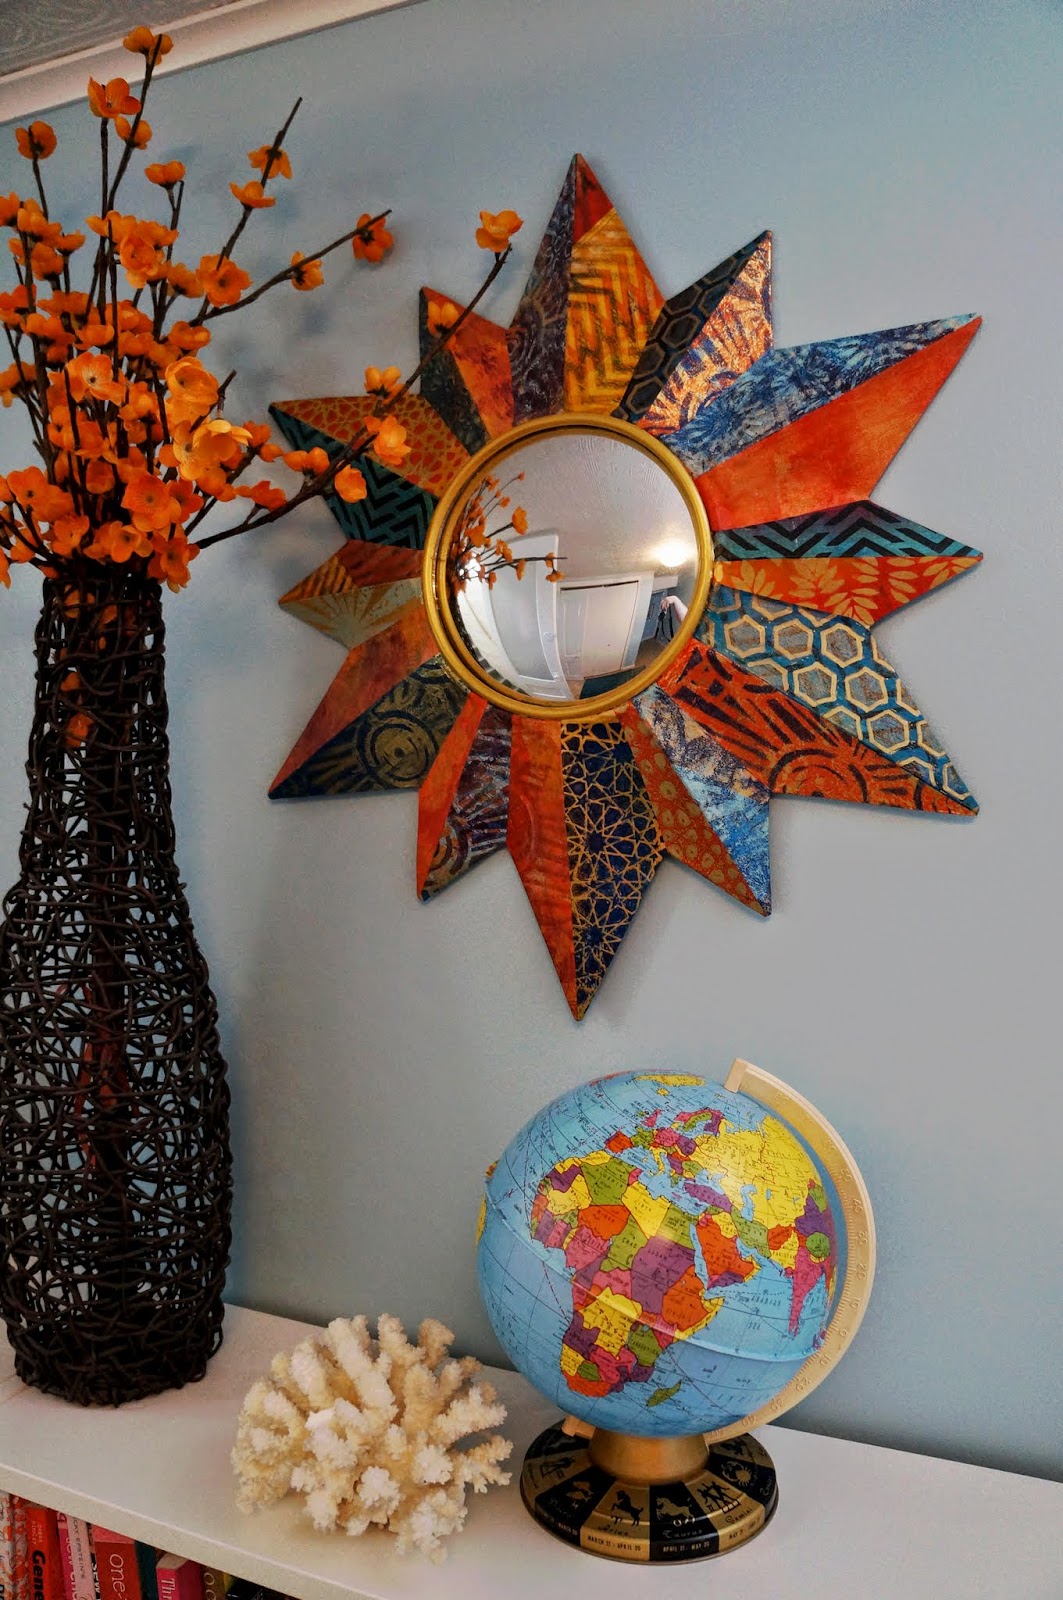
I bought this starburst mirror at the thrift store for $8 and decided to collage it with gelli prints. I knew I wanted it to be in the basement entryway, which we recently painted blue. Also, I plan to have some orange accents in the basement. I made a bunch of blue and red/orange gelli prints specifically for this project.
Here are my gelli prints cut out. I am alternating blue and orange pieces.
In progress. I painted the starburst gold before adding the gelli prints.
Complete.
Here is a shot of the completed mirror (I took this picture at night, so the lighting is a little off).
Here it is hanging in the entryway.
(I photoshopped myself out of the mirror reflection. I hadn't dressed up for a selfie).
Sunday, March 22, 2015
Thursday, March 19, 2015
Basement Entry renovation
We finally have the basement entryway done.
Here are some before shots of the basement entryway. This is one end. This wall had pressboard paneling and we had it replaced with drywall. We replaced the laminate floor with Alterna tile flooring. We repainted the ceiling and walls and changed out the light fixture.
This wall was unfinished previously. We moved the door to the bedroom here.
Here the new entry has been framed out for the door. The door used to be to the right and set back from the hall (where you see purple on the right side).
There was a small kitchenette at the other end, with a hallway between the two areas. The sink was not hooked up anymore, and this seemed like wasted space to us. We decided to have this be a part of the adjacent room (which is my art room, but could be used as a bedroom). This increased the size of my art room dramatically. The wall on the left was removed and the hallway will end where the wall on the right is.
Original kitchenette (bathroom beyond).
View from adjacent room. You can see the kitchenette area (was on left) is now part of this room (picture taken from roughly same place as photo above).
The bathroom door is at the end of the hall on the right, and art room door is on the left.
Monday, March 16, 2015
Painted Fabric Collage
This summer I bought this roll of 36" wide canvas at a "going out of business" sale. They said they used it for displays. All I know is I got this huge roll for $5. I have been wanting to do some paintings on raw canvas as well as some fabric collage so this was a great find.
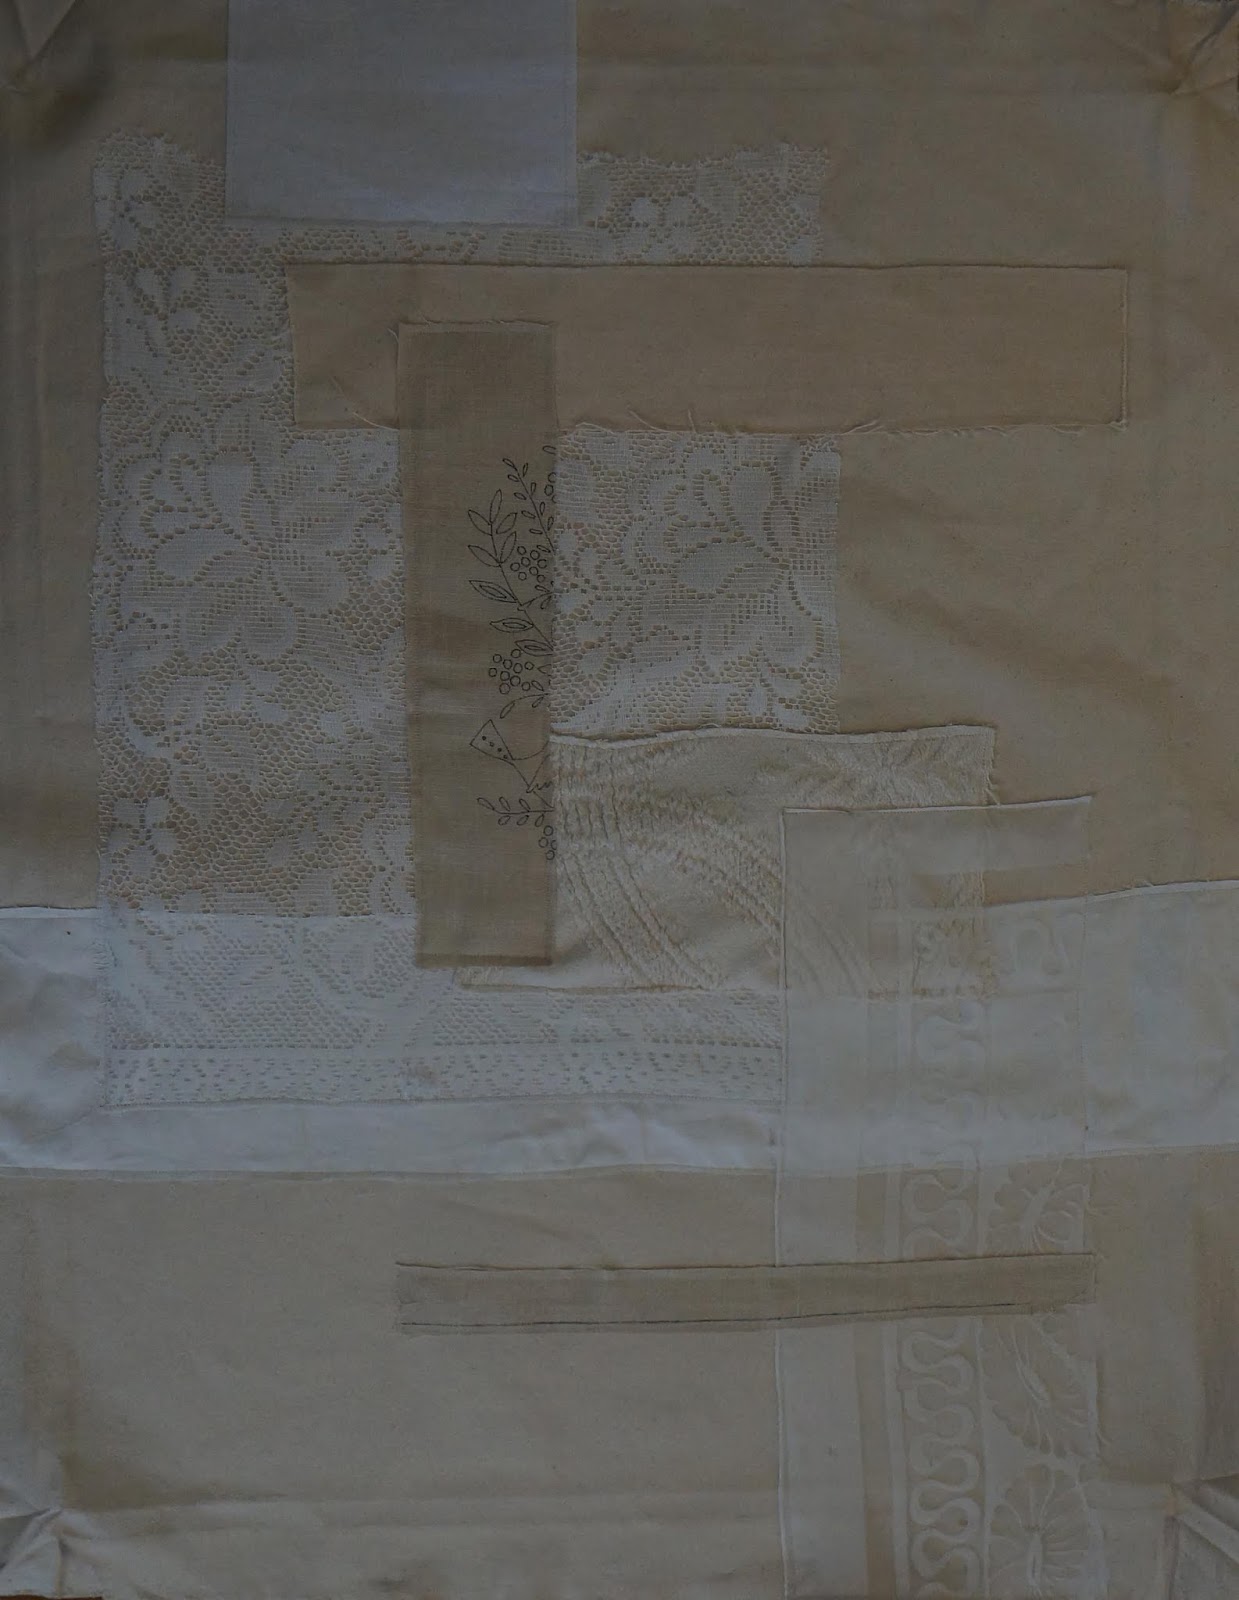
I have also been buying all kinds of "vintage" fabrics and embroideries at thrift stores and garage sales. For this first piece I sewed down a bunch of them, laying them out in the same way I would for a paper collage.
Then I took some "vintage" plastic doilies and painted blue paint through them. When I add watery washes of paint later on, this thicker paint will act like a resist. I also used a stencil to create the red circular pattern, and corrugated cardboard for the lines in the middle section. I did repaint the red circles by hand, because the way I "printed" the stencil, it ended up being a very thin application of paint.
I then painted the piece with Setacolor transparent paints, pinned stencils on top, and set in the sun to dry. I think it turned out very nice.
Details.
This is the second piece that I worked on. Here is my fabric collage. I had done some wonderful leaf sun prints this past summer, and my plan was to add one to this after painting it.
I painted this with yellows and greens, and a homemade black which leaned toward being purple. It made for a nice complementary contrast to the yellow.
Detail.
I still need to add the sun print to the green piece. Both of these will be stretched around a 24' x 30" canvas, so they will be smaller than the full canvases shown here.
This canvas is very thick and trying to just sew straight lines on it was a pain since the piece was so big. I don't think I will use this canvas if I plan any pieces with free-motion stitching as it is just too hard to move the fabric around while sewing.
I do plan to do some smaller pieces that may are may not have fabric sewed on them.
I haven't blogged much recently as I had vertigo for almost two months, so I haven't been able to do much art lately. But I am feeling almost completely better and am so happy to work on projects that I have been thinking about the whole time I was under the weather.


