This summer I bought this roll of 36" wide canvas at a "going out of business" sale. They said they used it for displays. All I know is I got this huge roll for $5. I have been wanting to do some paintings on raw canvas as well as some fabric collage so this was a great find.
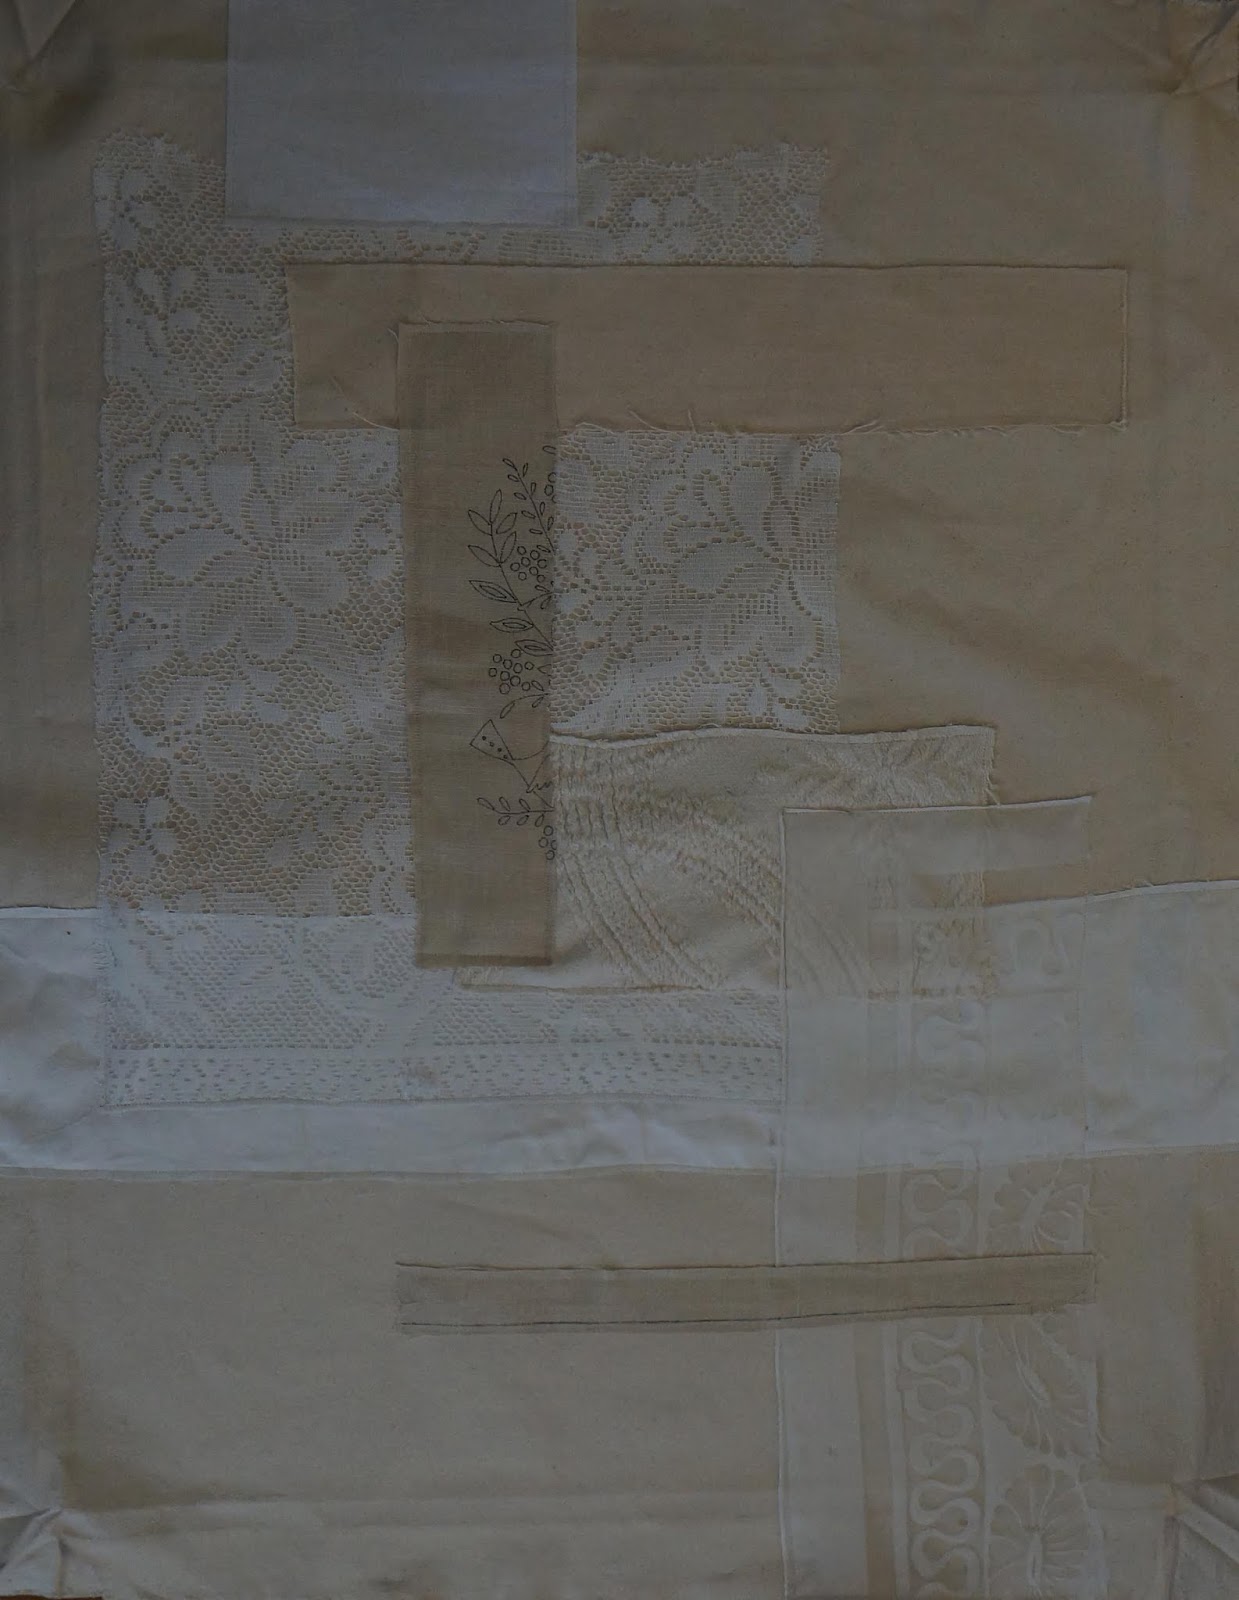
I have also been buying all kinds of "vintage" fabrics and embroideries at thrift stores and garage sales. For this first piece I sewed down a bunch of them, laying them out in the same way I would for a paper collage.
Then I took some "vintage" plastic doilies and painted blue paint through them. When I add watery washes of paint later on, this thicker paint will act like a resist. I also used a stencil to create the red circular pattern, and corrugated cardboard for the lines in the middle section. I did repaint the red circles by hand, because the way I "printed" the stencil, it ended up being a very thin application of paint.
I then painted the piece with Setacolor transparent paints, pinned stencils on top, and set in the sun to dry. I think it turned out very nice.
Details.
This is the second piece that I worked on. Here is my fabric collage. I had done some wonderful leaf sun prints this past summer, and my plan was to add one to this after painting it.
I painted this with yellows and greens, and a homemade black which leaned toward being purple. It made for a nice complementary contrast to the yellow.
Detail.
I still need to add the sun print to the green piece. Both of these will be stretched around a 24' x 30" canvas, so they will be smaller than the full canvases shown here.
This canvas is very thick and trying to just sew straight lines on it was a pain since the piece was so big. I don't think I will use this canvas if I plan any pieces with free-motion stitching as it is just too hard to move the fabric around while sewing.
I do plan to do some smaller pieces that may are may not have fabric sewed on them.
I haven't blogged much recently as I had vertigo for almost two months, so I haven't been able to do much art lately. But I am feeling almost completely better and am so happy to work on projects that I have been thinking about the whole time I was under the weather.